Bullets and sub-bullets are the simplest and most effective way to break down complex information into bite-sized chunks. But what if you need to add sub-bullets within your sub-bullets? This is where many people get stuck. In this article, I will guide you through the process of adding sub-bullet points in PowerPoint.
Additionally, I will also show you how to “undo” the sub-bullet so you can add a regular bullet point after it. Please note that the following guide is based on PowerPoint 365, but I’m very confident the same method is relevant to other versions as well.
Let’s get started!
How to add a sub-bullet point in PowerPoint
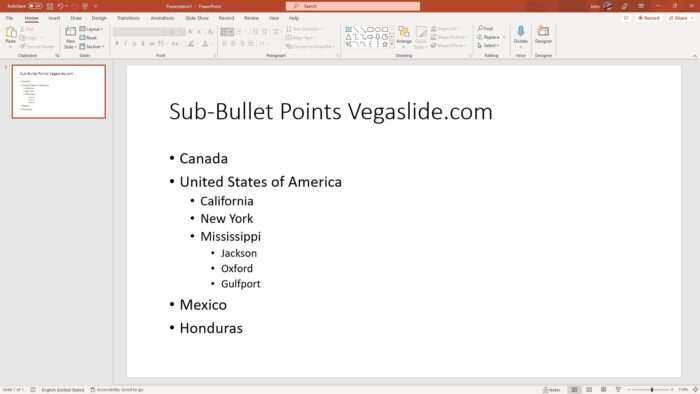
First, create a list of bullet points. Then, on a line where you want to add sub-bullet points, hit the Tab key on the keyboard. The line will be indented to serve as a sub-bullet point. Alternatively, you can also click the Increase List Level button on the Home menu.
You may add as many indentations as you want but each step will reduce the text size. So, there is a visual limit on how many times you can add until the text is becoming too small to read. Just keep that in mind when adding a sub-bullet point.
How to decrease the list level in PowerPoint

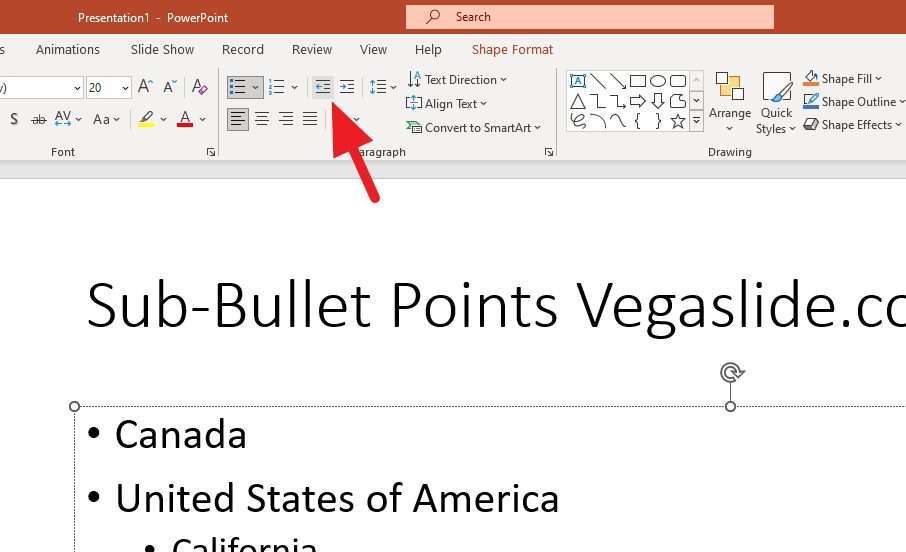
If you want to add another point that is not part of the previous sub-bullet point, you can press the Shift+Tab keys on the keyboard. This is basically going from the sub-bullet to the main bullet. The same function is also available under the Home menu, labeled as Decrease List Level.
FAQ about sub-bullet points in PowerPoint
How do I make sub-bullets appear one at a time in PowerPoint?

To make sub-bullets appear one at a time in PowerPoint animation, first, select the text box containing the sub-bullets. Then, click on the Animations tab and choose the animation effect you want to use. Next, open the Animation Pane, right-click on animation, and select Effect Options. Under the Text Animation tab menu, select By 5th Level of Paragraphs, and hit OK.
This will ensure that each sub-bullet appears one at a time as you advance through the slide. You can also adjust the timing of the animation by clicking on the Timing tab and setting the duration or delay. Finally, test the animation by previewing the slide show.
How do I create a nested list in PowerPoint?
Creating a nested list in PowerPoint is a simple process. First, create your main bullet points and then press the “Tab” key to indent a sub-level bullet point. Repeat this process for any additional sub-levels. You can also use the “Increase List Level” and “Decrease List Level” buttons on the Home tab to adjust the levels of your list.
How do I reduce the level of a list in PowerPoint?
To reduce the level of a list, go to the Home tab, and then click the Decrease List Level Button. You may also use the keyboard shortcut Shift+Tab. This can be performed several times until you reaches the main list.


