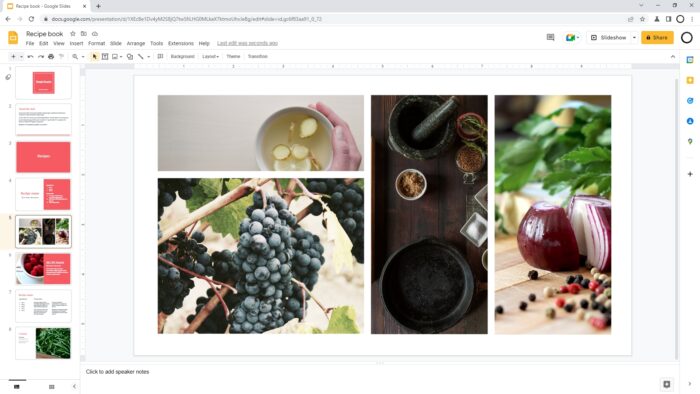
Creating a beautiful presentation should give you no hassle. One way to maximize your beauty is by utilizing image masking features on Google Slides. You can simply change the shape of the embedded photo to give you a pretty little touch or even deliver a better layout for your presentation.
Google Slides is a very versatile presentation software (free for all!) and yet very simple to use. Here are the steps to create delightful slides with the magic of image masking:
1. Open slides.google.com and start a new presentation or you can modify your recent presentations. In this tutorial we’re using a basic template from Google Slides itself.

2. Prepare your image. It could be your own or download from reliable sources such as Unsplash or Pexels. The bigger the pixel, the better to avoid pixelated images.

3. The good thing about Google Slides is you can directly copy and paste the image without downloading first. Try to paste the image.
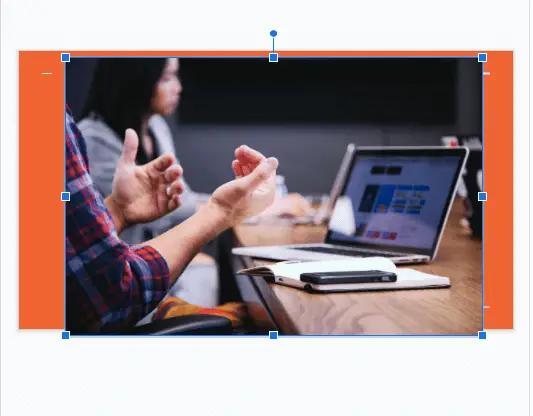
4. Depending on the purpose, there are various ways to get creative with the image masking! On this step we will learn how to put it as a sidebar image. Drag the image to the left side.
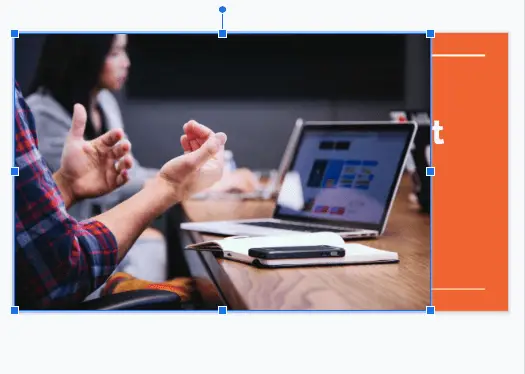
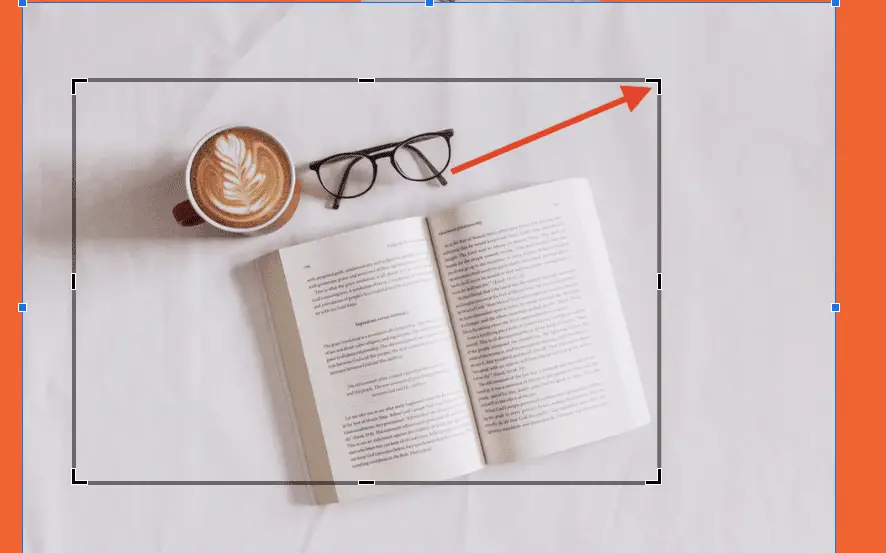
5. Worry not about the size! We are about to crop, adjust, and mask. Right-click on the image and click CROP IMAGE.
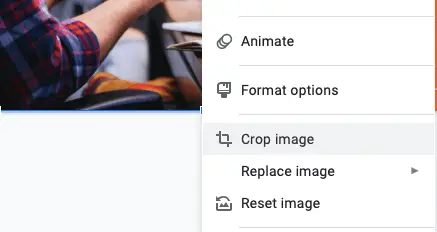
6. Now drag the black bar on the right side and pull it over to the left. You could see how it looks on your slide by the preview on the side menu.

7. Suits your taste? Press enter and now you have a beautiful side image to spice up the slide.

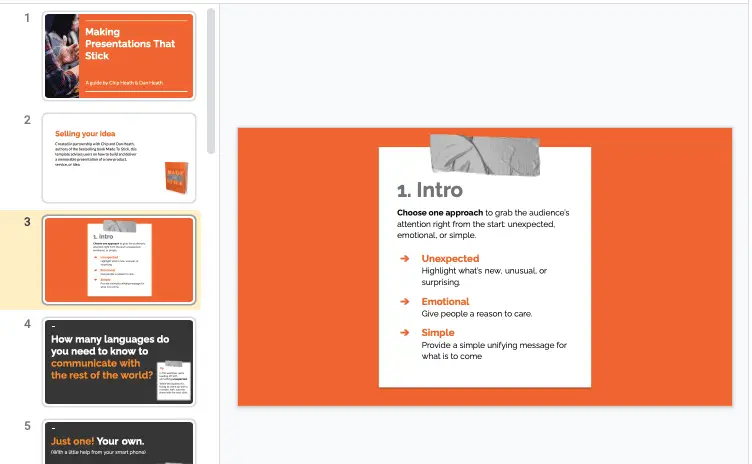
8. The next step we will learn how to put the image to decorate by image masking following a certain shape. Click another slide. Repeat the step 2 and 3 to paste a fanciful image that relates to the slide.
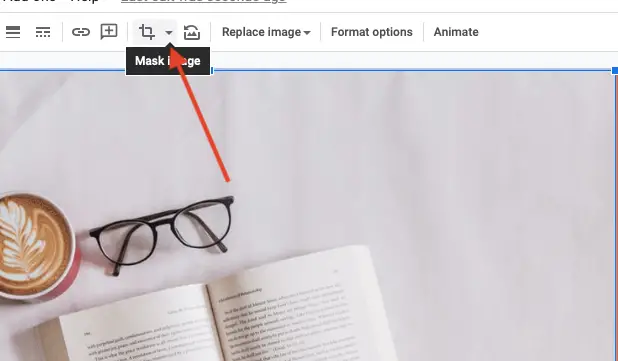
9. Click the image, and click the expand button next to the crop. It will show Mask Image.
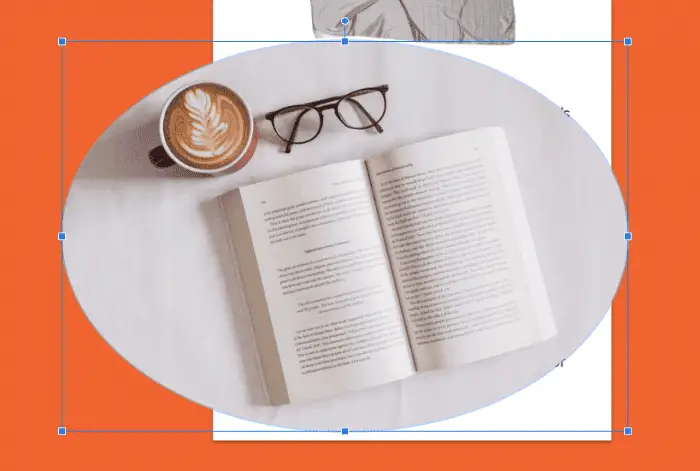
10. Click the shape to your liking. In this tutorial we will try oval shape.
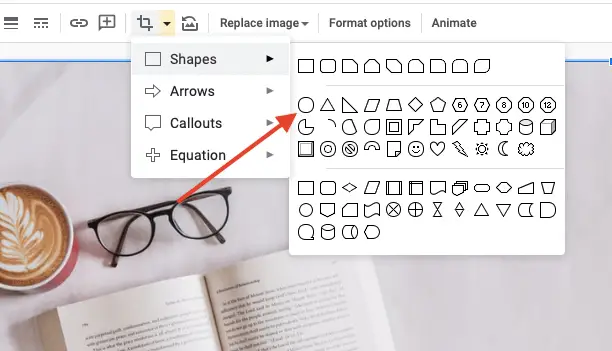
11. There you go! The image is now oval shaped!
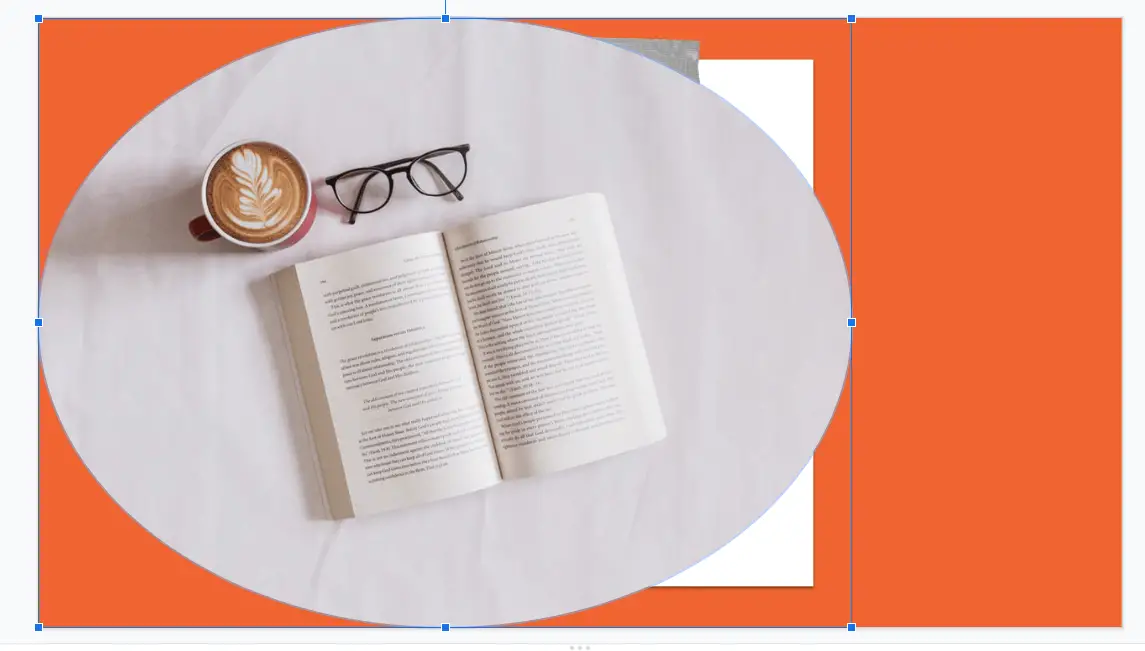
12. You can also adjust which part should be cropped and the size of the oval as well.
You can put the image wherever you think is best. You can also use this trick to add photos of the members of a group and many more. Good luck!
