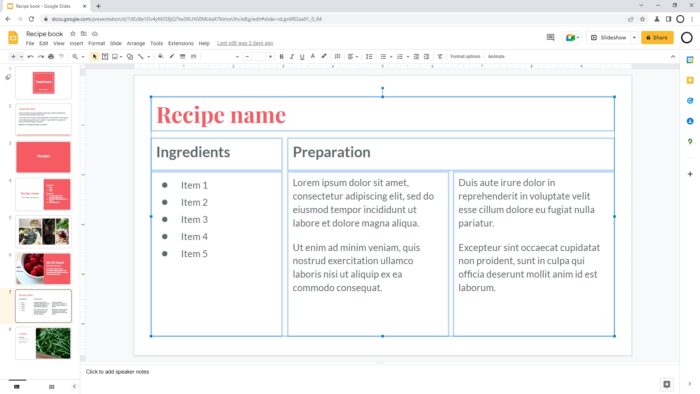
Like any other tool, Google Slides may need a bit of learning to understand its basic features and functions. One that presenters use the most is a text box. We can add as many text boxes as we want, but what if they are no longer needed?
Technically, you could just delete the text and it would appear empty. However, this technique won’t actually remove the frame of the text box. This will only make the slide unnecessarily messy and further editing to be irritating.
Therefore, you have to remove the text box in its entirety, including the text and the frame (the box itself). Here’s how to do it.
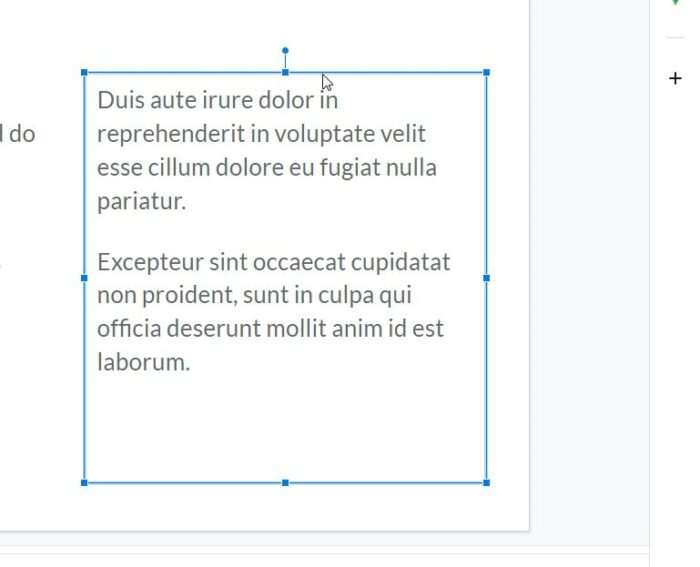
1. Place the cursor on the text box you want to remove.
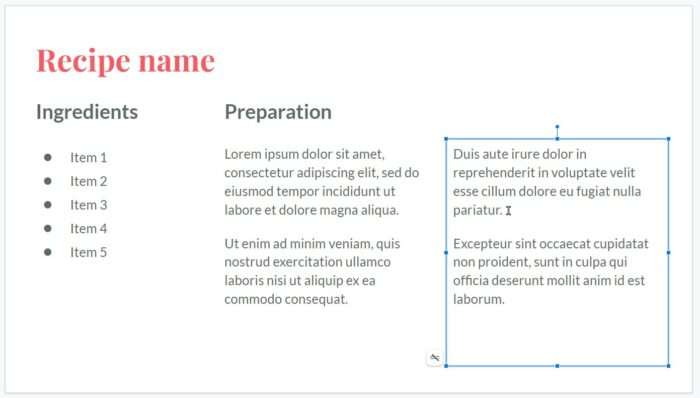
2. Then, click the border of the box. This is very important for the next step.
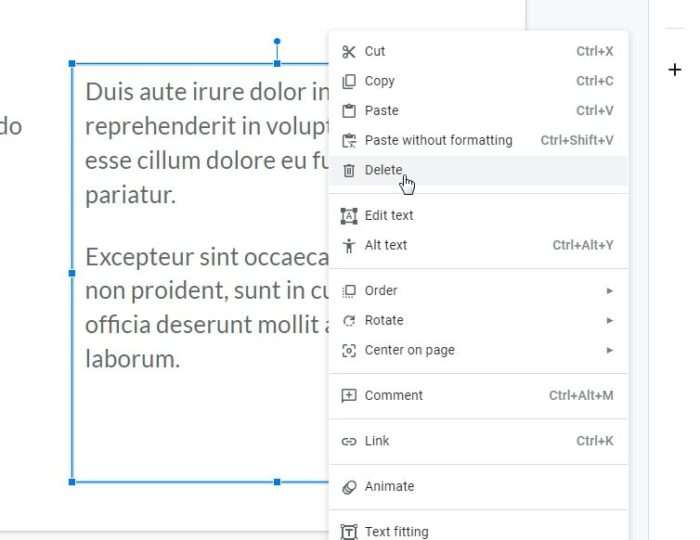
3. Next, right-click on the line and select Delete.
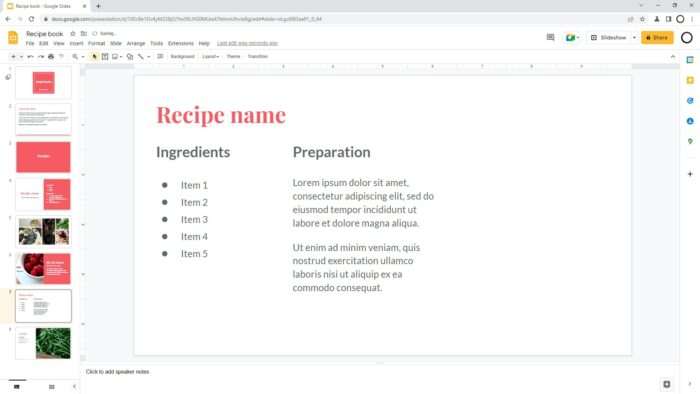
4. Now the text box is removed.
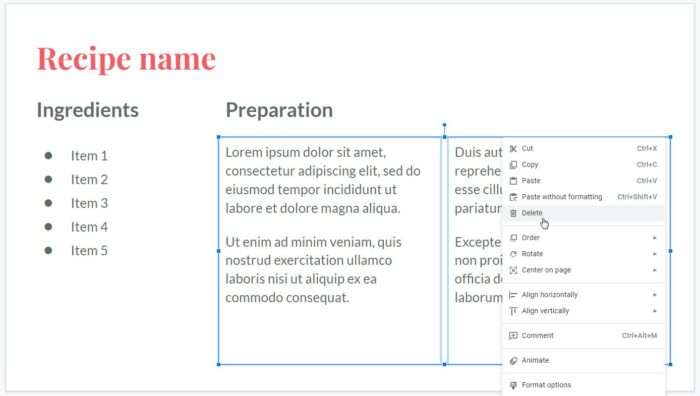
5. To select multiple boxes, you can use Ctrl+Left Click on each box to select them. Then, right-click on any box and hit Delete (or press the Delete key on the keyboard).
6. By the way, the same process can also be applied to other types of content like images, videos, shapes, charts, tables, and diagrams.

And that’s how you delete a text box or multiple text boxes in Google Slides. As a side note, grouped text boxes would still be deleted individually. Just keep that in mind when dealing with grouped content.
