The process of double exposure involves layering two different exposures or photographs on top of one another. A portion of both photos can be seen since the image overlay is not entirely opaque, creating an image that resembles a ghost. Multiple or double exposures for digital photography can be made in-camera or with editing tools like Photoshop.
PowerPoint does not have the same graphical capabilities as Photoshop. But there are a few tricks we can use to create double exposure effects. Let’s take a look.
How to create a duotone double exposure effect
1. In a new slide, go to Insert, select Pictures, and This Device.
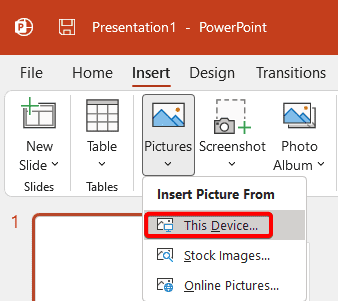
2. Select two images with a transparent background. We won’t be talking about how to create these images. To remove the background you can use services like remove.bg.

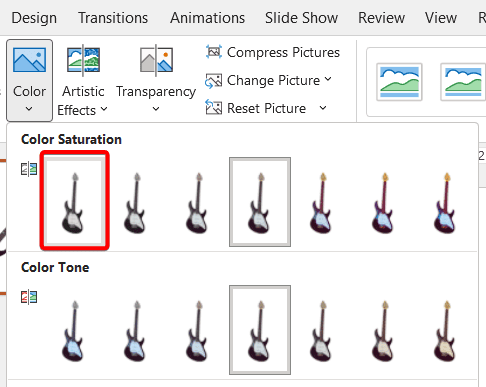
3. Select one of the images, in Picture Format select Color, Saturation 0%.
4. In Corrections, select Brightness 0% and Contrast +40%.
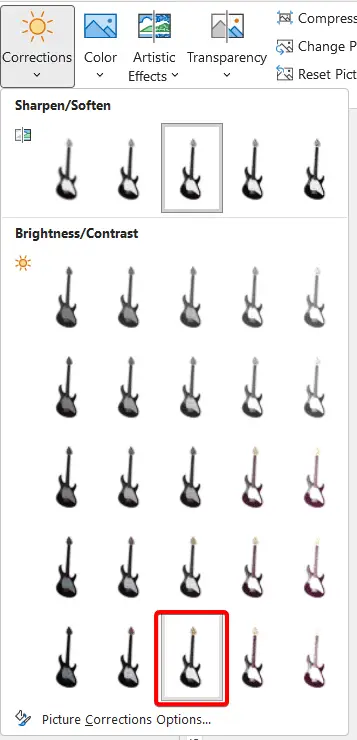
5. Repeat steps 3&4 for the second image.
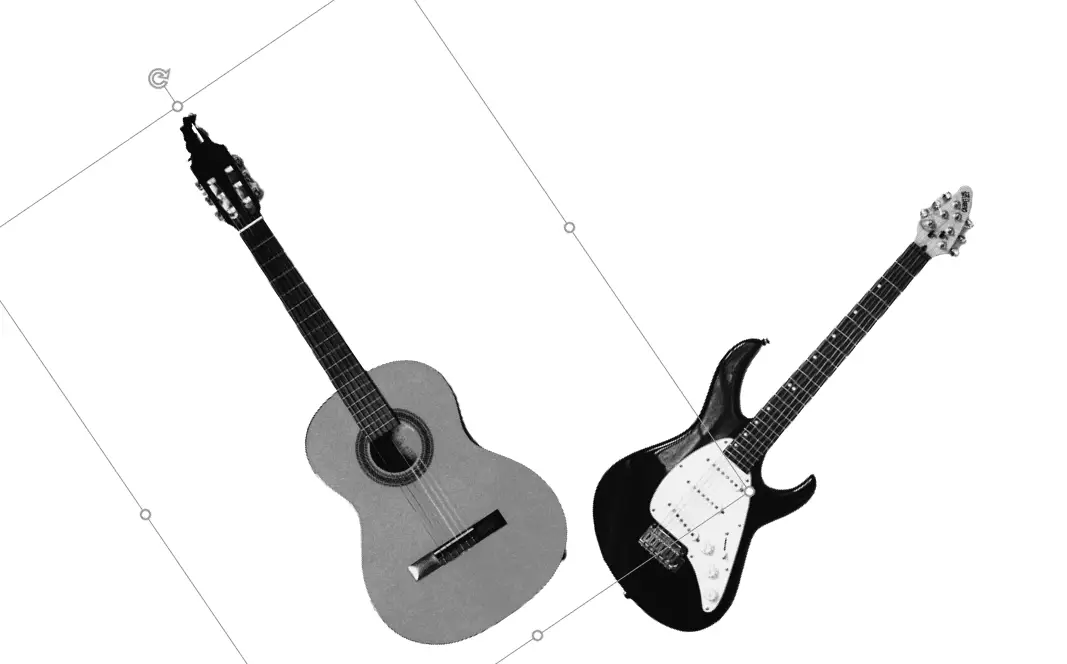
6. Now do steps 6&7 for each image. Right-click, and select Cut.
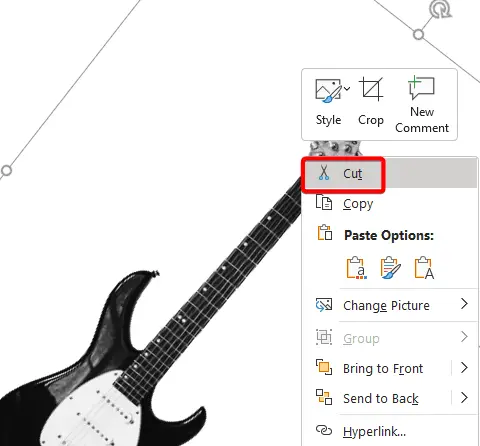
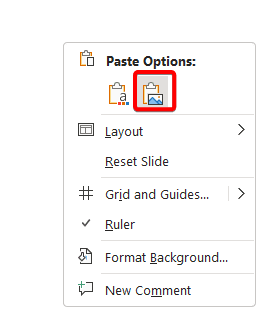
7. And paste it again as a picture. Now they will be treated completely as grayscale images.
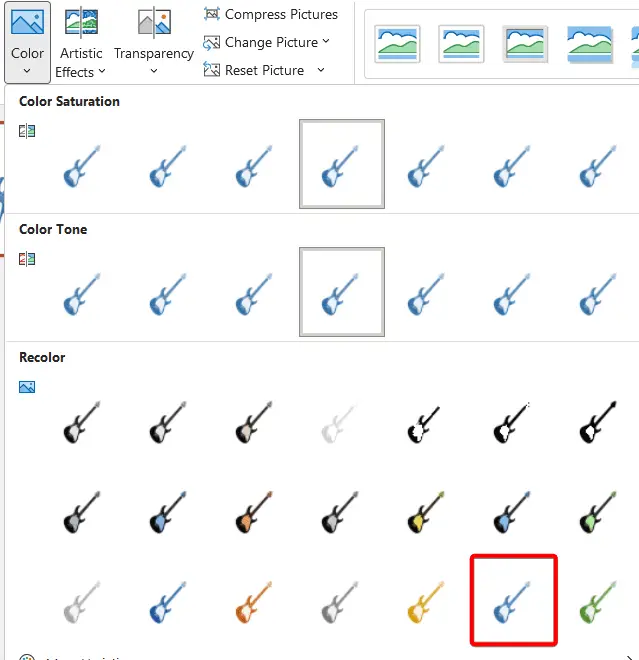
8. Select one of the images, go to Picture Format, Color, and select the color you want, blue for example. Repeat this step for the second image.
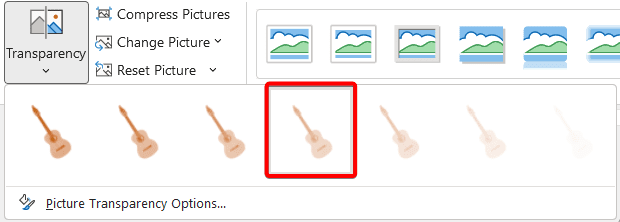
9. Then go to Transparency and add the amount of transparency you want to each image.
10. There, you have a duotone effect double exposure.

How to create freehand double exposure effect
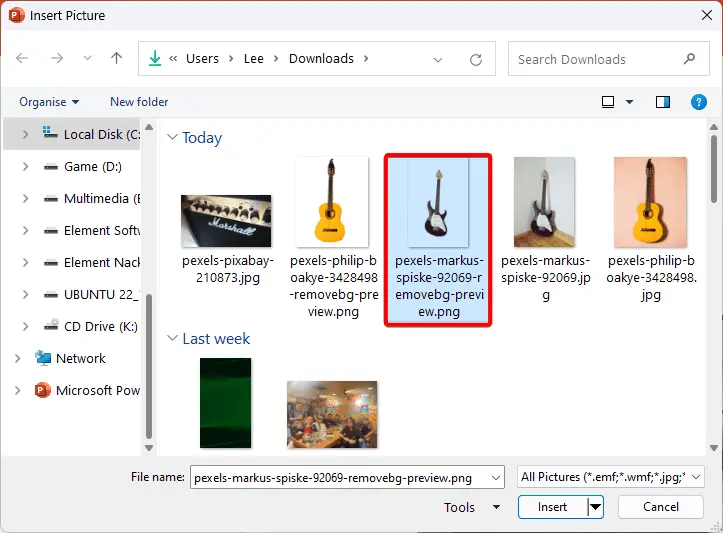
1. In a new slide, insert an image with transparent background.
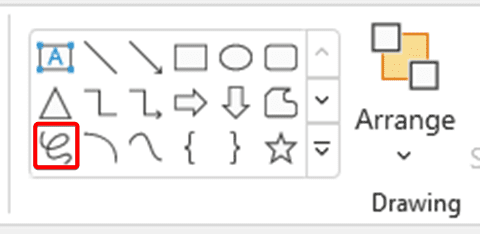
2. Then go to Home and select Freeform: Scribble tool.
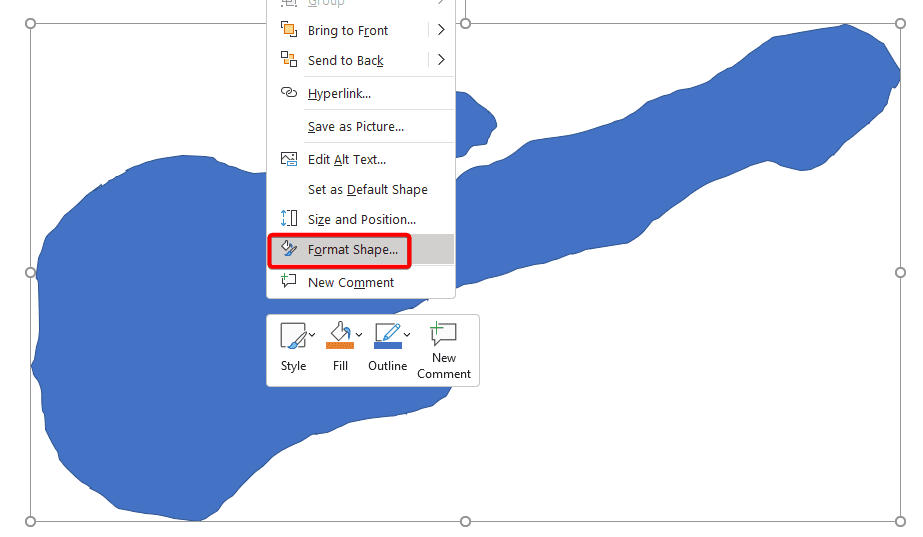
3. Start drawing and leave a little space between the freehand drawing and the image.

4. Right-click on the shape, and select Format shape.
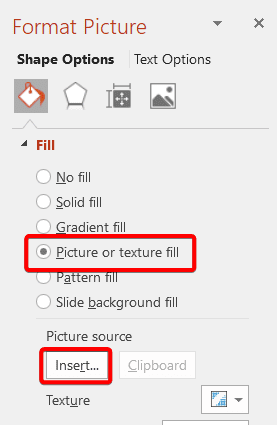
5. In Shape Options, select Picture or Texture fill, and click Insert.
6. Select From a File, and select an image.
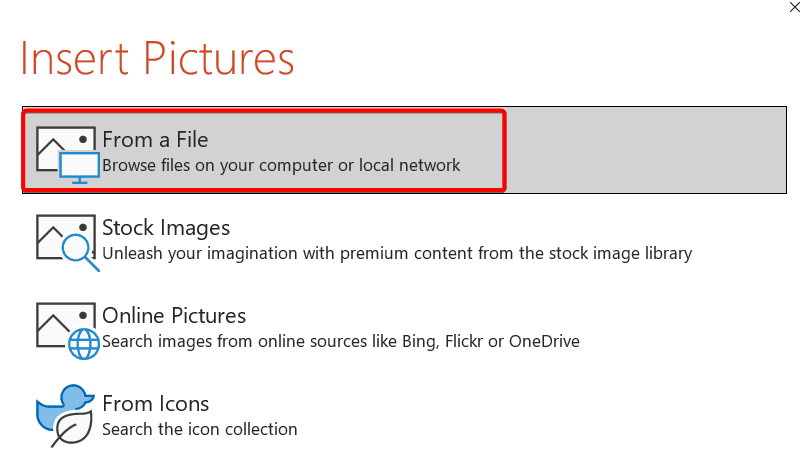
7. Go to Picture Format, and Crop.

8. Adjust the shape of the picture within the shape to fill the slide.
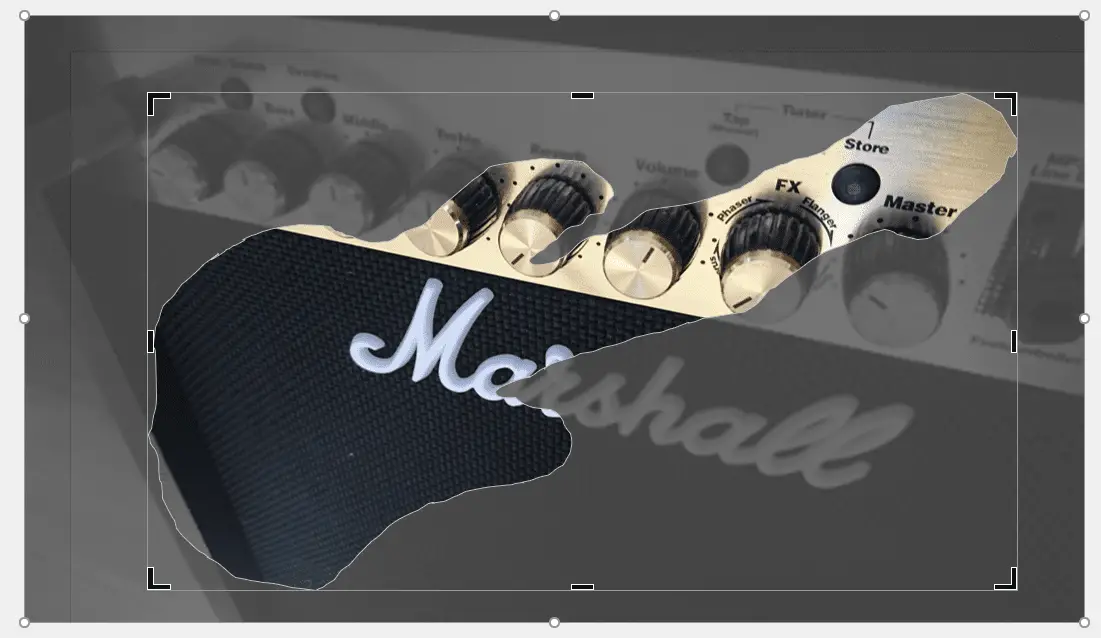
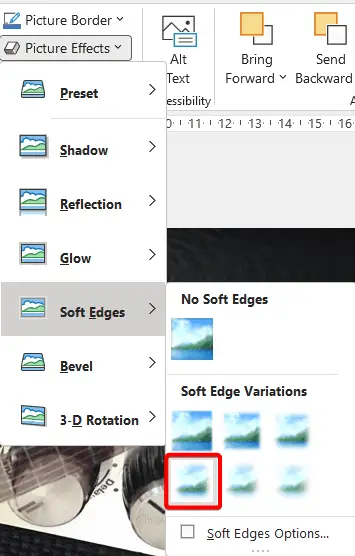
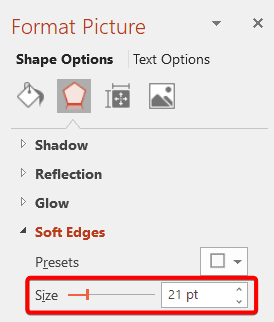
9. Click on the shape, go to Picture Effects, Soft edges, and give it a 10-point soft edge. You can increase this edge later if necessary.
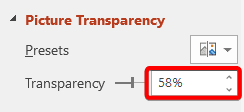
10. Then go to the Picture Transparency Option.

11. Increase it so that the background image is visible.
12. If you think the edges are still there, go to the Effect tab and keep increasing the edges until they match the background image.
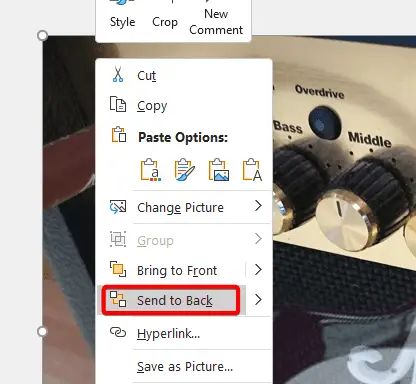
13. Now insert that background image again, and Send to back.
14. Adjust the position and this is the result.
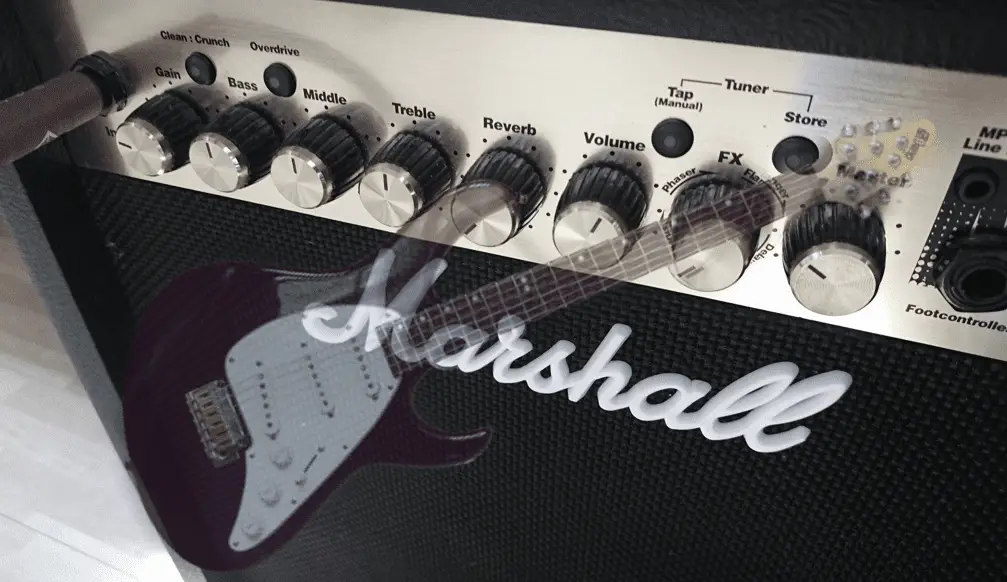
Depending on the type of image you’re using, you may want to increase or decrease the transparency. There’s no single setting or rule as to what transparency should be. It depends on what image you use and what are the colors inside the image.


