When you crop an image to remove a background that is distracting, your viewers will be able to concentrate on the subject matter more easily. Microsoft PowerPoint comes equipped with a set of fundamental editing tools for images, one of which is a tool that enables you to eliminate an image’s background.
This is certainly game-changing to achieve such a result, image-editing apps like Photoshop and GIMP might be required. But now, a mere presentation program can get it done.
Here’s how.
1. Launch PowerPoint, then go to the Insert menu and select Picture to add a picture to your presentation that contains the background you want to delete.
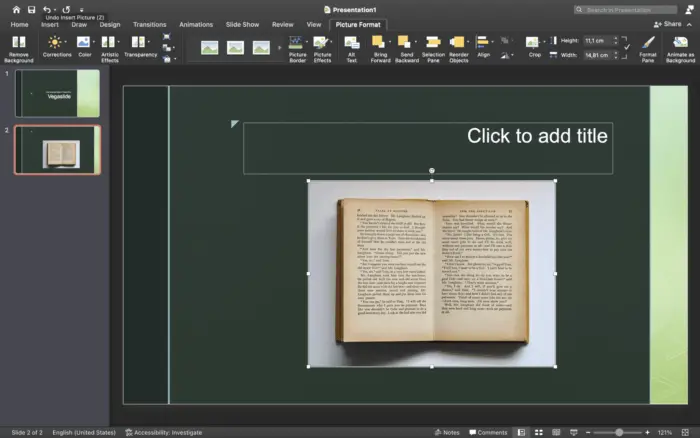
2. Once that, you need to select the “Format” tab that comes up after the image has been imported.

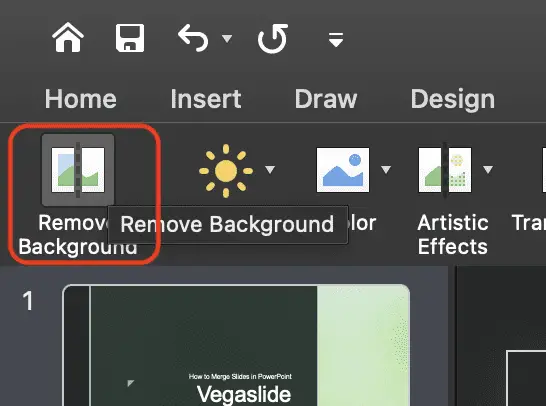
3. Choose the “Remove Background” option that is located in the left corner.
4. As soon as you make your selection, the magenta color will be applied to the image’s backdrop, while the foreground will remain unchanged. The area that needs to be cropped out of the picture is shown by the magenta coloring on that piece of the picture.
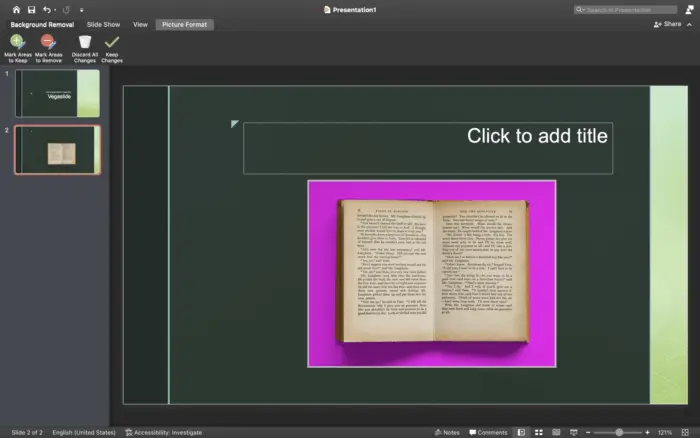
5. We are in luck since we have the ability to manually mark areas of the image that we would like to remove or maintain by selecting “Mark Areas to Remove” or “Mark Areas to Keep”, depending on which option we would prefer.
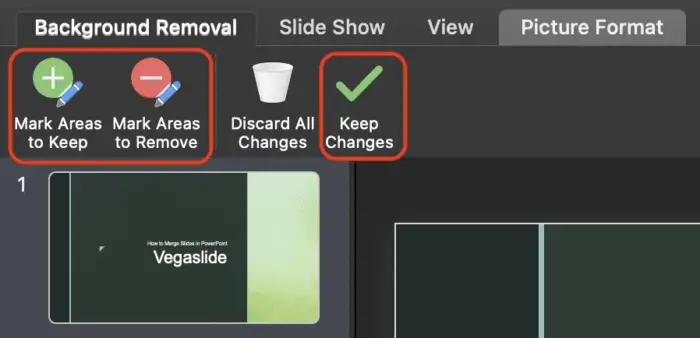
7. In this demonstration, the picture is correct, and immediately click “Keep Changes”.
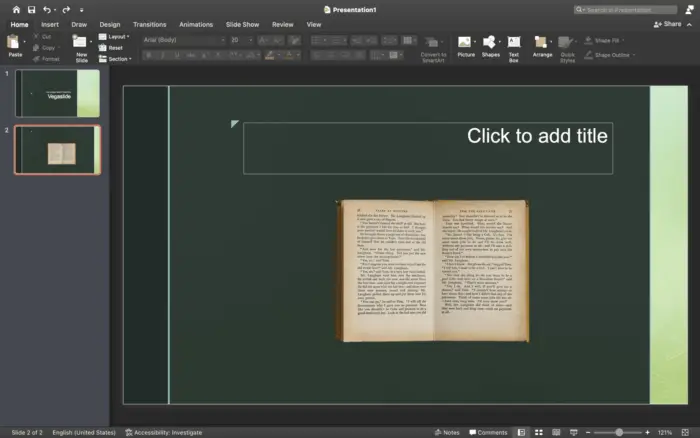
Be sure to save your presentation (File > Save), so you don’t lose your changes.


