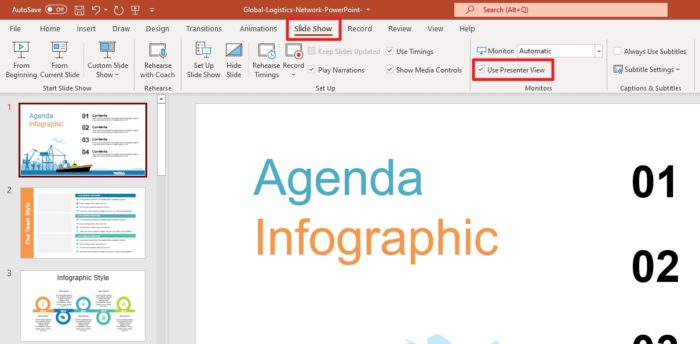
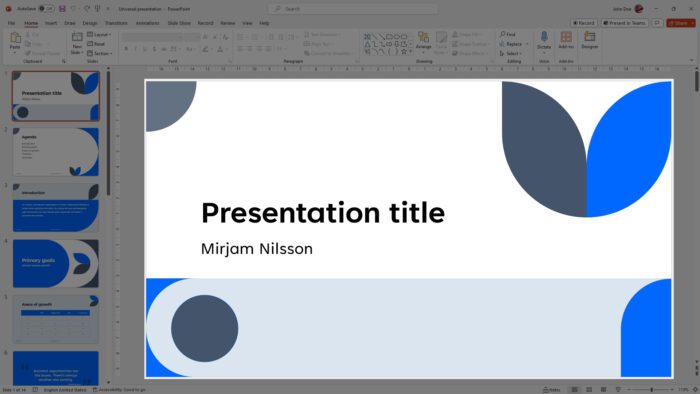
Presenter View is a feature on Microsoft PowerPoint that lets the presenter to control the slides, make quick changes, jump between slides, and highlighting content directly from their laptop while the screen projector keep showing the slide uninterruptedly.
However, Presenter View isn’t enabled by default on most systems. Showing a slideshow will normally duplicate the computer screen to the projector. In this guide, you will learn how to enable Presenter View when presenting on PowerPoint, as well as some of its useful functions you could try.
In the following example I’m using Microsoft Office 365. You may find it a little different from other variations but the guide should be somewhat similar nonetheless.
How to enable Presenter View
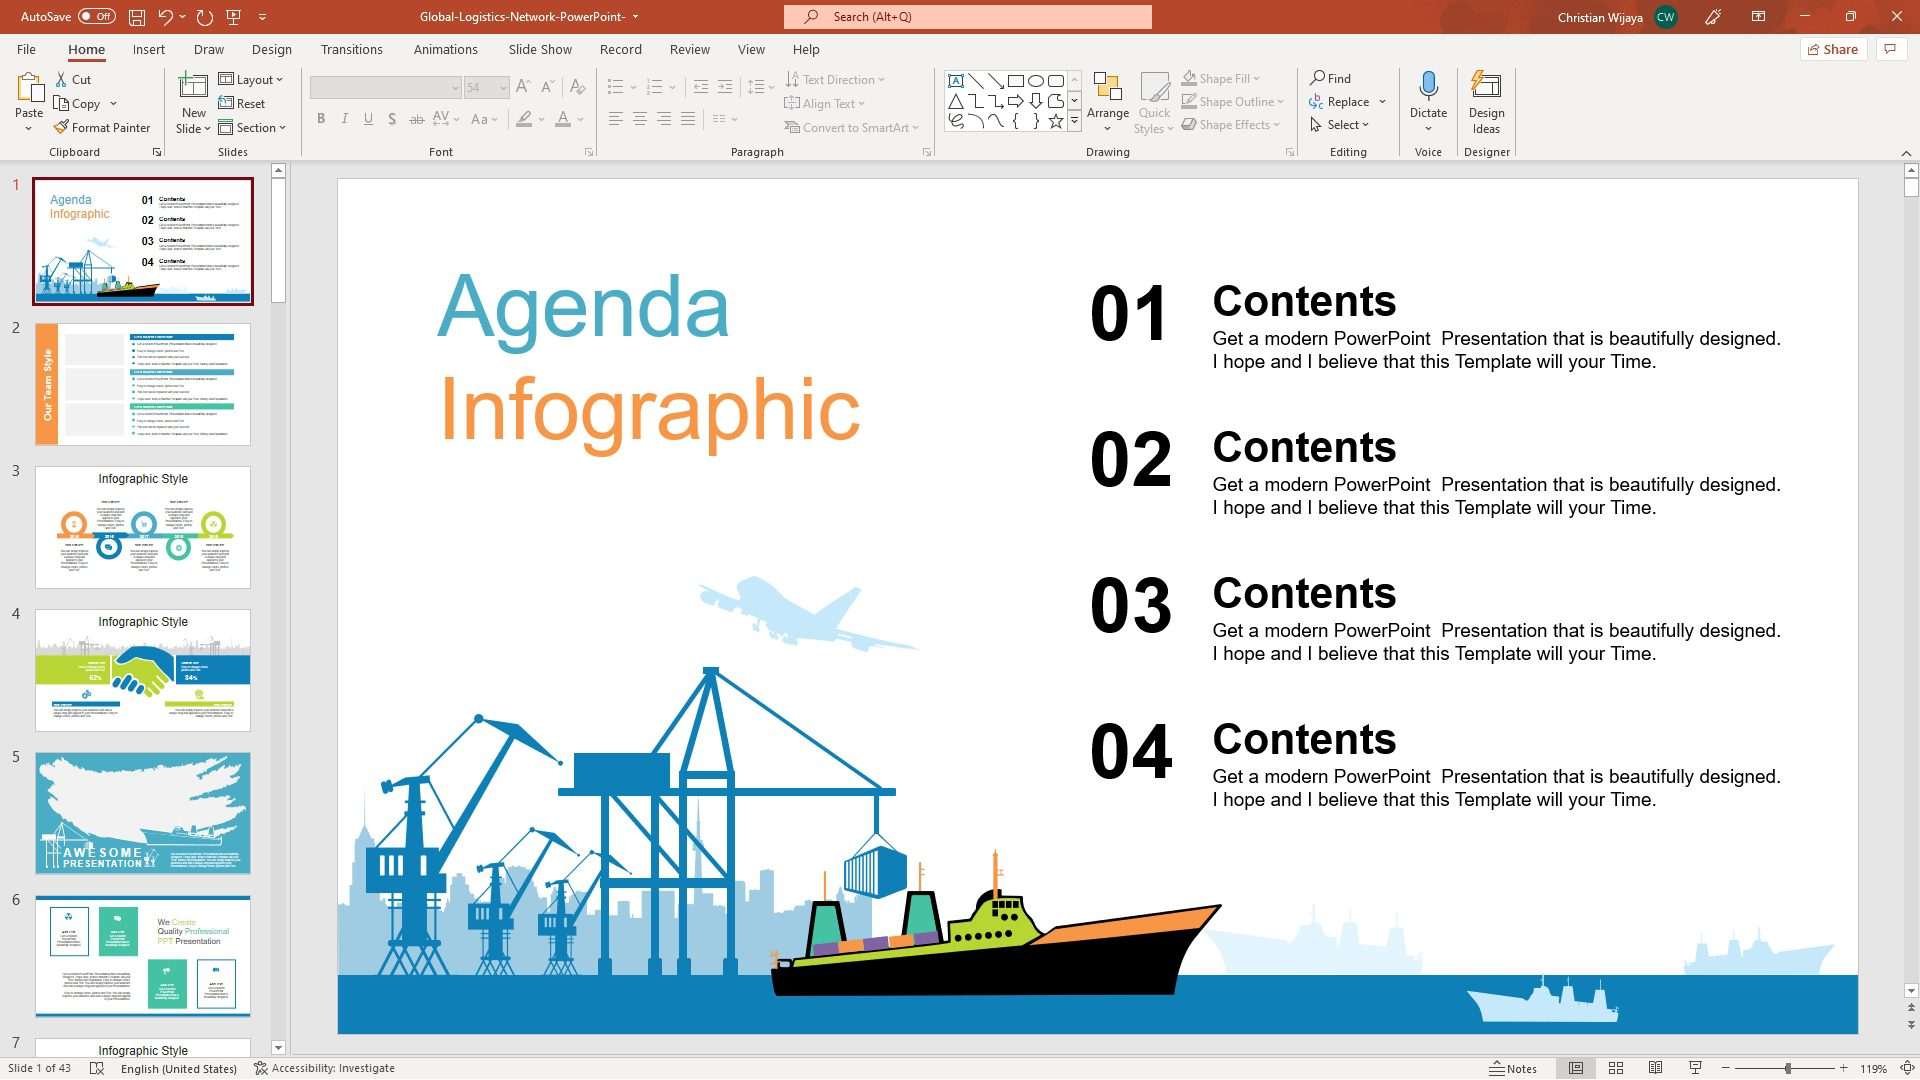
1. First, open a presentation document on PowerPoint.
2. Secondly, go to Slide Show and check Use Presenter View.
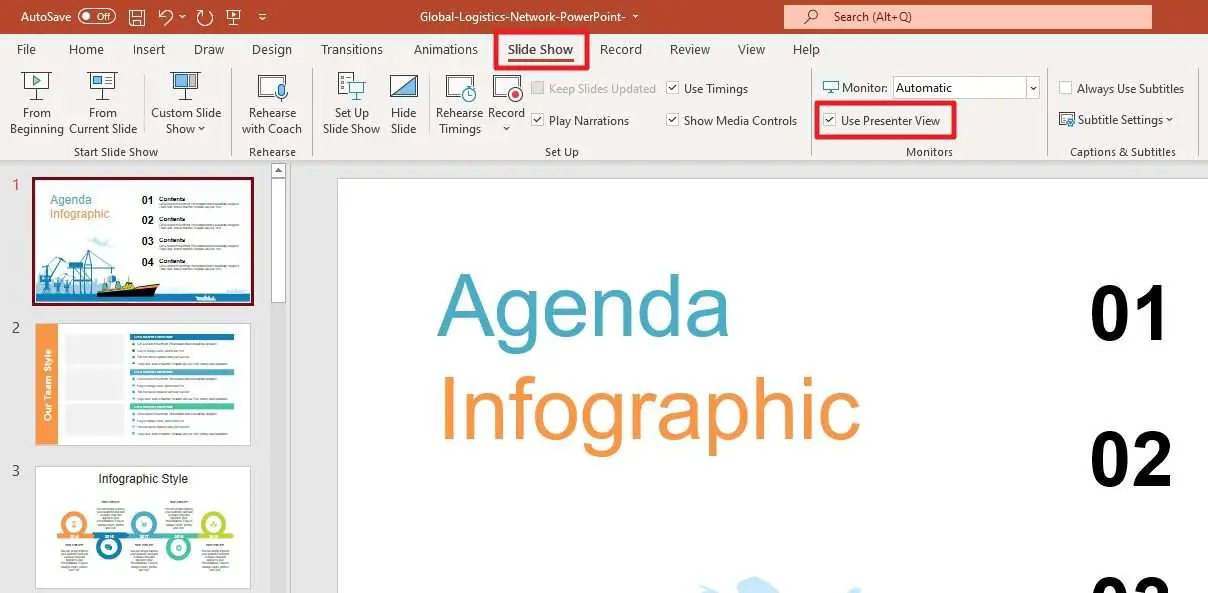
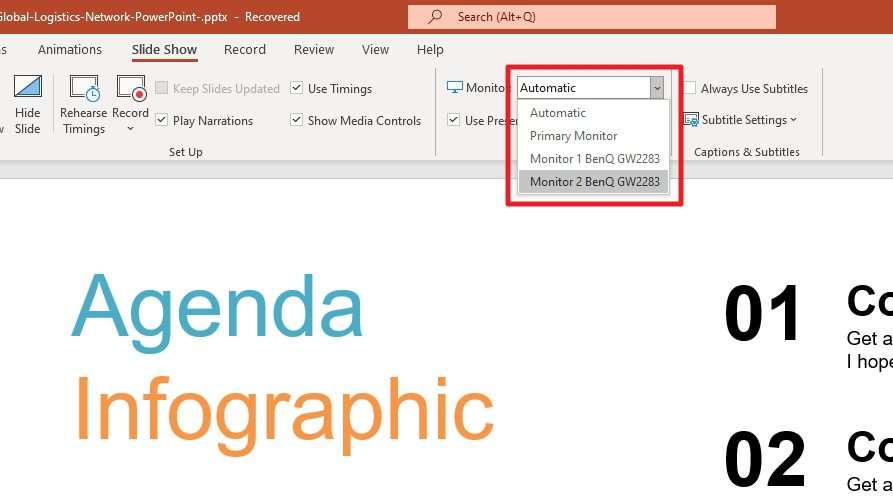
3. Still under Slide Show, select the screen projector as the display output for the slideshow. Make sure they are connected.
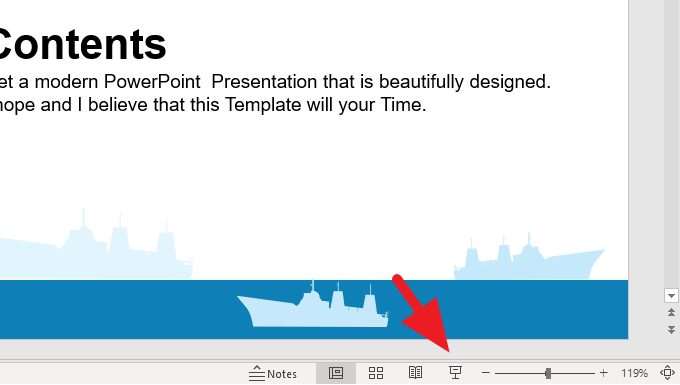
4. Now, try running the slide show (F5).
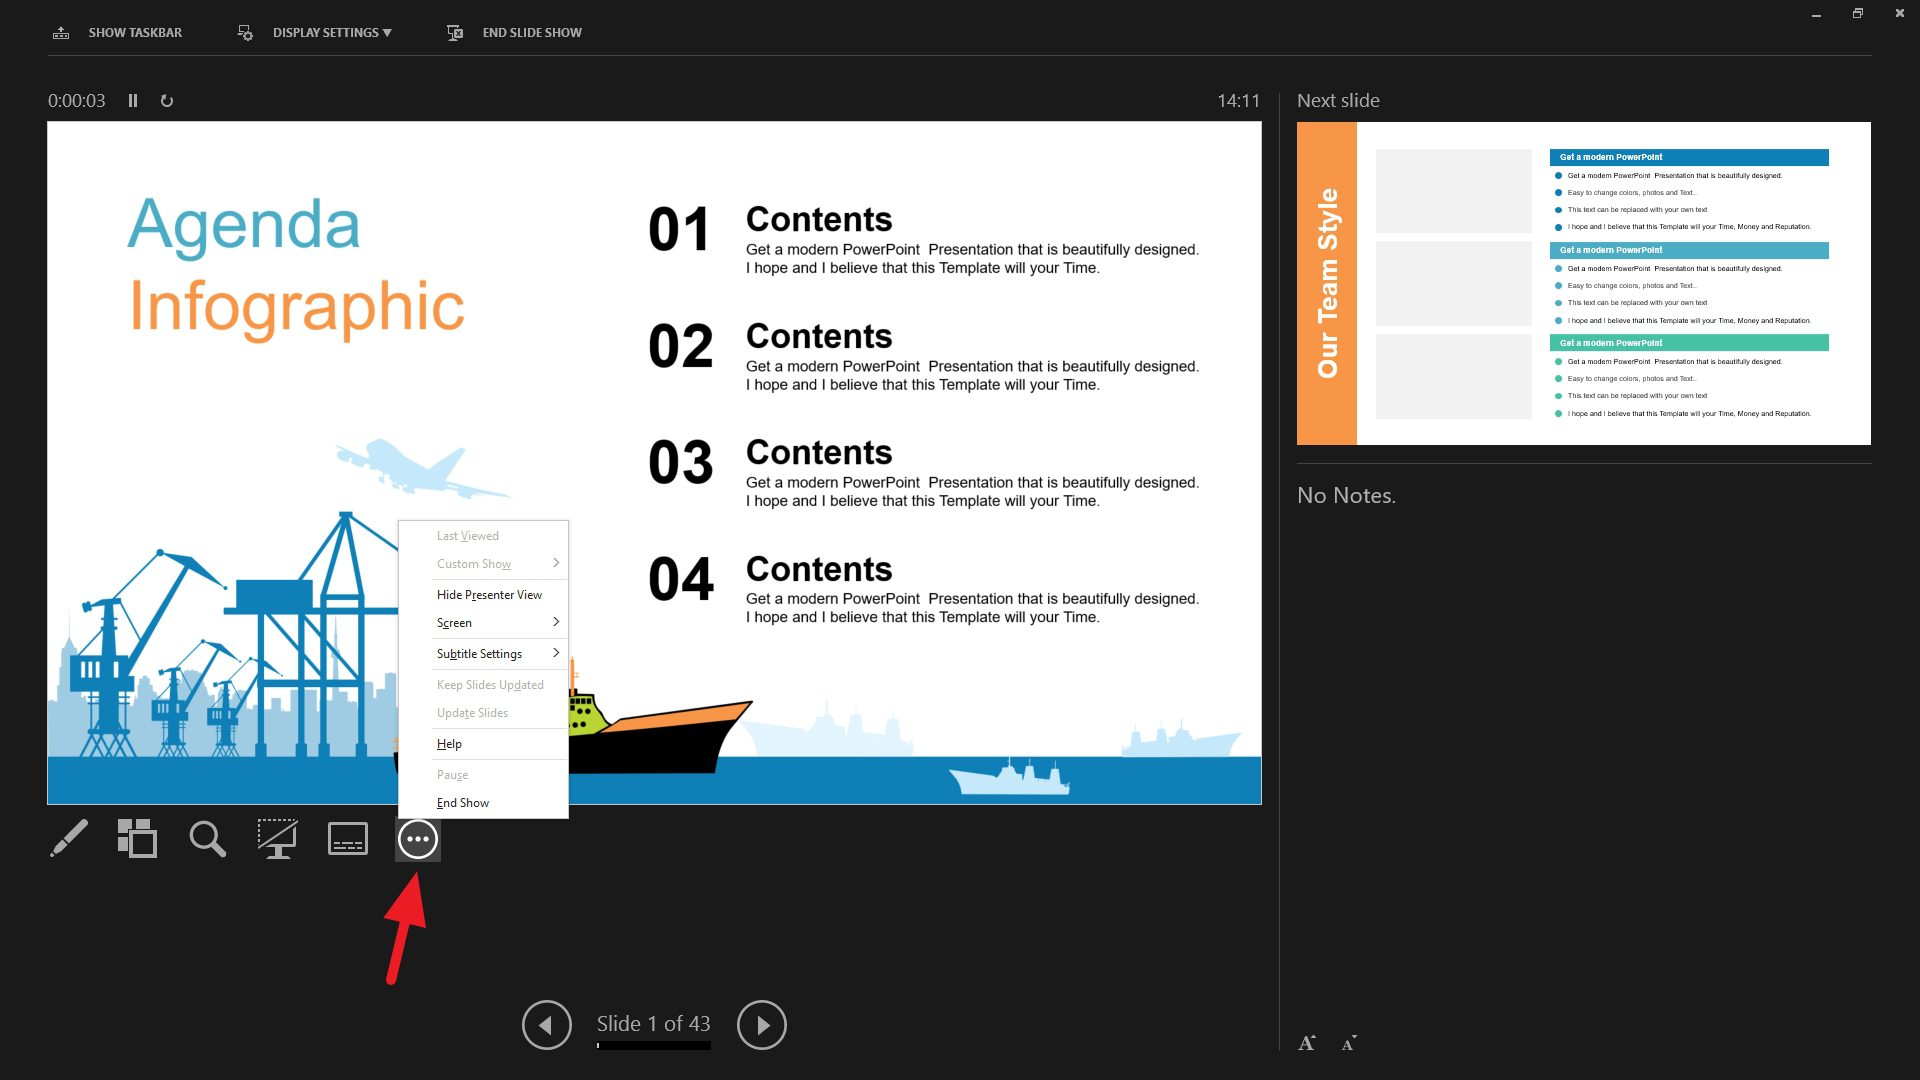
5. You would see this Presenter View window on your computer while the projector showing the presentation.
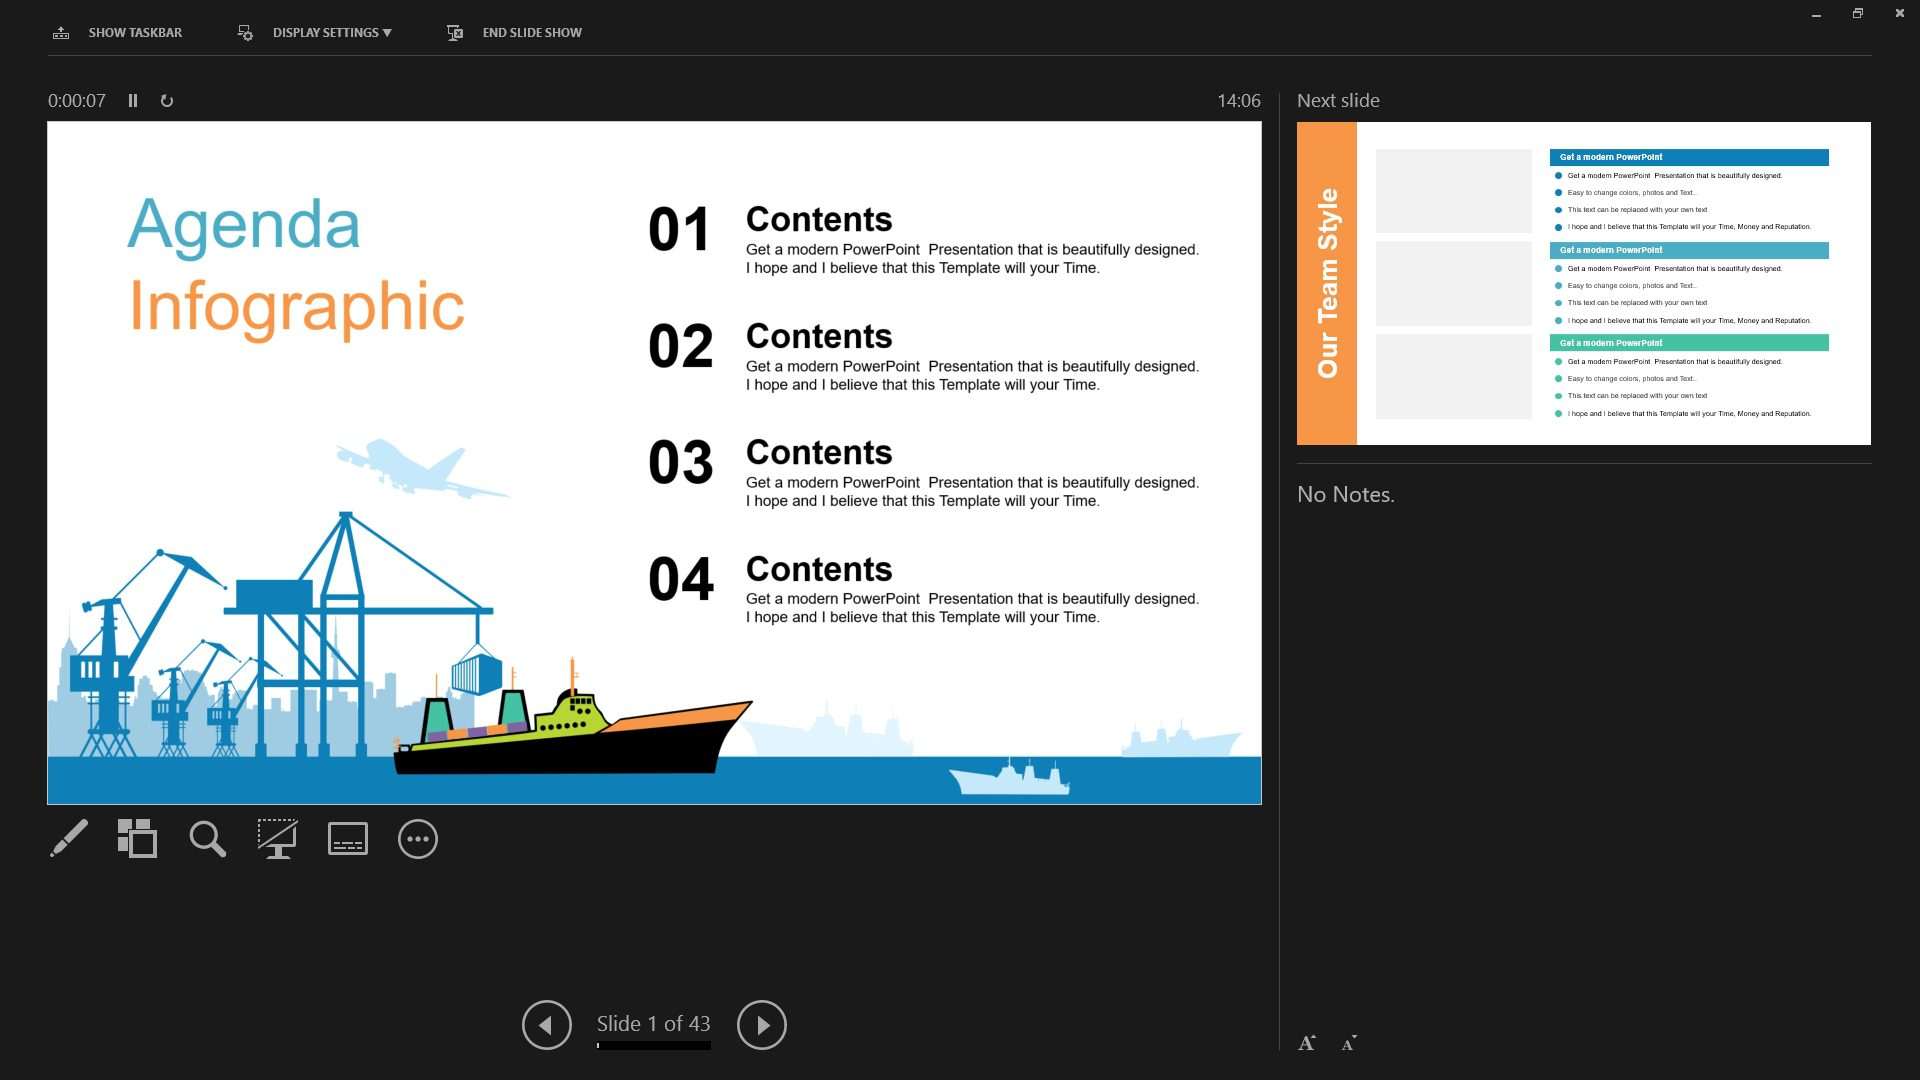
In Presenter View, you can…
1. Draw, highlight, and point something from a slide.
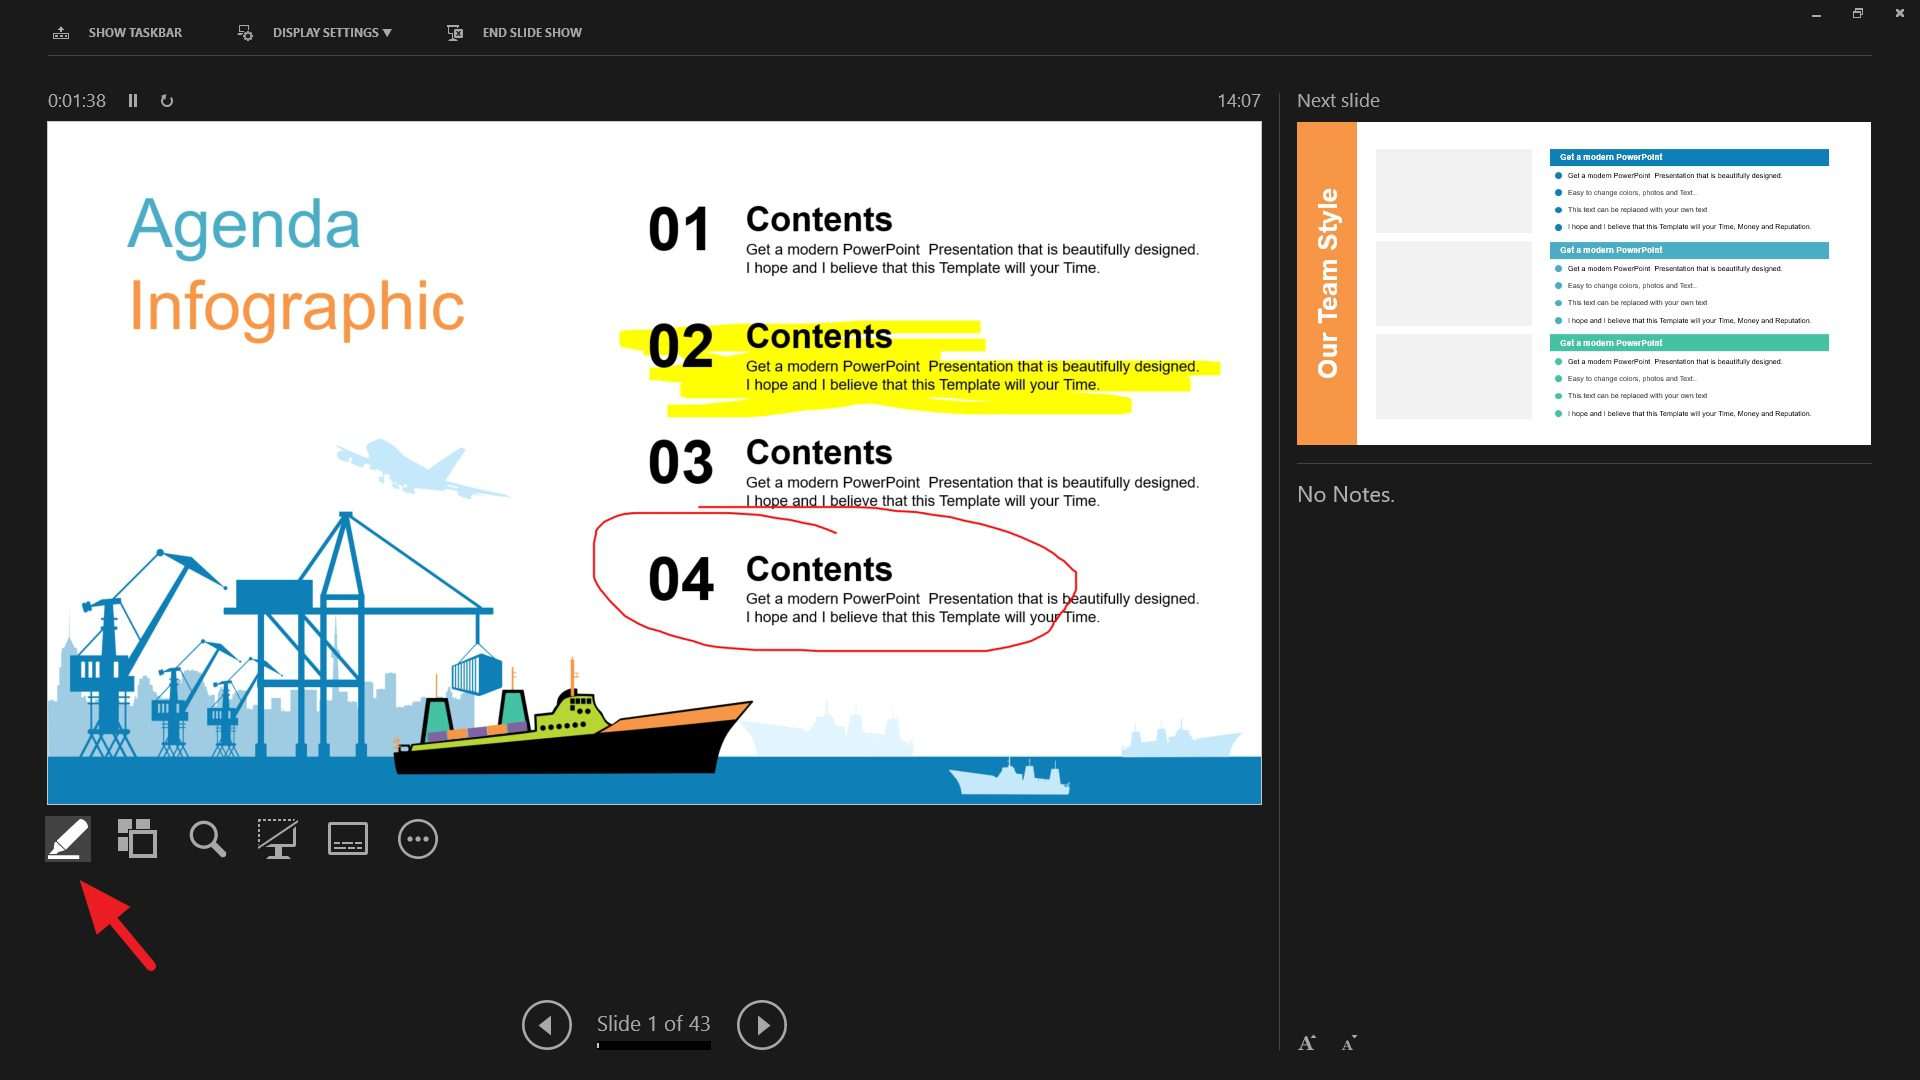
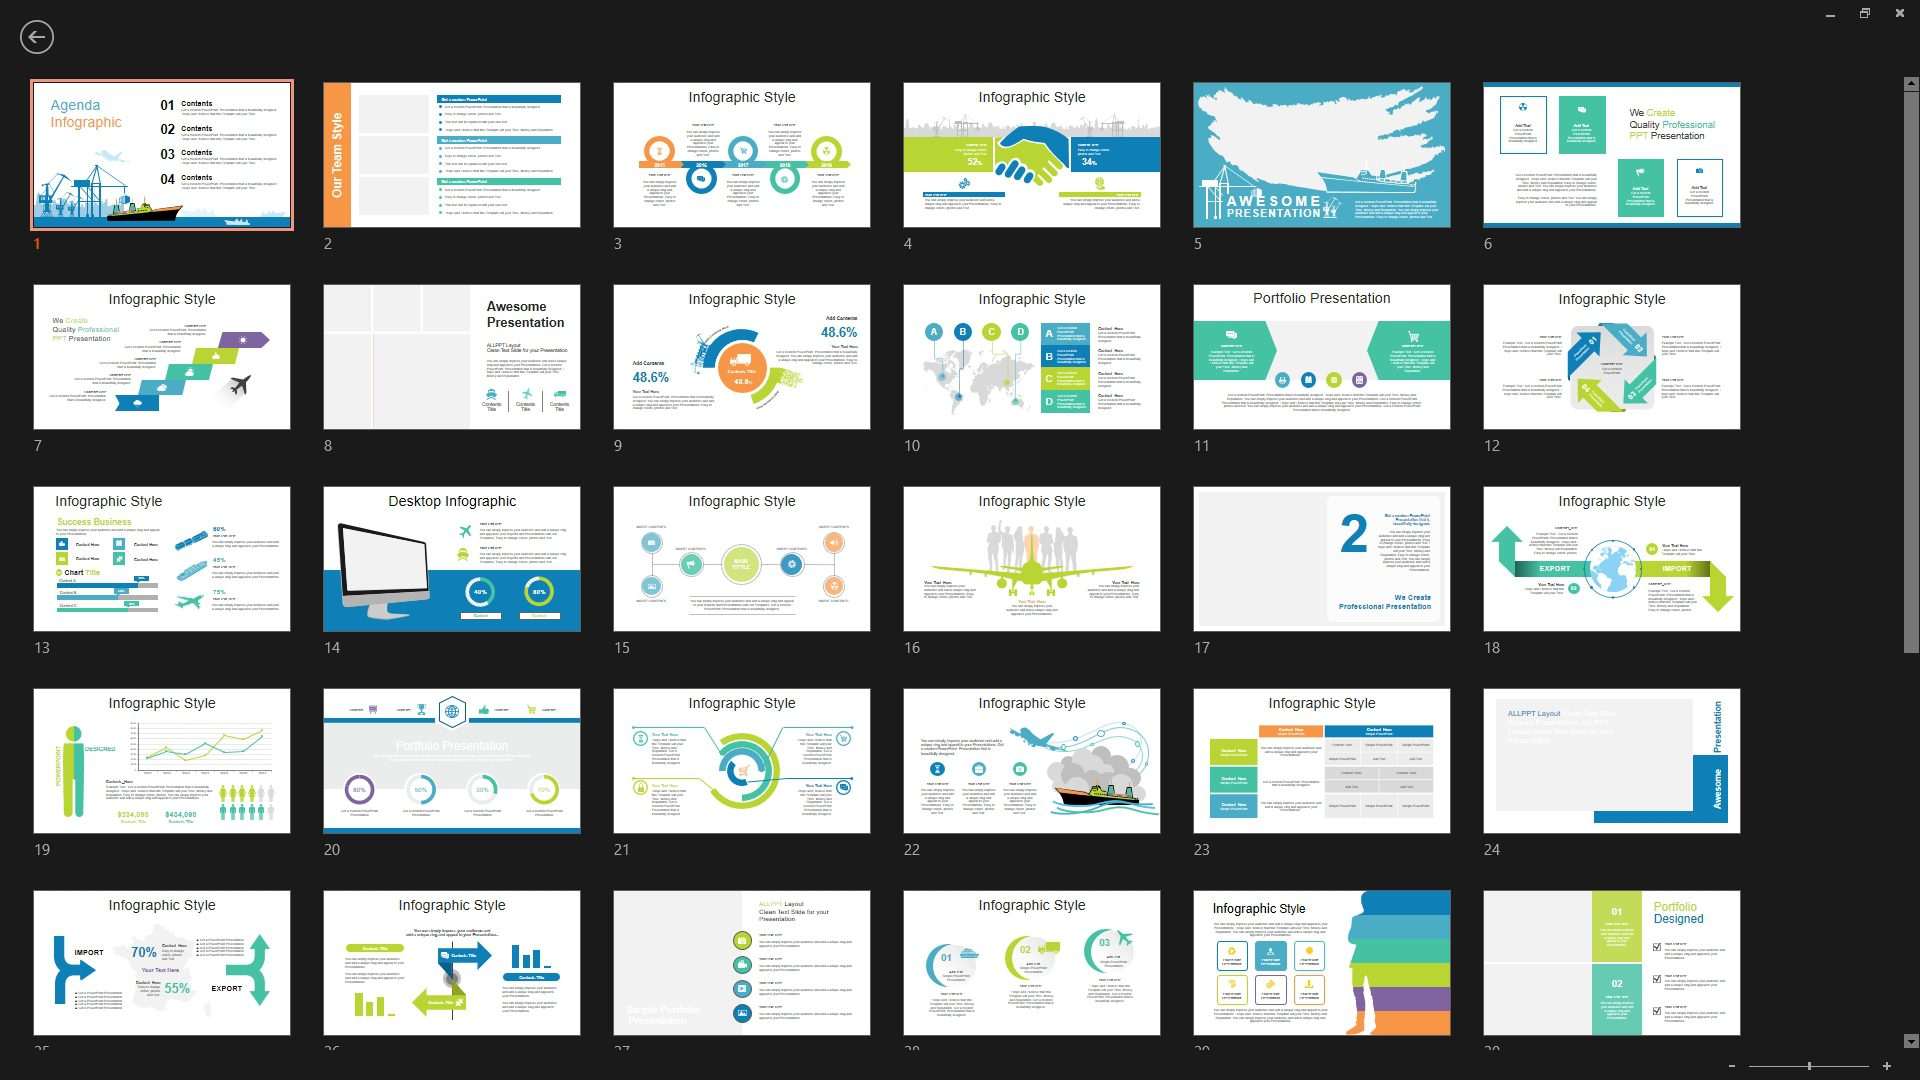
2. See all remaining slides and jump quickly with a click.
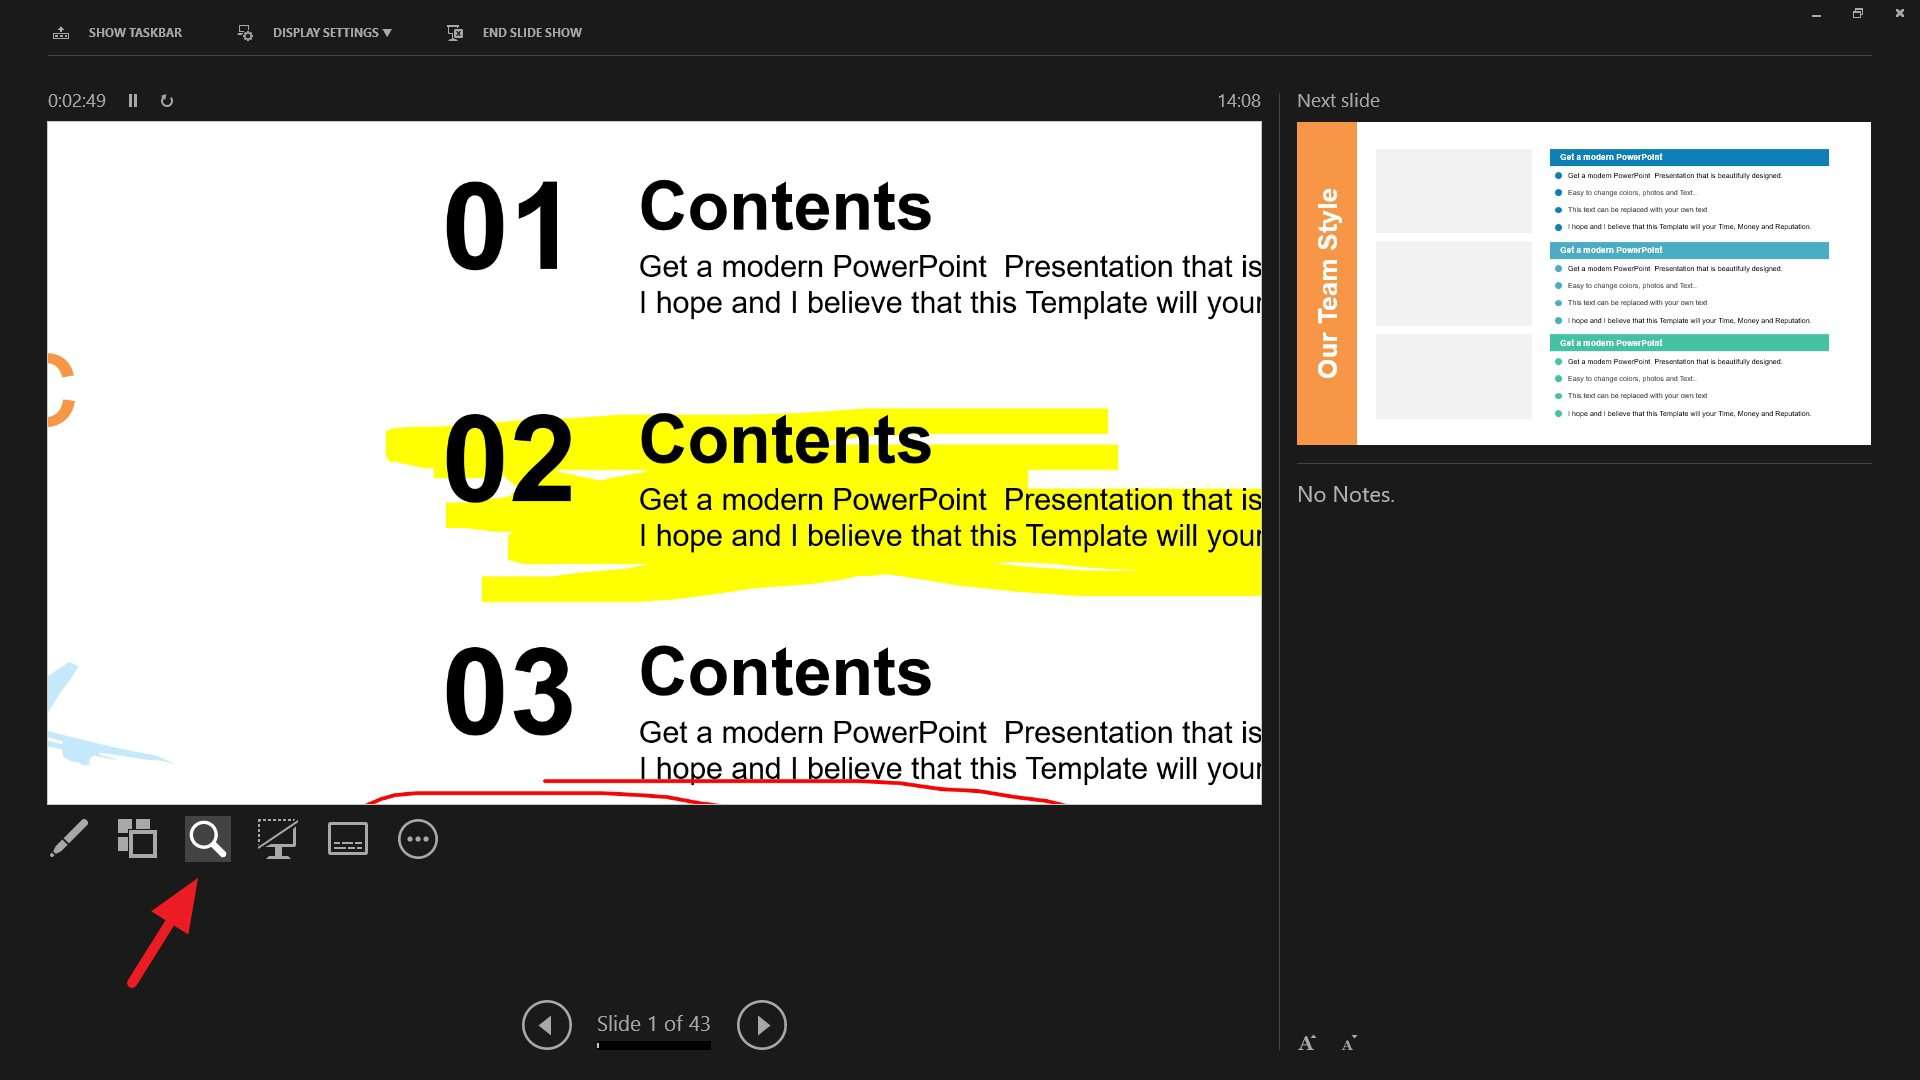
3. Enlarge the slide in case your very far audience can’t see it.
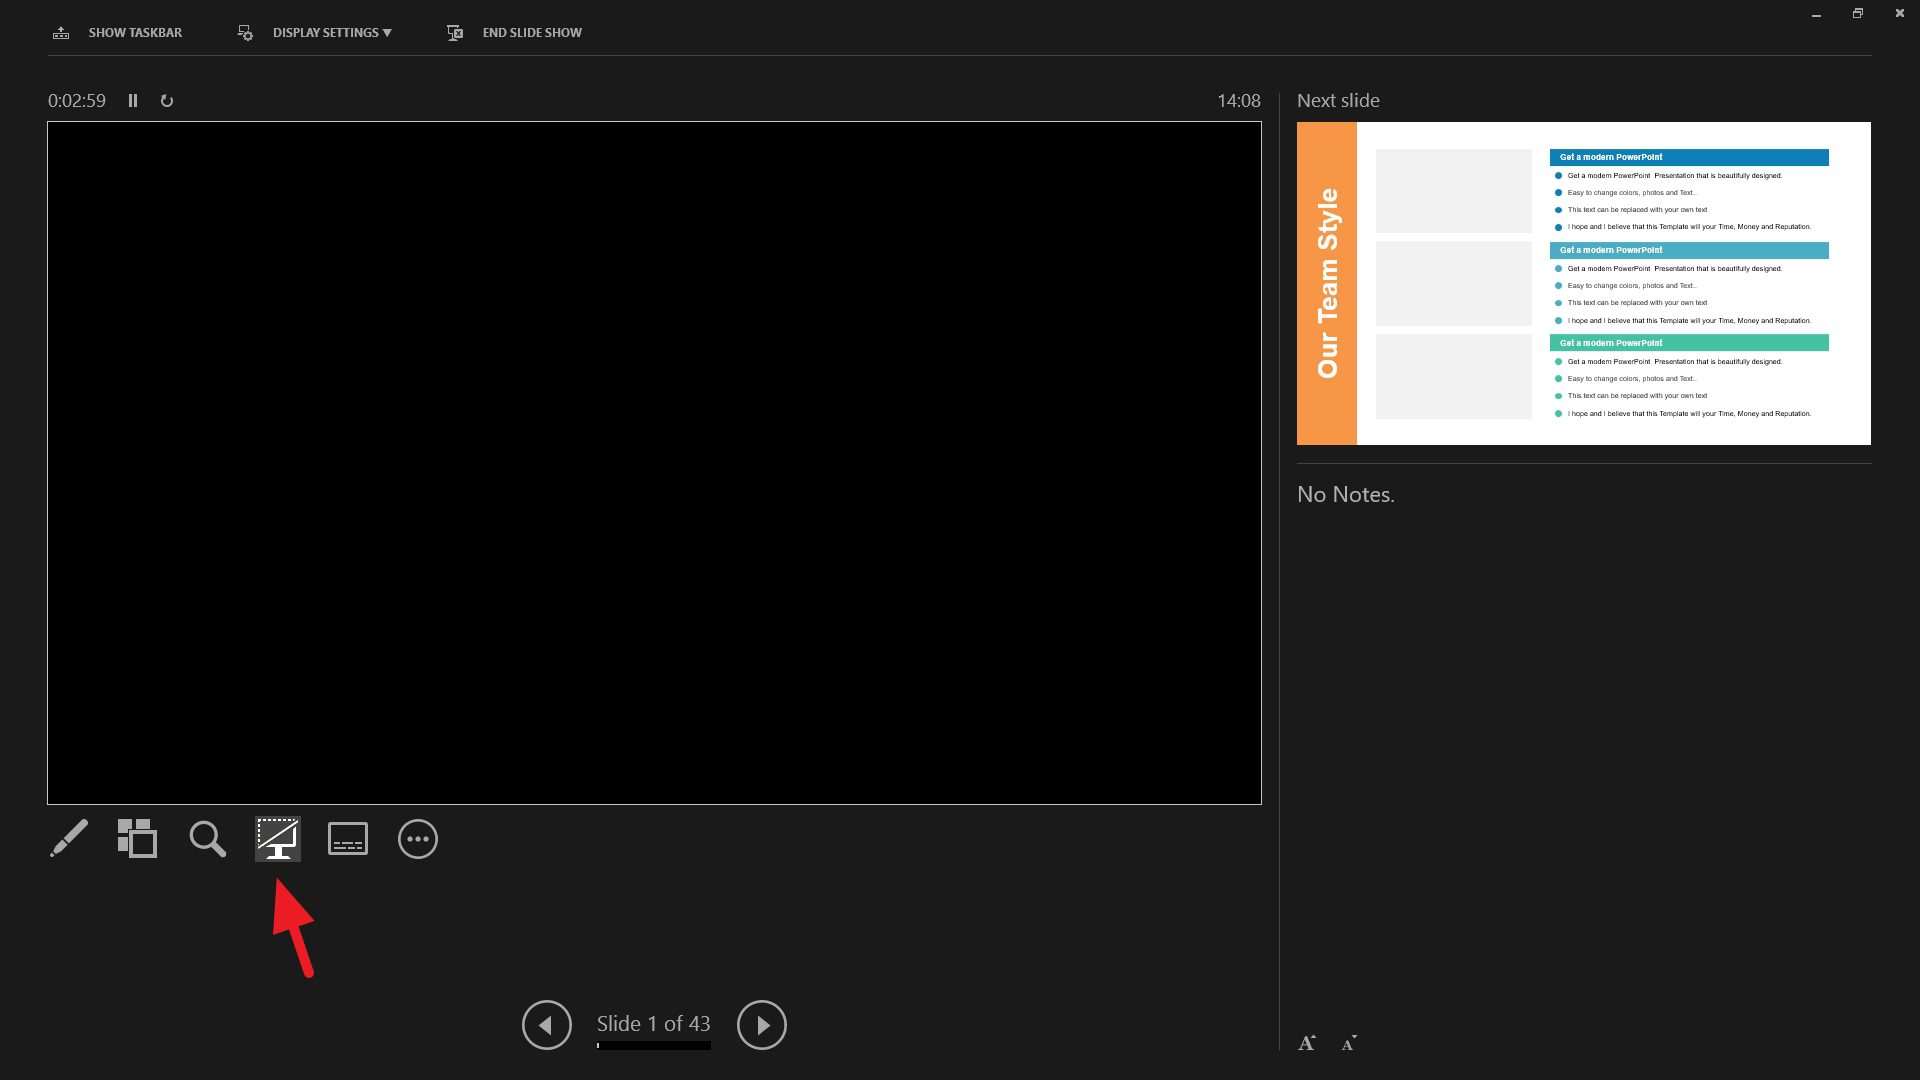
4. Black the screen without having to turn off the projector.
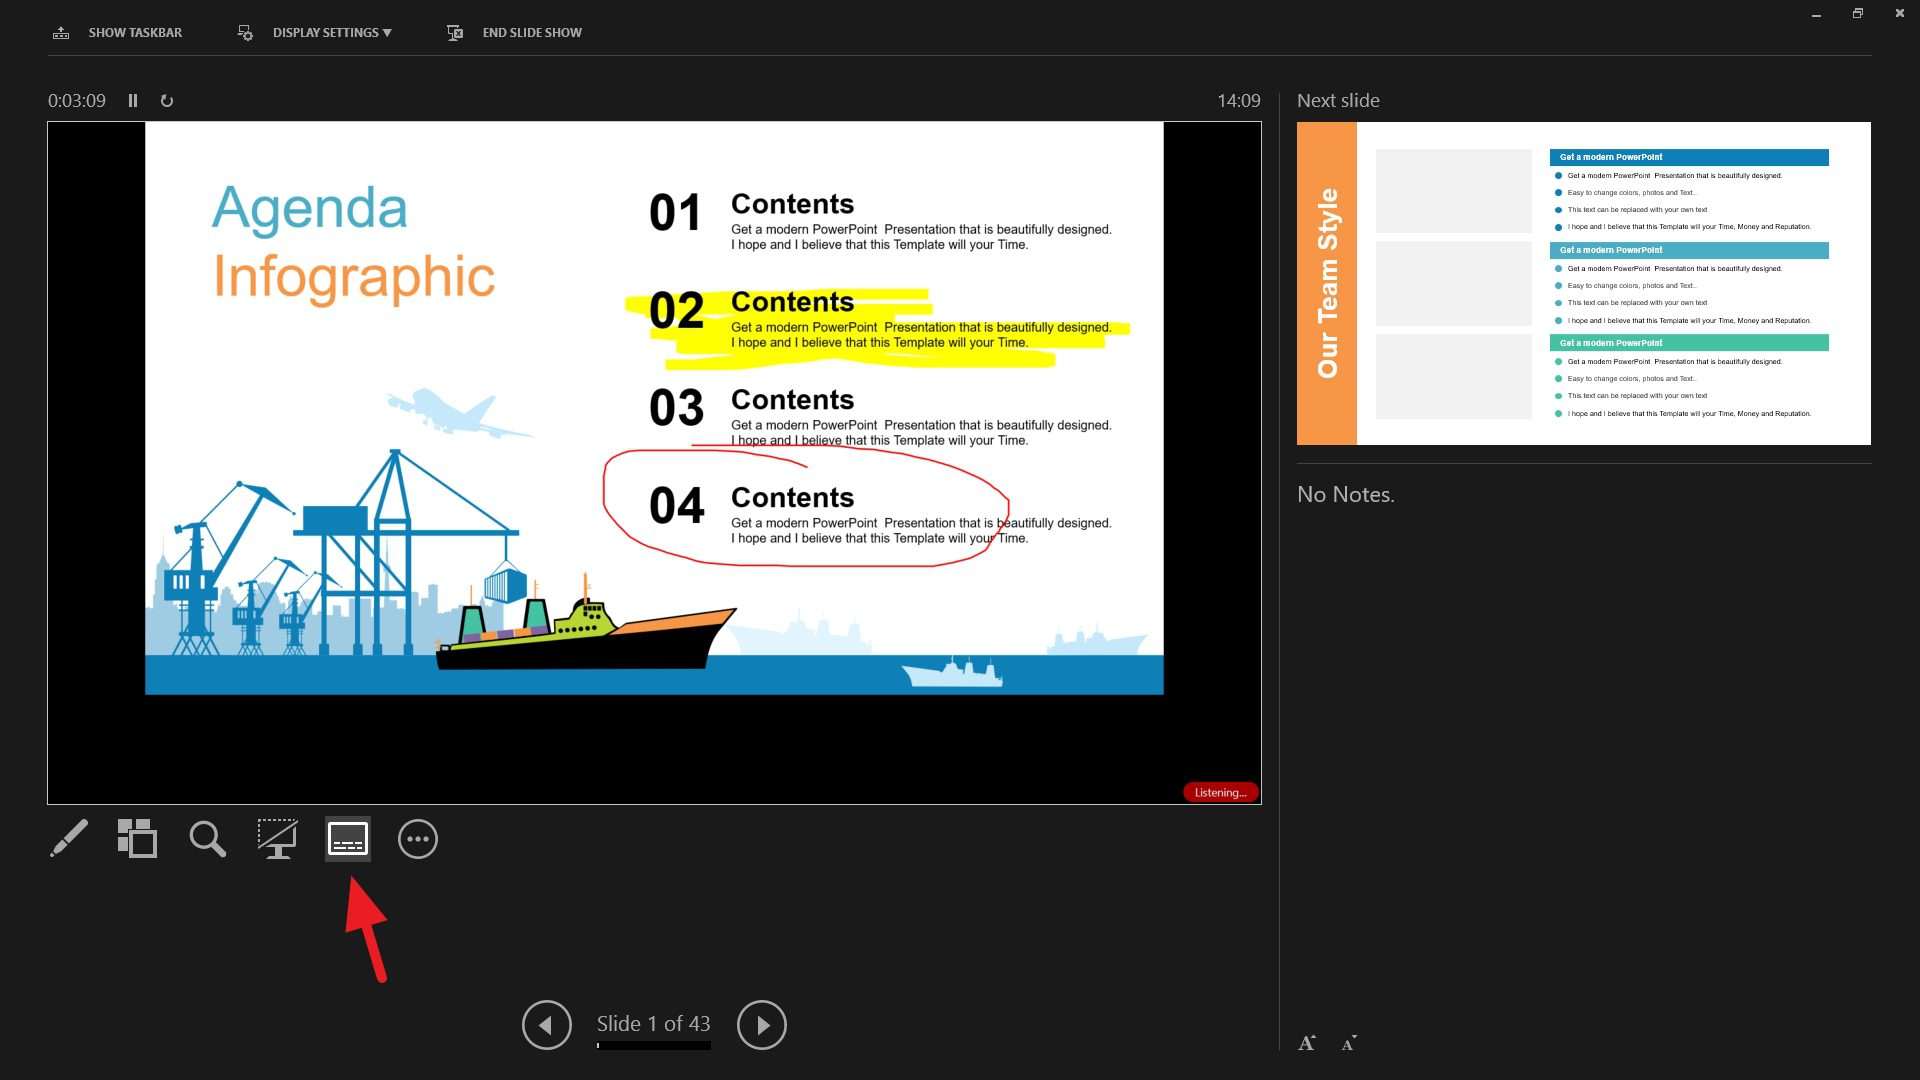
5. Enable caption so ones who can’t hear you would be able to read the spoken words.
6. Access more options that will help your presentation.
One thing to note here that PowerPoint requires your computer/laptop to be connected with an external output, such as a screen projector before Presenter View can be activated.
If you are planning to present it online via a video meeting, consider uploading a PowerPoint file to Google Slides as it allows for a single-monitor setup to show the presentation while also enabling its version of Presenter View.
