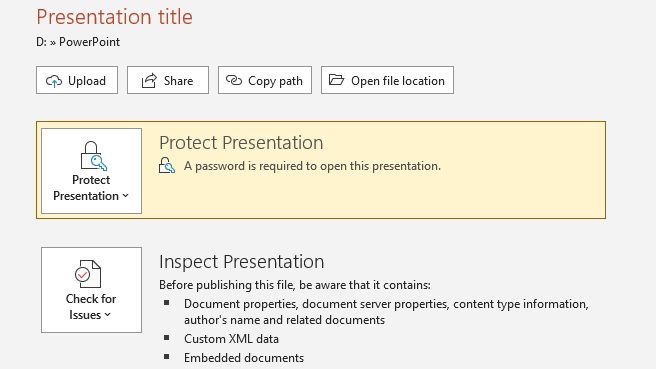
As a program that is often used by professionals in a business environment, PowerPoint sometimes is used to hold insider information that is not supposed to be seen by externals. If you want to keep your presentation file private, consider locking it with a password.
As it turns out, PowerPoint comes with a built-in protection system that will require a password before a document can open. To make it even safer, the program provides no other alternatives to break open the document. Therefore, you can be confident that no one without a password can access it.
So here’s how to password protect your PowerPoint file. The following guide is valid for PowerPoint 2007, 2010, 2013, 2016, and 2019, all the way to 365.
1. Launch the document.
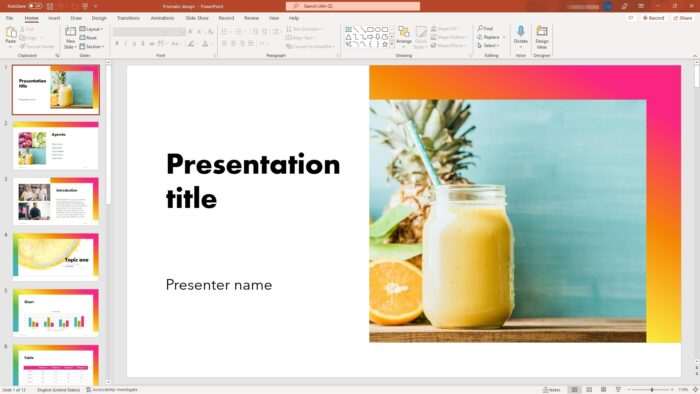
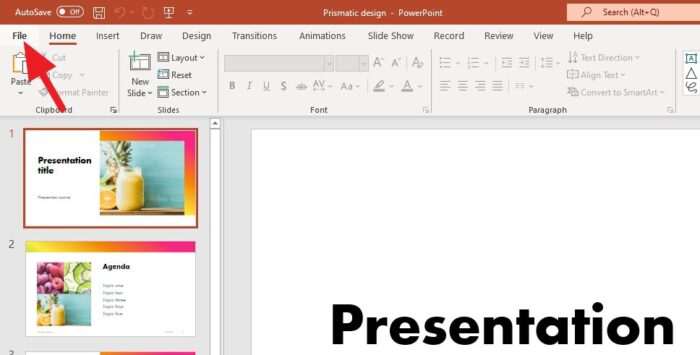
2. Then, click File.
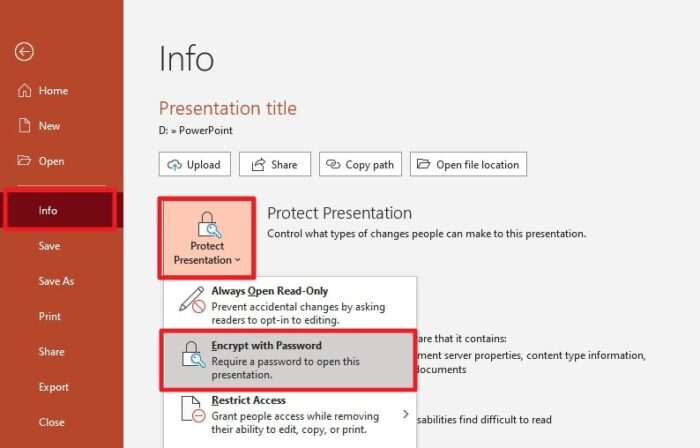
3. Navigate to Info > Protect Presentation > Encrypt with Password.
4. Enter the password you want to use, then OK.
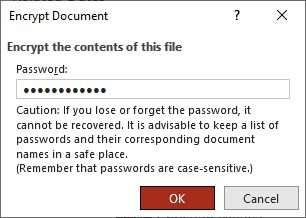
5. Reenter the password, and click OK. Be sure to remember the password or perhaps store it somewhere safe.
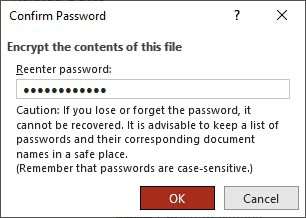
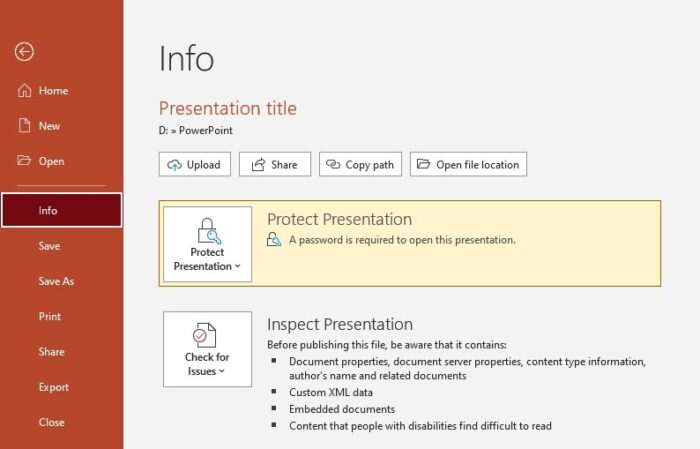
6. Now the file is protected. Don’t forget to Save the document to apply the settings.
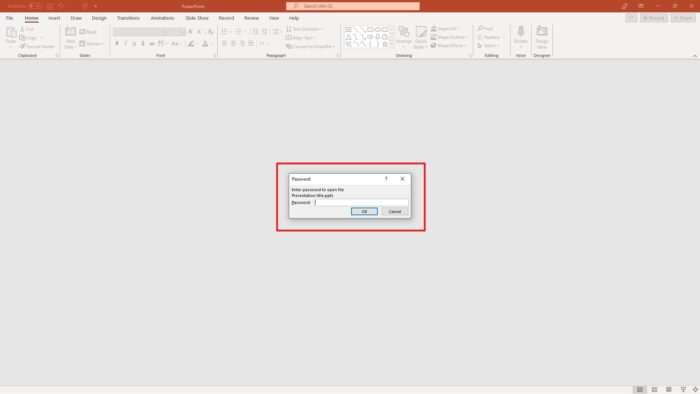
7. To test it out, close the document. Then open it again, it should prompt you with a password requirement.
Can Google Slides bypass the password?
Luckily, the protection extends beyond the Microsoft PowerPoint environment. If you upload the protected file to Google Slides, it will still be asking for a password. Here’s the screenshot.
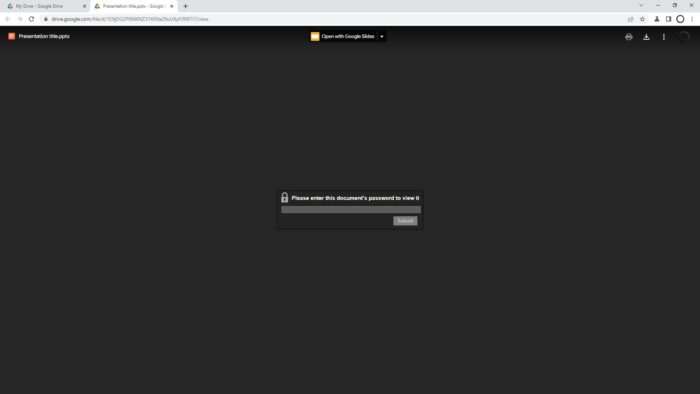
Now you can relax knowing that your presentation is safe and hidden from everyone. Just make sure the password is not easy to guess (like 123456, qwerty, or password). And most importantly, don’t let it escape your head because that’s the only key for the document to open.
