If you’re tired of losing your hard work to accidental changes, then this article on how to make PowerPoint file read-only is for you. As someone who has experienced this frustration firsthand, I know how important it is to protect your work. By following the simple steps outlined below, you can ensure that your PowerPoint file remains unchanged and secure, even when shared with others.
Not only will this save you time and stress, but it will also give you peace of mind knowing that your work is protected. Whether you’re a student, professional, or simply someone who values their work, this article is a must-read for anyone looking to safeguard their PowerPoint presentations.
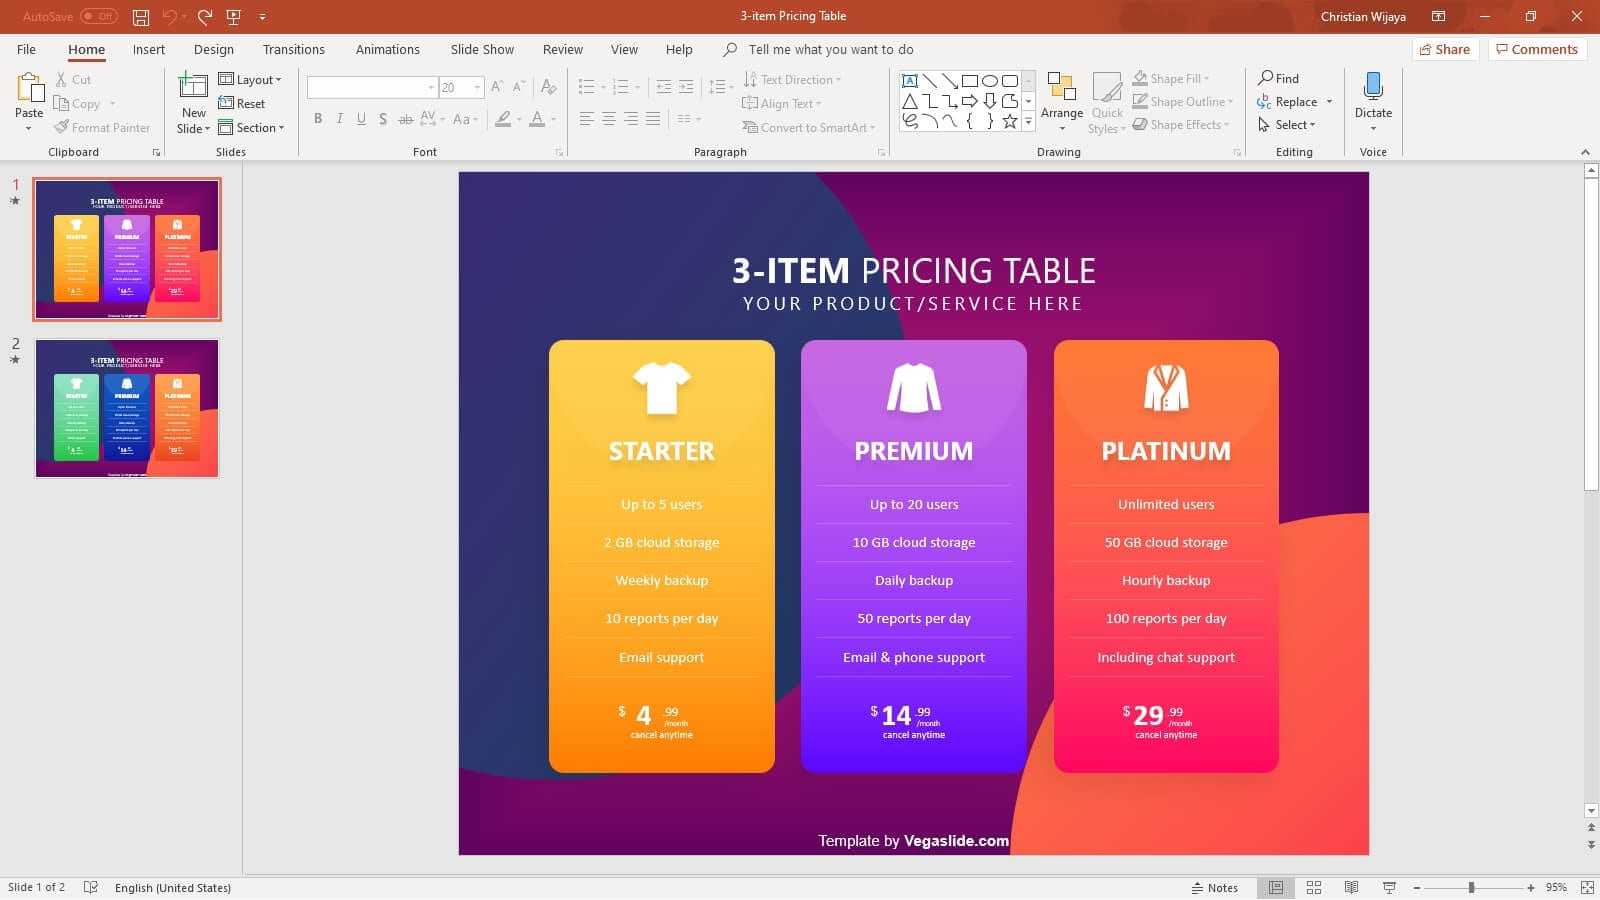
1. Open the PowerPoint file you want to set as read-only.
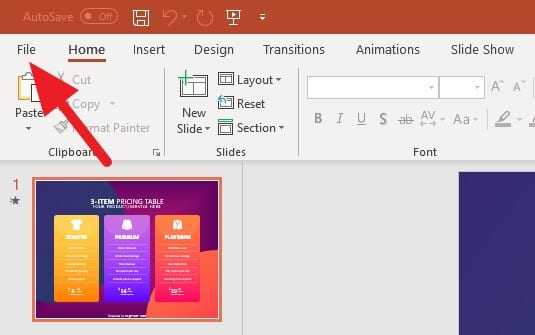
2. Go to the File menu.
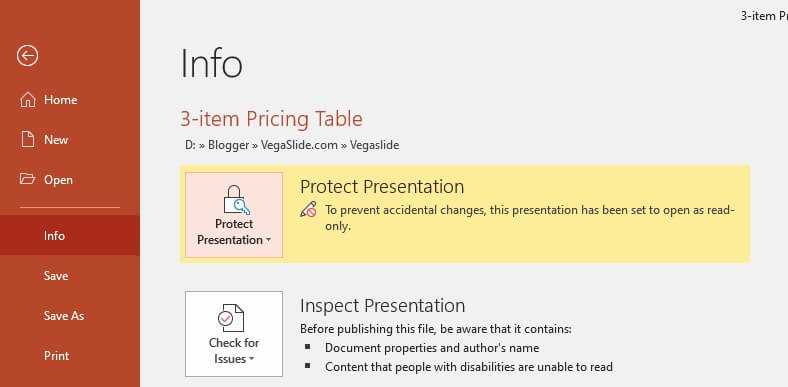
3. Click on Info, and select Protect Presentation > Always Open Read-Only.
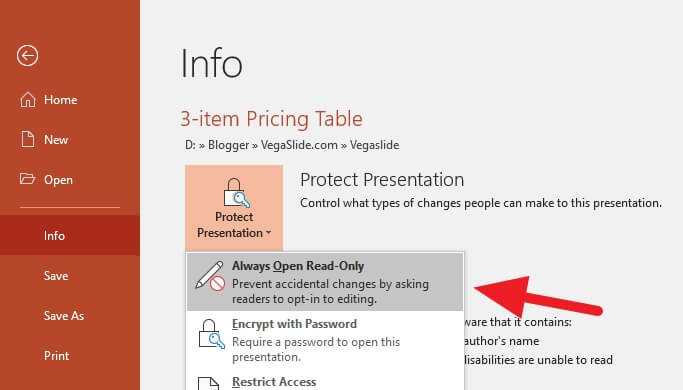
4. You would see the option is now highlighted in yellow.
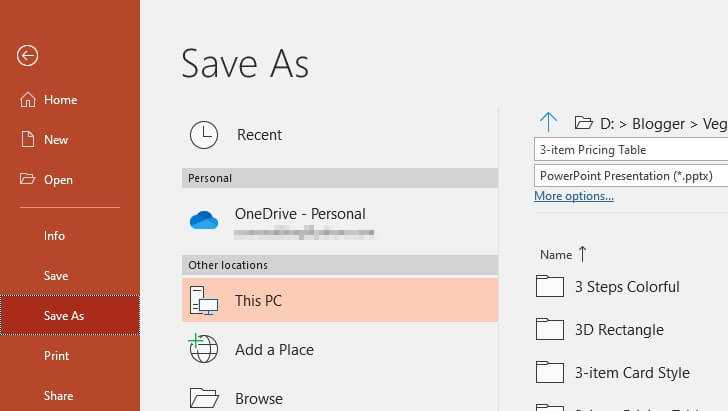
5. Save the PowerPoint file. You can also choose to Save As a new separate file.
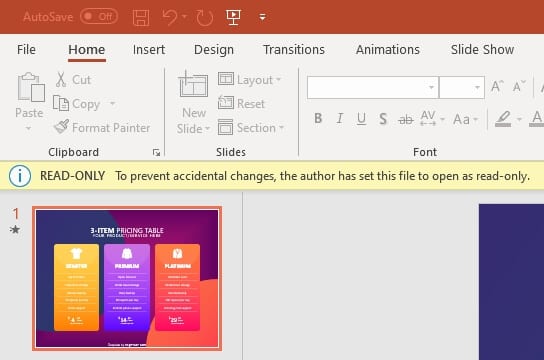
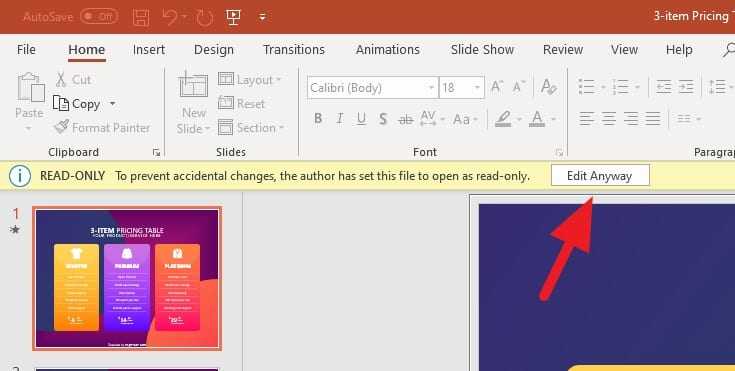
6. The PowerPoint file with the read-only restriction will give you a notice like this. You can click on Edit Anyway to override the restriction.
Love the design of the PowerPoint file above? Get the 3-item Pricing Table PowerPoint Template for free now!
Keep in mind that other people still able to edit the file if they wish by unlocking the read-only protection, at least this will prevent some unintentional changes when they are using the file. It best to create a duplicate version just in case the other is messed up.
