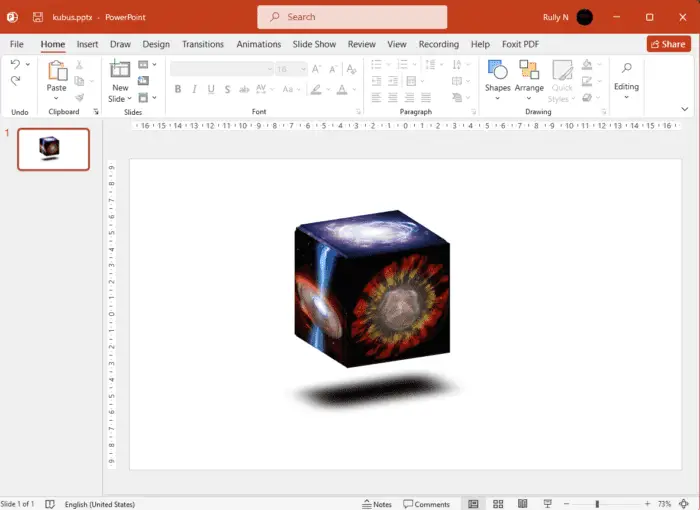
Animating clipart in PowerPoint can bring your presentations to life and capture your audience’s attention. With just a few simple steps, you can easily add movement and effects to static images. This article will walk you through a 10-step process for animating clipart, using demo presentation files to illustrate the techniques.
1. Insert Clipart Image
The first step is to insert a static clipart image that you want to animate. You can choose clipart from PowerPoint’s built-in library or insert your own image file. Position and size the image how you want it to look.
Clipart image
Static clipart image ready for animation
2. Select Animation Effect
Go to the Animations tab and open the Animation gallery. Browse the various animation effects and select one you want to apply to the clipart, such as Fade, Spin, Fly In, etc.
Animation gallery
Animation gallery in PowerPoint
3. Customize Animation Effect
Open the Effect Options menu to customize the direction, speed, color, and other options for the animation effect. Tailor it to achieve the exact motion and look you want.
Effect options
Customizing animation effect options
4. Set Start Option
In the Advanced Animation pane, choose when you want the animation to start – on click, with previous, or after previous. Set any desired delays before it begins or timing for the duration.
Advanced animation
Advanced animation settings
5. Add Motion Path
For extra dynamism, apply a Motion Path animation so the clipart moves around the slide. Choose a preset path or draw your own custom route.
Motion path animation
Applying a motion path animation
6. Morph Transition
Additionally, insert a Morph transition so the clipart image transforms fluidly into another image. This creates dramatic effects.
Morph transition
Morph transition between images
7. Copy Animations
Save time by copying animations to other clipart images using the Animation Painter. This replicates the effects to additional objects with one click.
Animation painter
Copying animations with the Animation Painter
8. Sequence Animations
Place animations in the desired sequence using the Reorder Animations feature. Building the right order creates an appealing flow and directs focus.
Reordering animations
Sequence animations in the right order
9. Preview Animations
Preview how all the animations look by playing the slide show from the current slide. Verify the timing and effects are displaying as intended before the final presentation.
Preview animations
Preview animations in slide show mode
10. Present Animations
When ready, launch the full slide show presentation! The animated clipart will dazzle your audience and enhance the delivery of information.
Presenting animations
Animated clipart ready for audience presentation
Following these 10 steps will guide you through animating clipart in your PowerPoint slides. Experiment with the variety of effects to create dynamic, engaging visuals that capture attention. Tailor the animations to best communicate your ideas and make an impact on your viewers.
Bonus Tips
- Use animations sparingly. Too many can become distracting.
- Keep animations subtle and consistent with the slide design.
- Time animations to direct focus and flow logically.
- Balance animated clipart with static content.
- Test animations thoroughly before the final presentation.
Bring your PowerPoint slides to life with animated clipart and captivate any audience!


