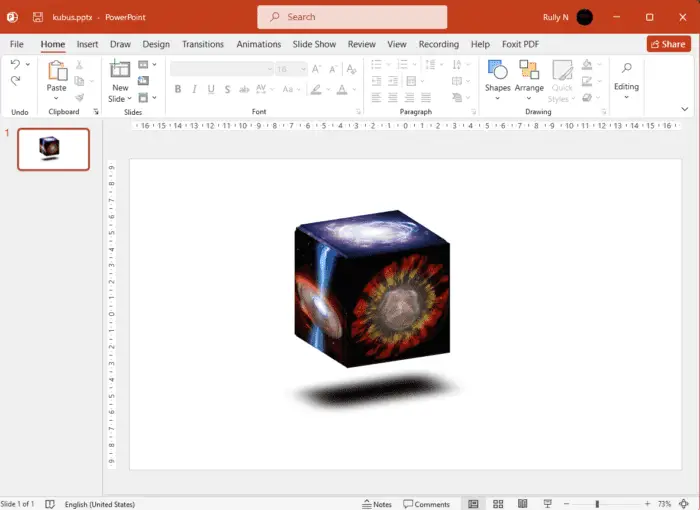
It’s simple to think that you need a program like Adobe Photoshop or Illustrator when it comes to your graphic design requirements for an e-Learning course or presentation. But it isn’t the case at all. PowerPoint may be used for graphic design, and it’s not that difficult!
PowerPoint can be used for visual design in a variety of ways, including creating 3d cube. There are countless options! In this tutorial, we’re going to show you how to do it.
1. Prepare a blank document and go to Insert > Picture > This device.
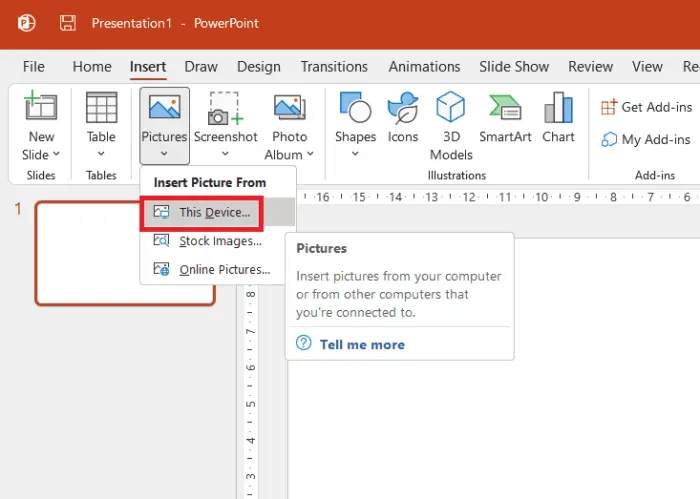
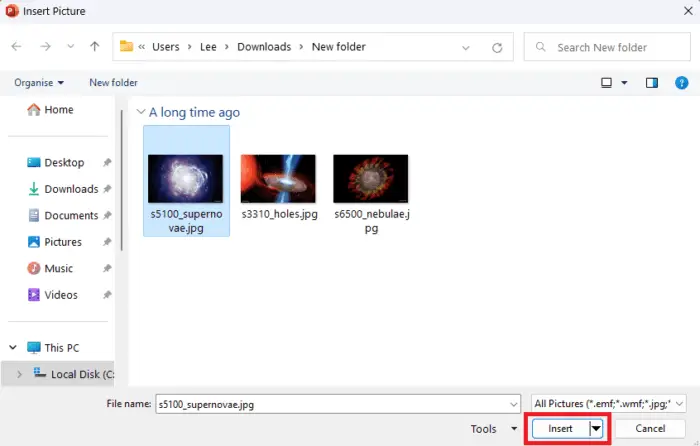
2. To create a cube, you need three square pictures. Choose the first picture and click Insert.
3. But if your picture is not square, like in our example, go to the Crop > Aspect Ratio > 1:1.
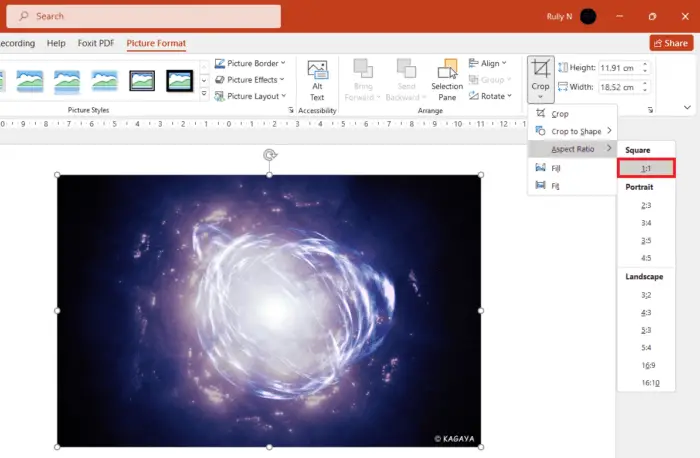
4. Place the crop area in a position that you prefer, and again go to Crop > Crop.
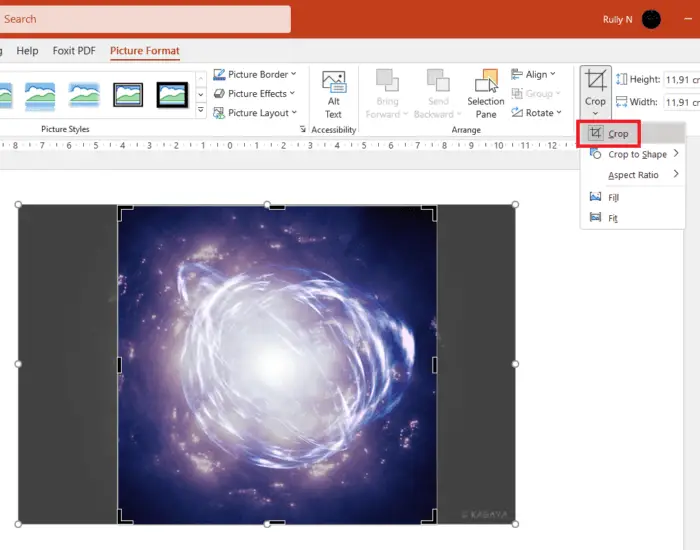
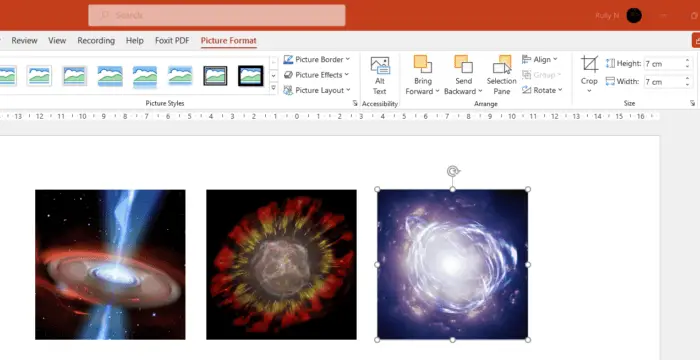
5. Now, set the picture size to 7 cm or whatever size you like.

6. Repeat steps #2 – #5 for the second and third picture.
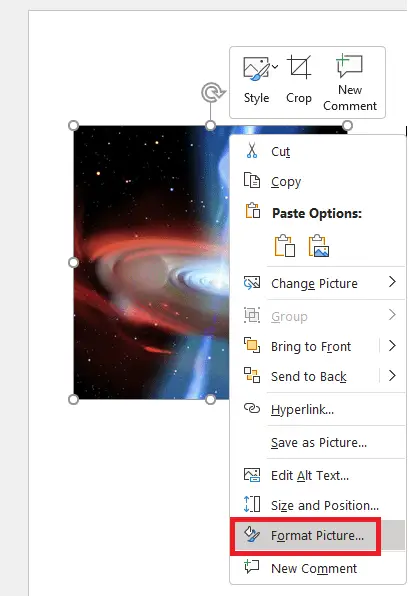
7. Right-click the first picture and select Format picture.
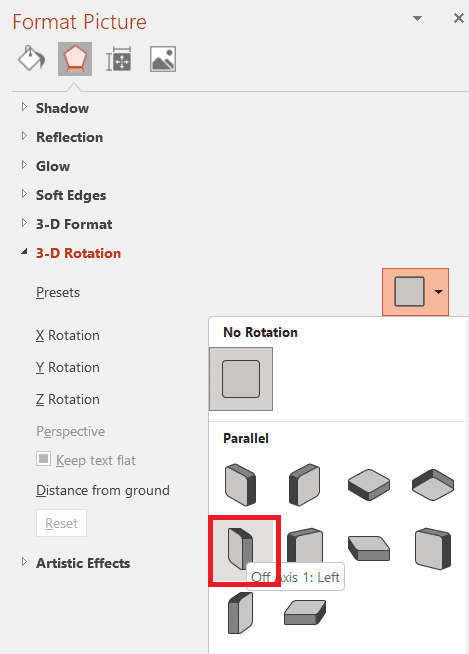
8. On the right panel, select 3-D Rotation > Presets > Off Axis 1: Left.
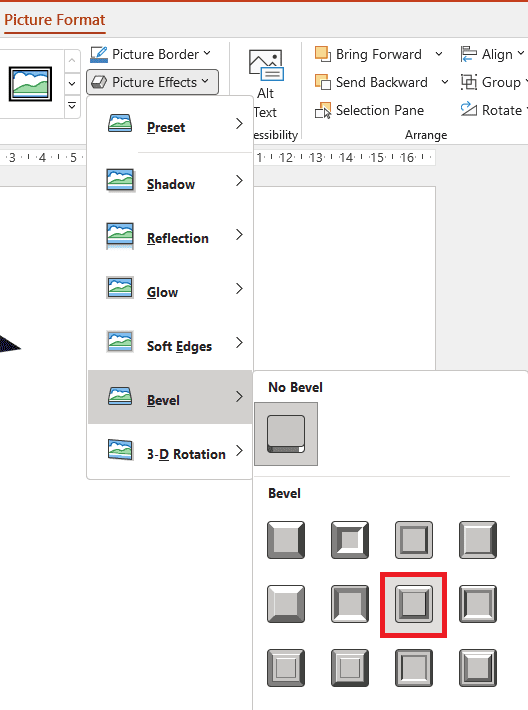
9. Still on the first picture, now go to Picture Effects > Bevel > Convex.
10. Your first picture will now look like this.
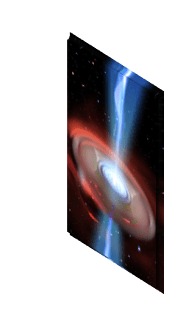
11. For the second and third picture, repeat steps #7 – #9. But this time choose Off-Axis 1: Right for the second picture and Off-Axis 1: Top for the third picture. Your pictures will look like this.
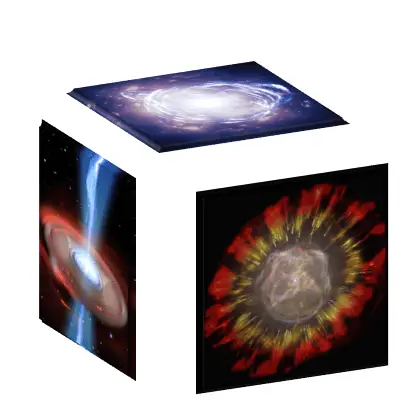
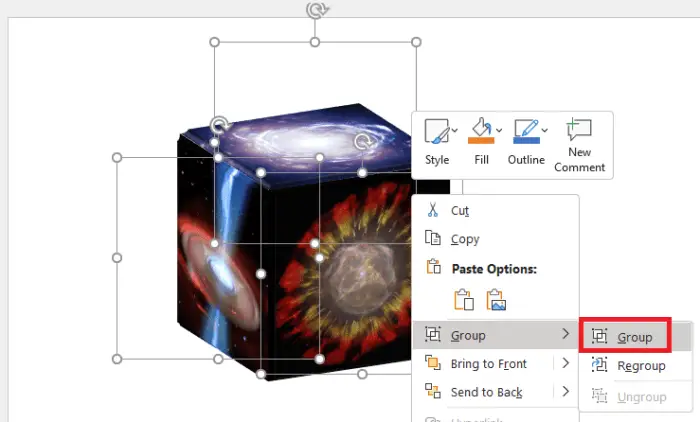
12. Now merge them into a cube form, select all, right click and choose Group > Group.
13. To make it more real, you can add a shadow below the cube. To do that go to Insert > Shapes > Rectangle.
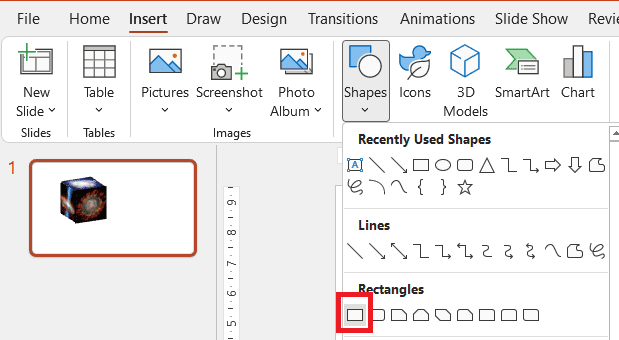
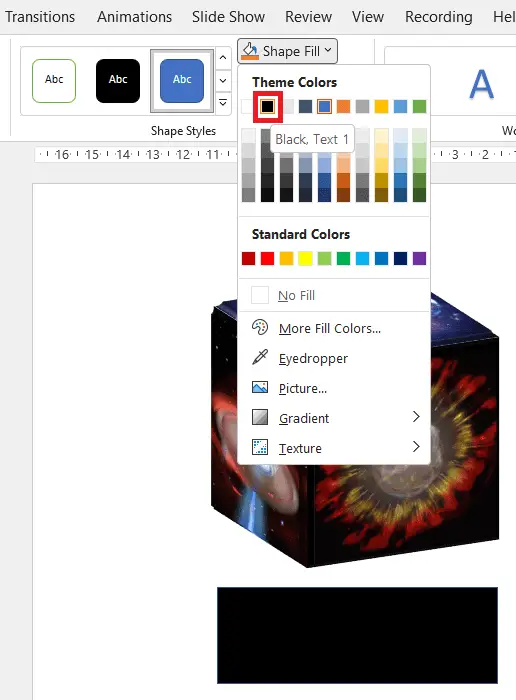
14. Now draw a rectangle below the cube and change the color to black from the Shape Fill menu.
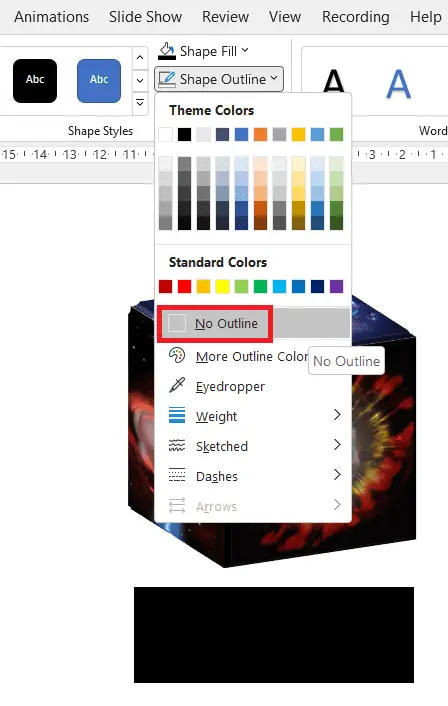
15. Next, in the Shape Outline menu, choose No Outline.
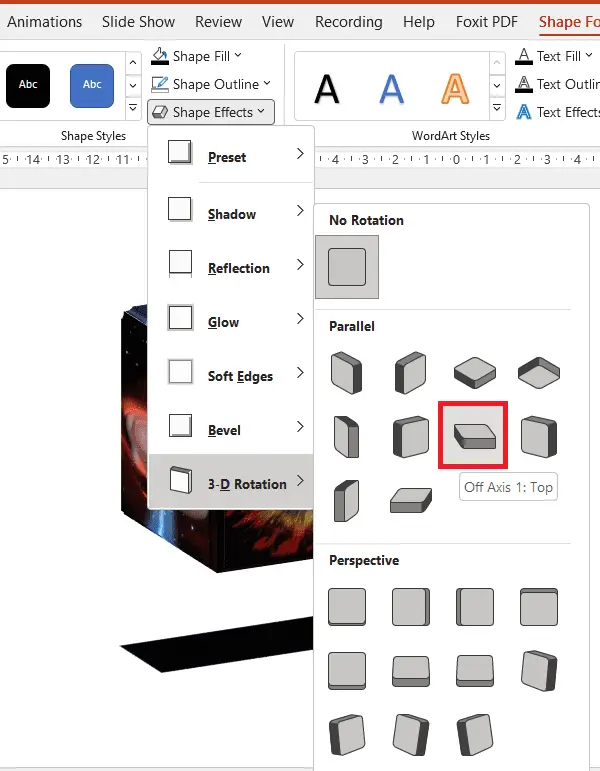
16. In the Shape Effects menu, choose 3-D Rotation > Off Axis 1: Top.
17. Again in the Shape Effects menu, choose Soft Edges > Soft Edges Options.
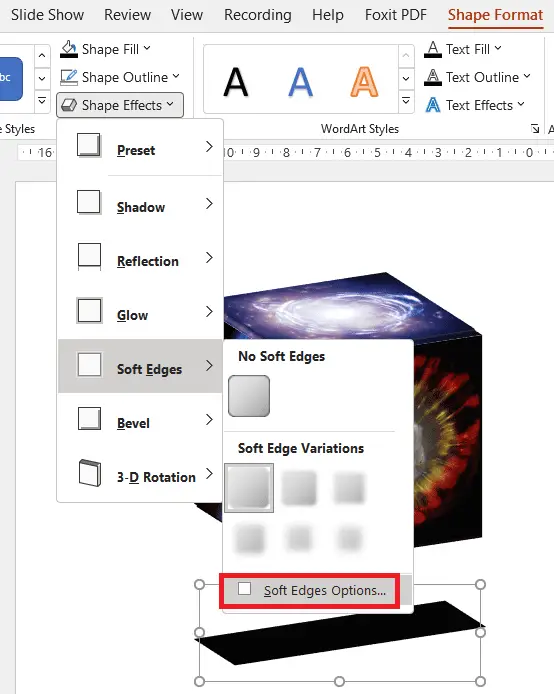
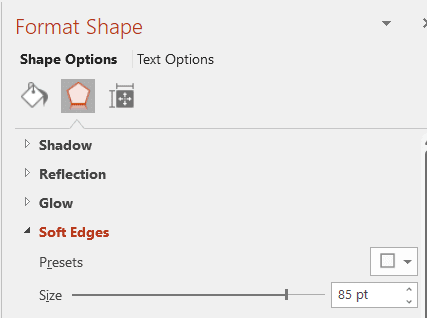
18. On the right panel, slide the Size slider into 85 pt.
19. Final step, you can adjust the shadow size manually by dragging the box.
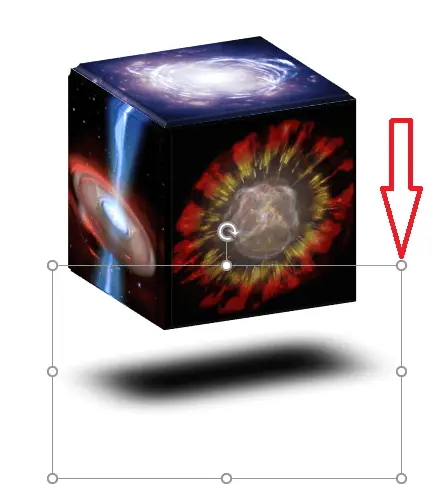
You don’t need other image editing tools, do you?
