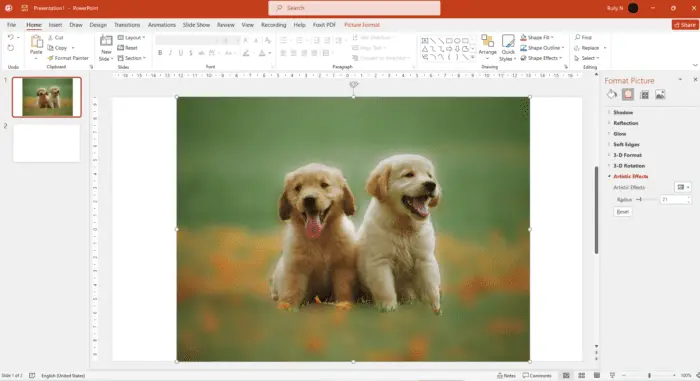
The blurred image is a terrific way to create some visual interest and to remove focus from any one particular element on a slide. You can use a blurred images in backgrounds for the title screen so your audience can focus on the text without drawing attention to the image.
We want to show you how easy it is to create this type of blurred effect in PowerPoint. Let’s go.
How to blur the entire image
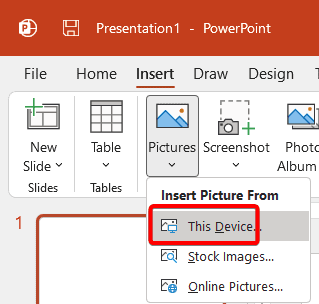
1. Insert your image from the Insert tab, Pictures, and select This Device.
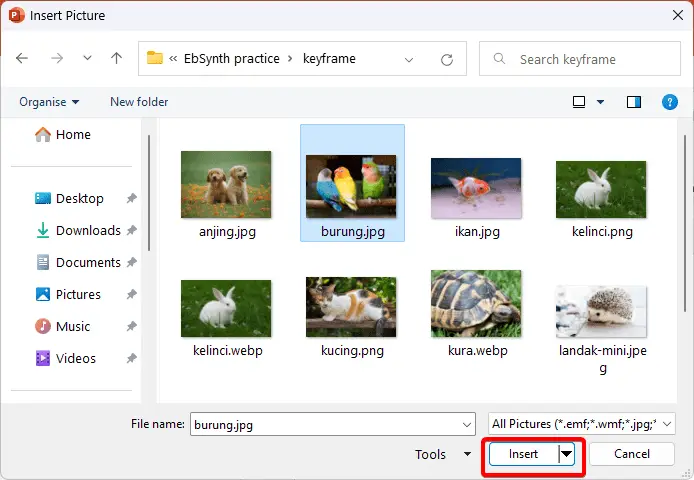
2. Select your image and Insert.
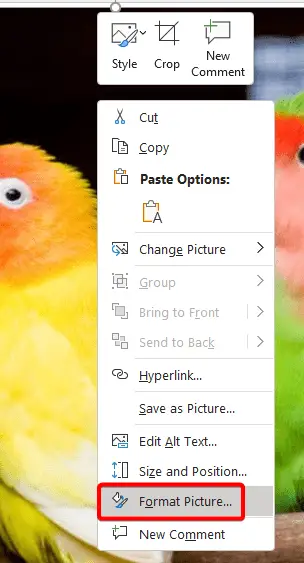
3. Right-click the image and choose Format Picture.
4. In Artistic Effects, from the pulldown menu select the Blur option.
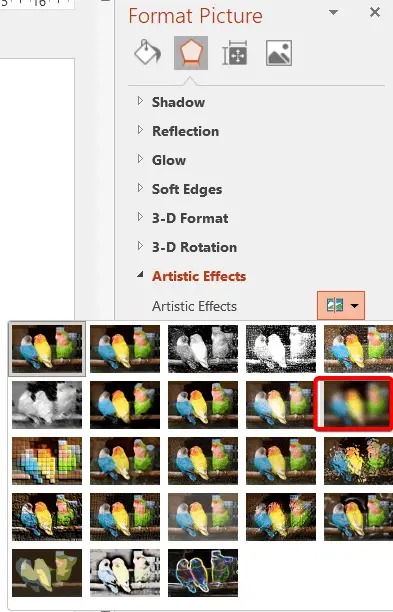
5. Then dial up the radius of blur that you want to use.
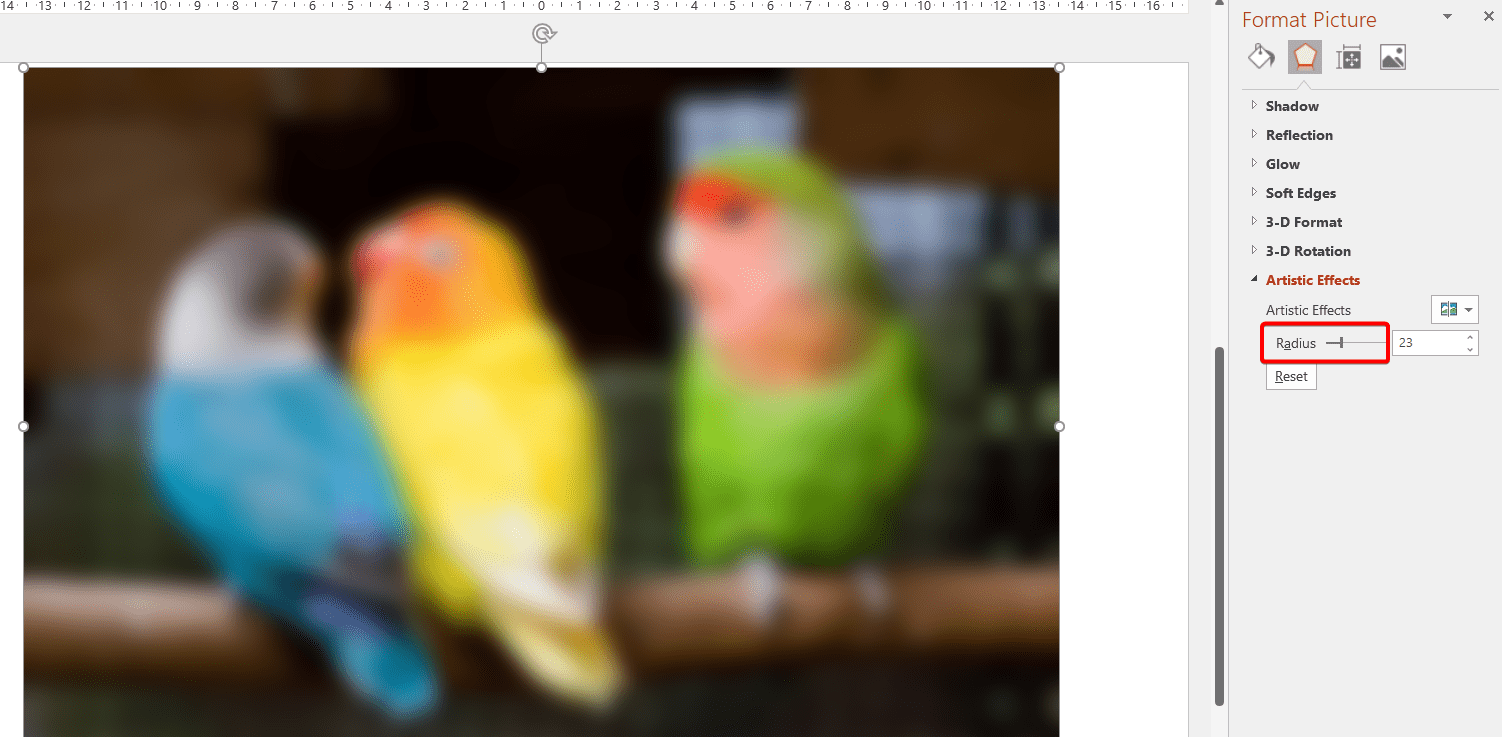
How to blur a particular area of an image
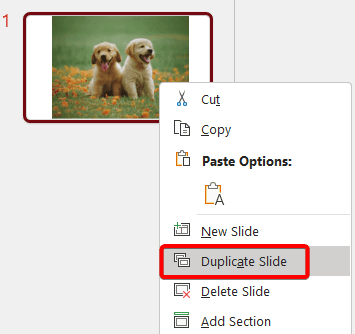
1. Insert your image into a slide and duplicate the slide.
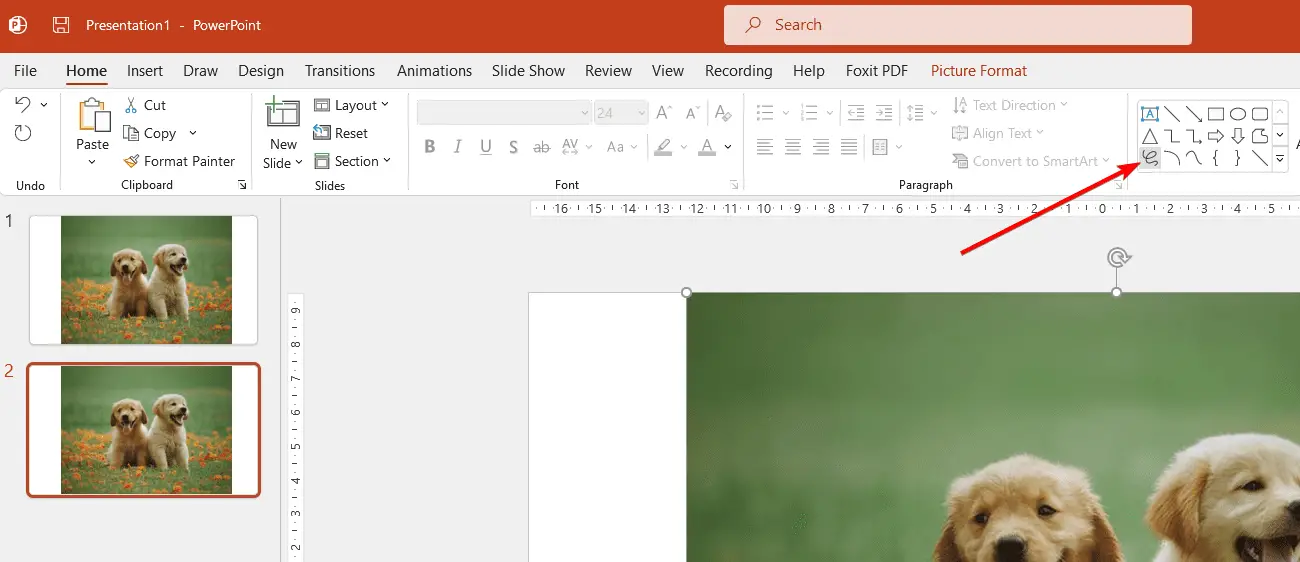
2. Select the image in the second slide, go to the Home tab, and select Freeform: Scribble.
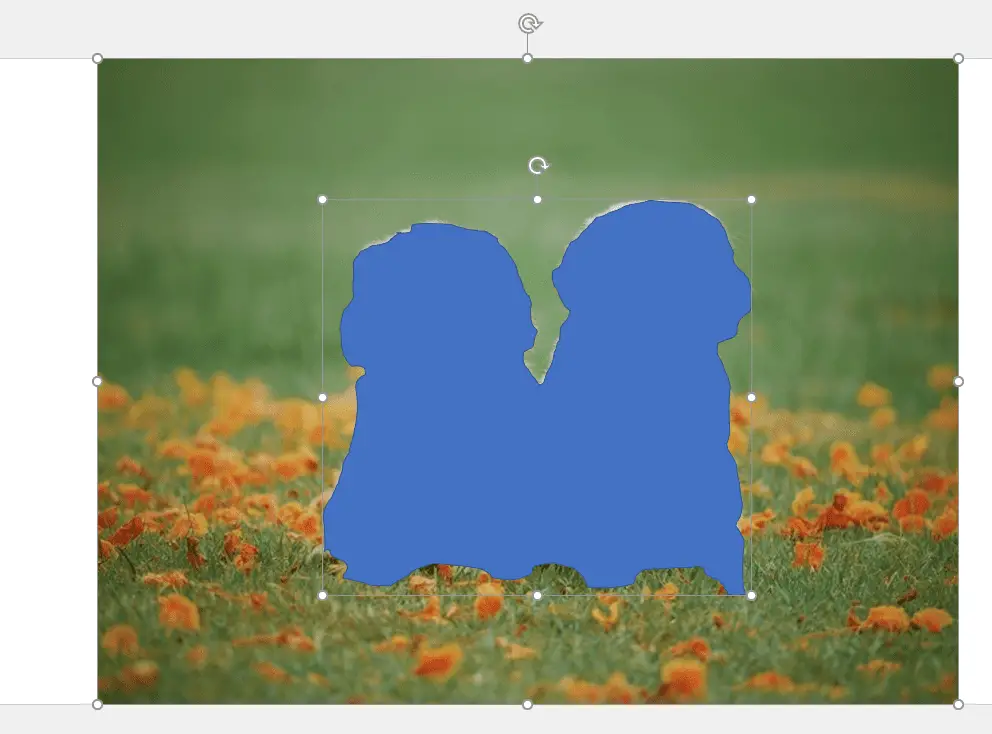
3. Now draw around the object that you want to isolate. In our example, the dog is our object.
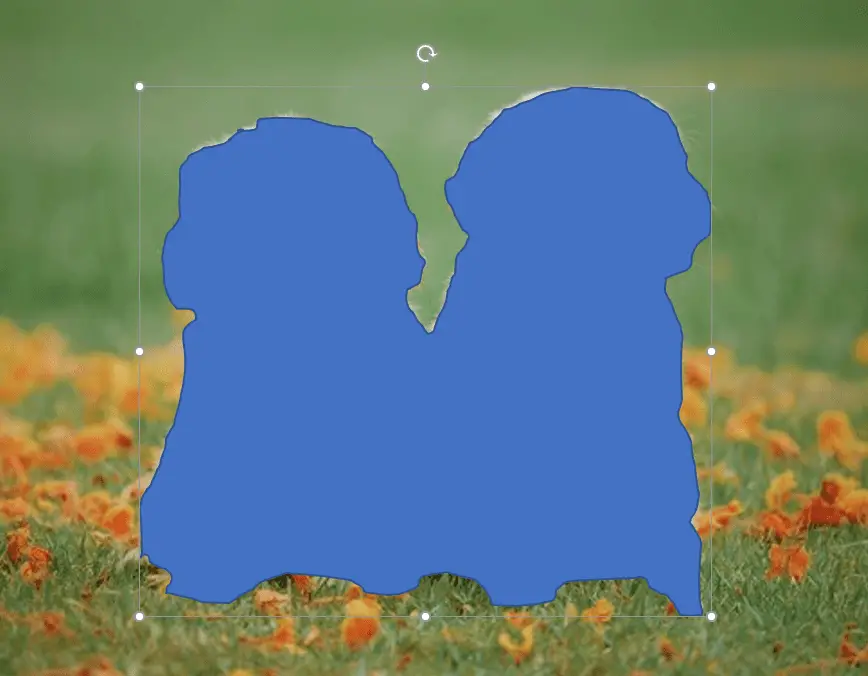
4. Hold Shift on your keyboard, select the background first, and then the dogs.
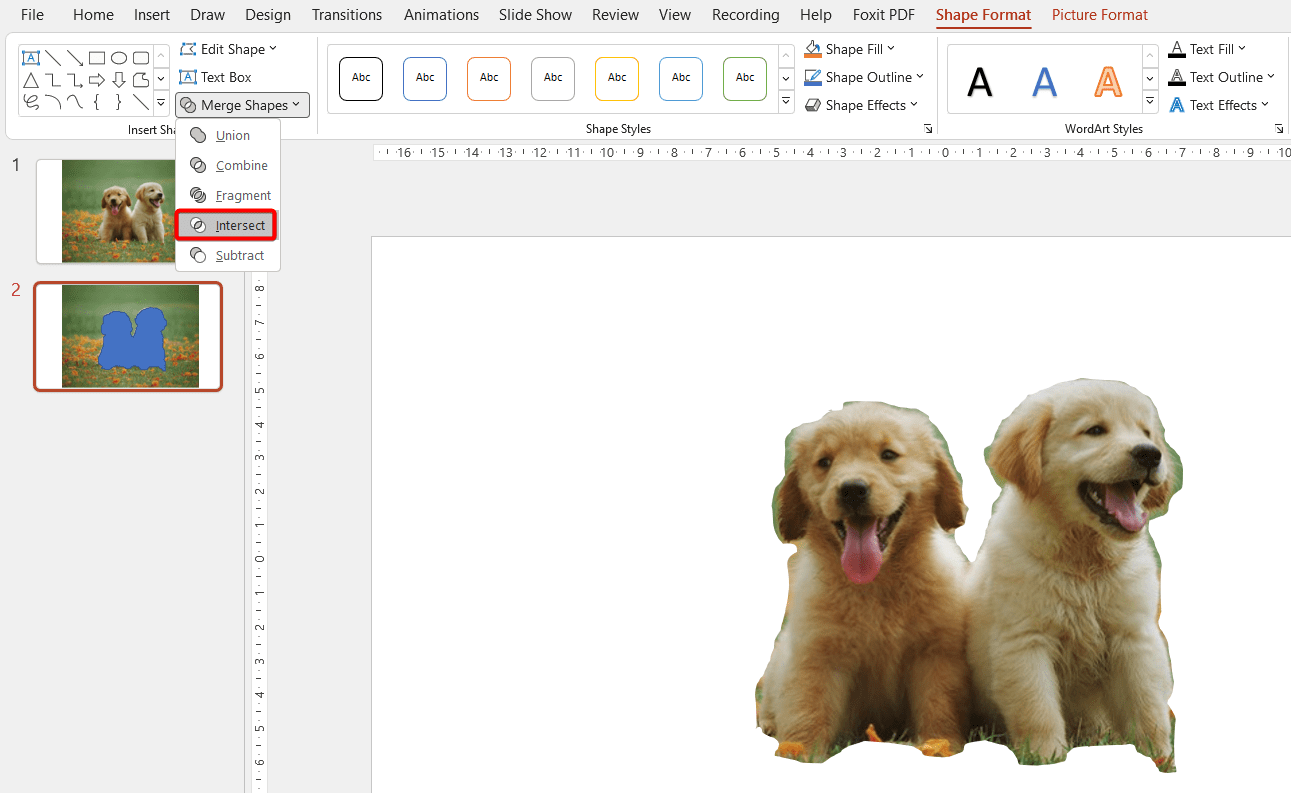
5. Go to Shape Format, Merge Shapes, and select Intersect.
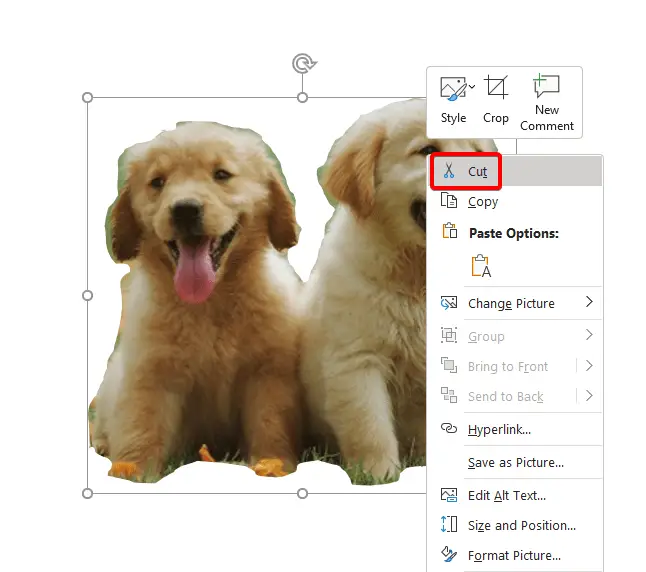
6. Right-click and select Cut.
7. Go back to the first slide and paste it by pressing Ctrl + V. The pasted image will be overlaid directly in the same position.
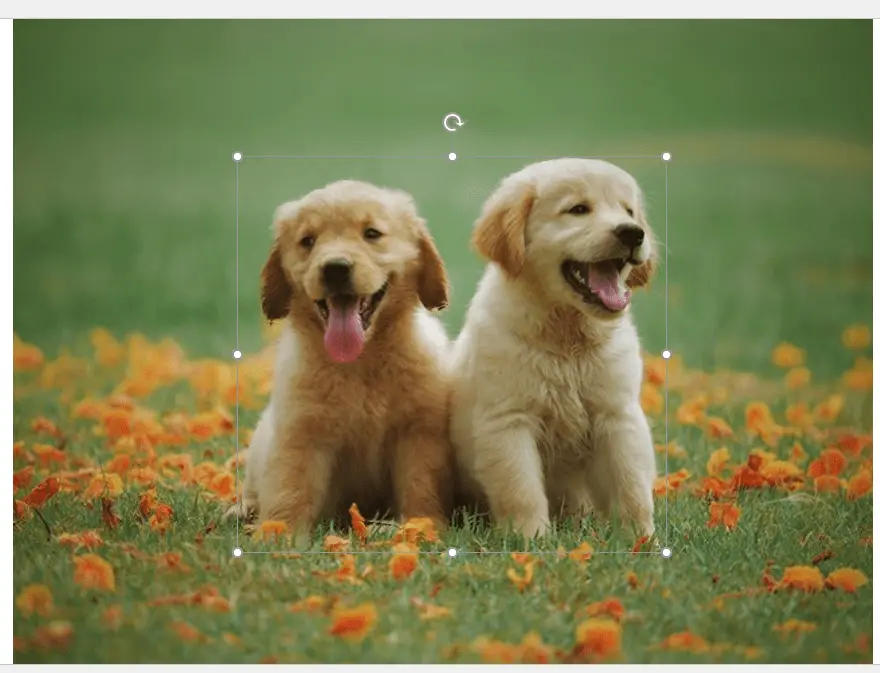
8. Now right-click the background image, and choose Format Picture.
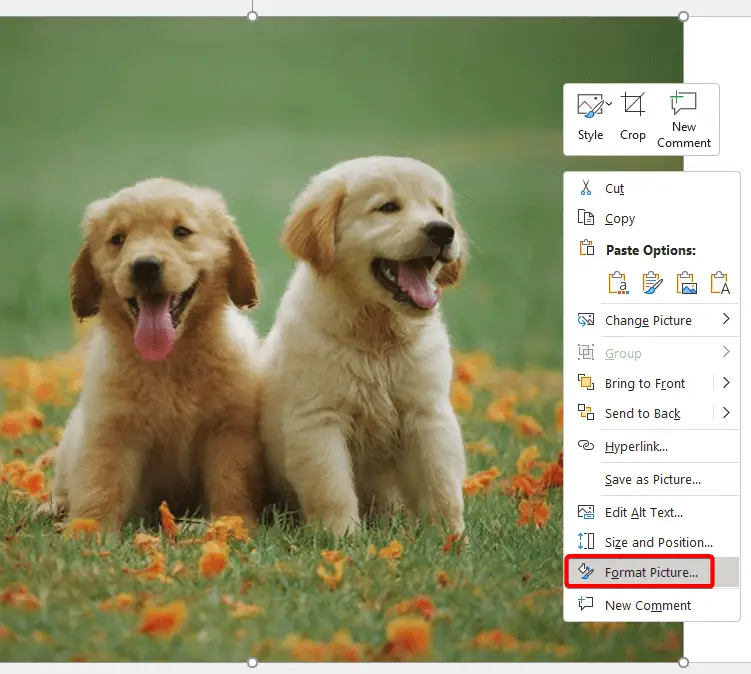
9. Repeat the same steps as in how to blur the entire image.

Isn’t it easy to do? Again, it’s elegant, modern and it looks great.
