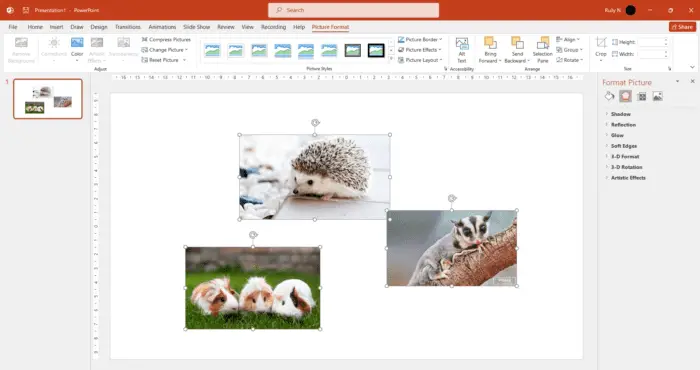
Are you tired of manually resizing pictures in PowerPoint? Well, you don’t have to anymore! In this tutorial, we will show you how to automatically size pictures in PowerPoint with a few simple clicks. With this technique, you can save time and effort when creating presentations.
So let’s get started and learn how to automatically size pictures in PowerPoint!
1. Open your PowerPoint presentation. To insert a picture, go to the Insert tab, click Pictures, and select This Device.

2. Browse and select the picture you want to add. Click Insert.

3. To automatically size a single picture to fit a shape, select the picture and go to the Picture Format. In the Size group, enter the height and width you want for the picture. The other dimension will automatically adjust proportionally.

4. To automatically size multiple pictures to be the same size, select all of them by holding down the Control key and clicking on each picture.

5. Repeat step #3 and they will all resize proportionally according to your input.

6. If you want to resize all of the images on your slide at once but don’t want to make them all the same size, select all of the images by holding down the Control key while selecting each one individually. Then, drag the images by grabbing their corner.

It’s so easy, isn’t it?


