By default, Microsoft PowerPoint sets the slide orientation to landscape, meaning the width is greater than the height and gives you a rectangular look when presenting.
But, you can also rotate the slide orientation to portrait mode so it would appear vertical when being presented. This can be helpful if you want to show the slide on the monitor or projector with a vertical configuration.
Here is how to do that!
It is highly recommended to use the recent version of Microsoft PowerPoint to get a better sense of the tutorial. If you want to rotate the slide’s content, please refer to this guide.
How to make PowerPoint slide portrait
In the following guide, you will learn how to change slide orientation from landscape to portrait. Make sure the presentation file is done because you probably need to do some trial and error to ensure the new orientation would not break the design.
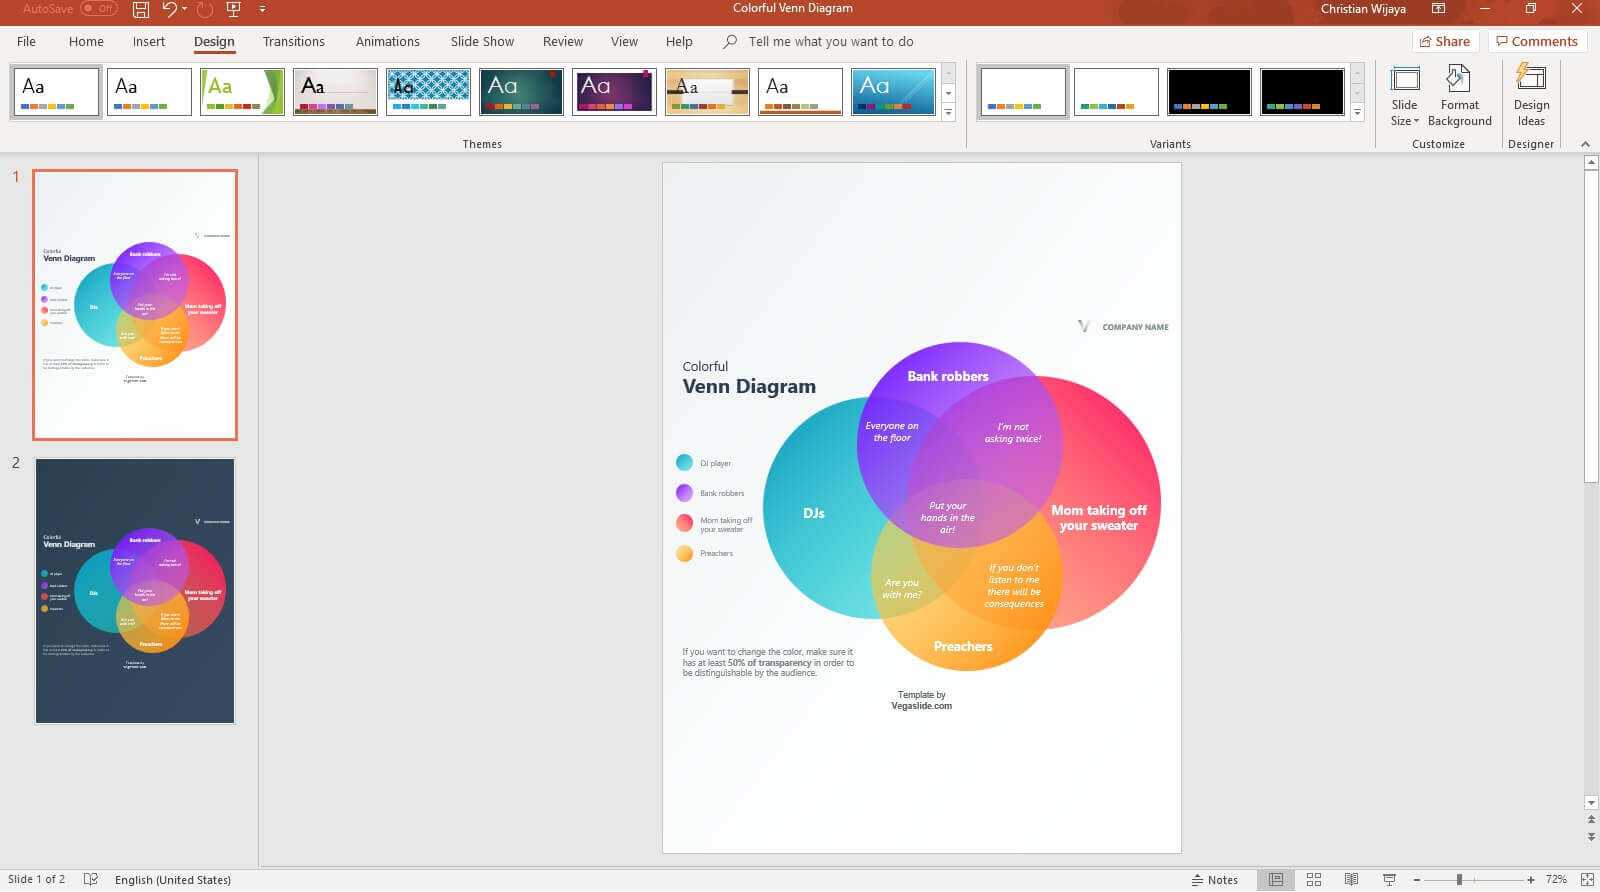
1. Go to the Design menu.

2. Click on Slide Size, and select Custom Slide Size…

3. On the Slides section, select Portrait, and then OK. You may also want to change the size if you wish.

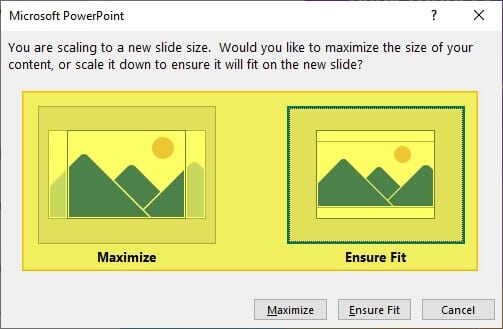
4. Select either Maximize or Ensure Fit. I can’t dictate which option is the best for your slide, but according to my experience, Ensure Fit is worked the most.

5. Finally, the PowerPoint slide turned into a portrait view.

The guide above is based on the Colorful Venn Diagram PowerPoint Template. You can get the template for free and use it on your presentation project.
The portrait slides still able to show on the normal projector configuration (landscape). However, it may leave a noticeable blank on both sides of the slide.
In addition, you probably need to rearrange each object after the orientation changed. This will ensure the slide design looks perfect, even in portrait mode.
Some tips for adjusting content:
- Reposition text boxes and graphics closer together or further apart to improve balance and flow.
- Wrap text and resize text box dimensions as needed so text doesn’t get cut off.
- Rotate objects like images to better fit the portrait layout.
- Resize charts or tables to utilize the extra vertical space.
- Add text wraps to images to fit text around them cleanly.
- Align items near the top, middle, or bottom depending on placement priorities.
Don’t be afraid to experiment with layouts to find the optimal arrangement for each slide.
When to Use Portrait vs. Landscape Orientation
In summary, here are some best practices on when to switch to portrait layouts:
- Use portrait for text-heavy slides – Fits more bullet points, paragraphs, and other dense text content.
- Use portrait for tall images or charts – Accommodates vertical visuals without cropping or shrinking.
- Use portrait when printing – Allows larger text size and may reduce number of printed pages.
- Use landscape for graphical slides – Provides room for visuals and text side-by-side.
- Use landscape as the default – Ideal for on-screen viewing and works for most slide content.
The ideal orientation depends on your specific presentation and audience needs. Don’t be afraid to experiment with both portrait and landscape to determine what works best for your message and visuals. The ability to easily switch between the two is a valuable tool in PowerPoint.
FAQs
How do I change a PowerPoint slide to portrait?
To change a PowerPoint slide to portrait, follow these steps:
1. Click the Design tab.
2. Select Slide Size.
3. Choose Custom Slide Size.
4. Under Orientation, select Portrait.
5. Click OK to apply the changes.
How do I change the horizontal and vertical position of an image in PowerPoint?
To change the horizontal and vertical position of an image in PowerPoint:
1. Click on the image to select it.
2. Right-click and choose Size and Position.
3. In the Format Picture panel, adjust the horizontal and vertical position values under the Position section.
What are the benefits of using portrait orientation in PowerPoint?
Portrait orientation allows you to fit more text on a slide and is better for displaying tall images or charts. It also provides more vertical space for content and creates a more formal, professional look.
Does portrait orientation work on mobile devices?
Yes, portrait orientation adapts well to mobile devices like smartphones and tablets since they are normally held vertically.
How do I change the slide orientation in PowerPoint for Mac?
On a Mac, go to Design > Slide Size > Page Setup, change orientation to portrait, and click OK to change the slide layout.


