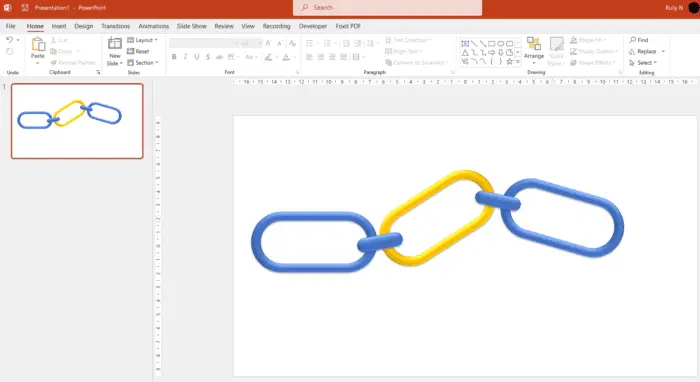
Creating a chain link graphic in PowerPoint is an effective way to visually represent a concept or process. This type of graphic can be used for presentations, reports, or any other purpose that requires the use of visuals. With the help of simple shapes and colors, you can create a chain link graphic in PowerPoint that will make your message more impactful and engaging.
In this post, we will discuss how to create a chain link graphic in PowerPoint step by step so that you can easily incorporate this type of visual into your next presentation.
1. Go to the Insert tab, and in Shapes select Rectangle: rounded corner.

2. Draw a rectangle and drag the orange dot to the right to change the roundness of the corners of a rectangle shape.

3. Now press Ctrl + D to duplicate the shape.

4. Change the color of the second shape to white. Go to Shape Format, and in Shape Fill select White.

5. Place that white shape in the middle and reduce its size.

6. Select both shapes, then go to Align, select Align Center and again select Align Middle.

7. Select both shapes, then Merge Shapes, and select Subtract.

8. Press Ctrl + D to duplicate the shape and place it at the side.

9. To create the connector link, repeat steps 1-2. Then place the shape in between the chains.

10. Select the connector and the right chain, press Ctrl + D to duplicate, and put it on the right side to form chains of links.

11. To make it more real, select all shapes, go to Shape Effects, Preset, and select Preset 2.

For variation, you can give another color to a chain or rotate it.


