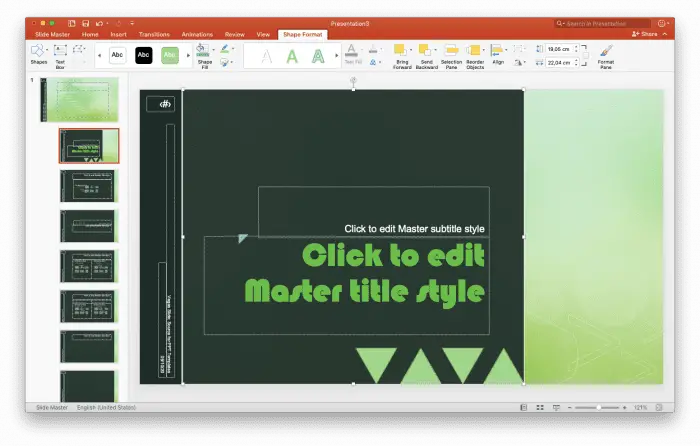
At one point, creating your own powerpoint template is necessary. For example, while being a representative or becoming a spokesperson of a brand.
Therefore, you need to master how to edit master slide powerpoint!
Creating the master slide is easy yet also needs tons of creativity juices. You take over everything from the scratch and can take time and burn yourself out.
But the good news is you can always edit the master slide powerpoint from the existing templates. You can download the template from Vegas Slide or the pre-installed template.
Below we will write the steps one by one so you won’t get lost. Are you ready?
1. Open the existing template. Vegas Slide offers countless amazing powerpoint templates you can modify. Here on the tutorial we are using the basic and pre-installed template.
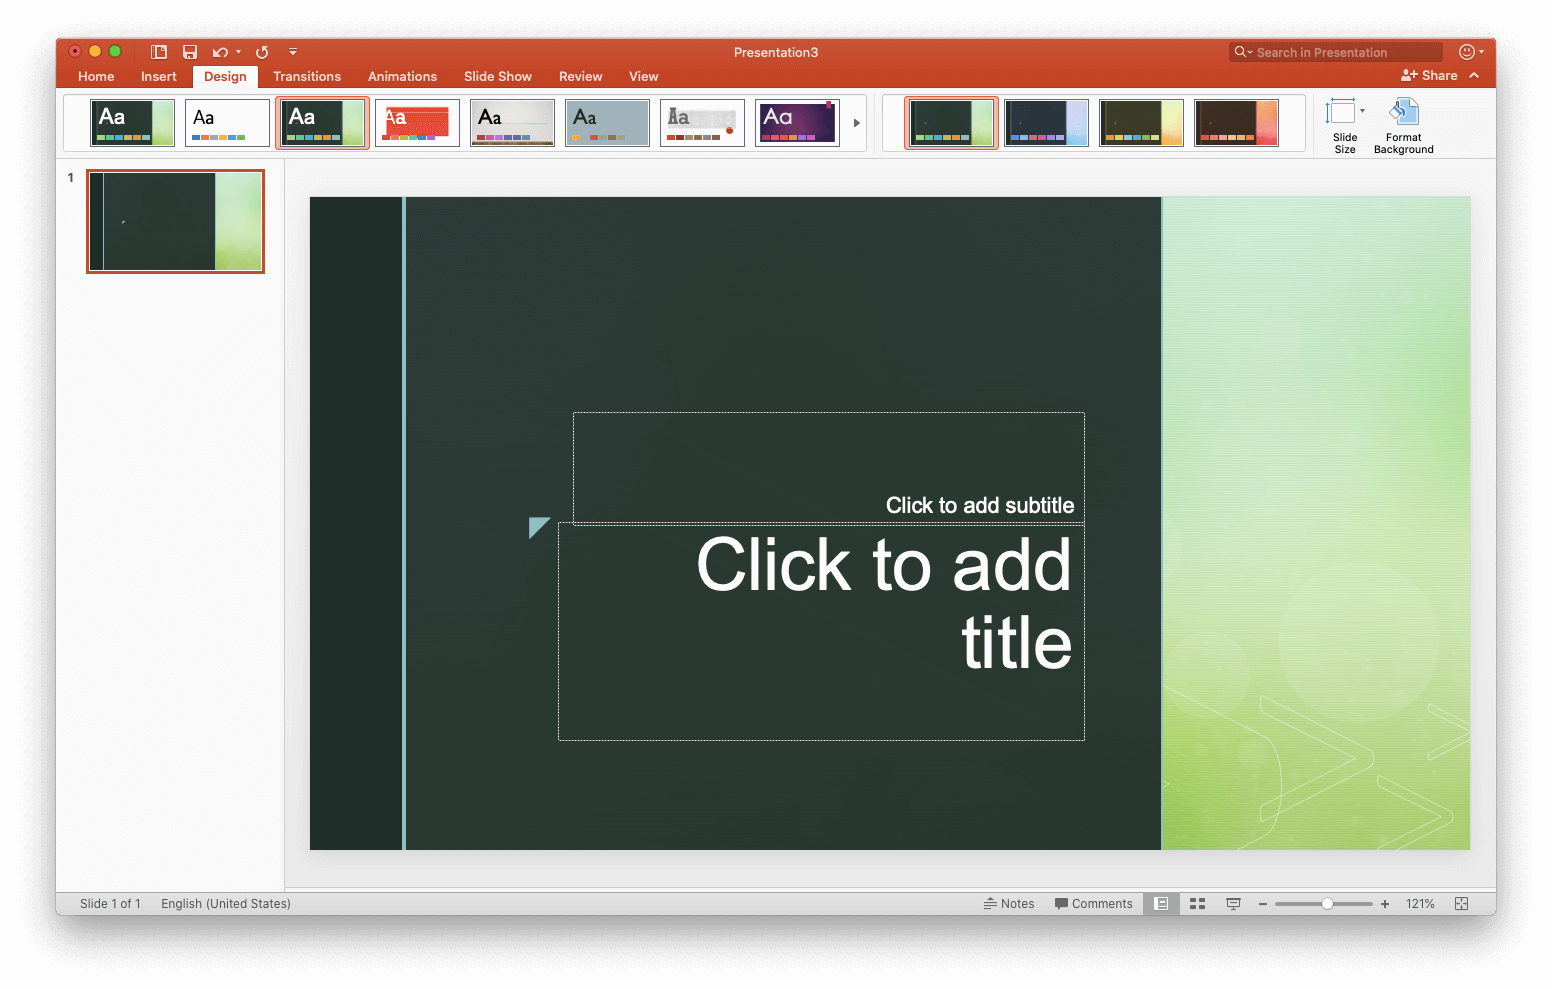
2. Click View, then click Master Layout

3. It will appear like this
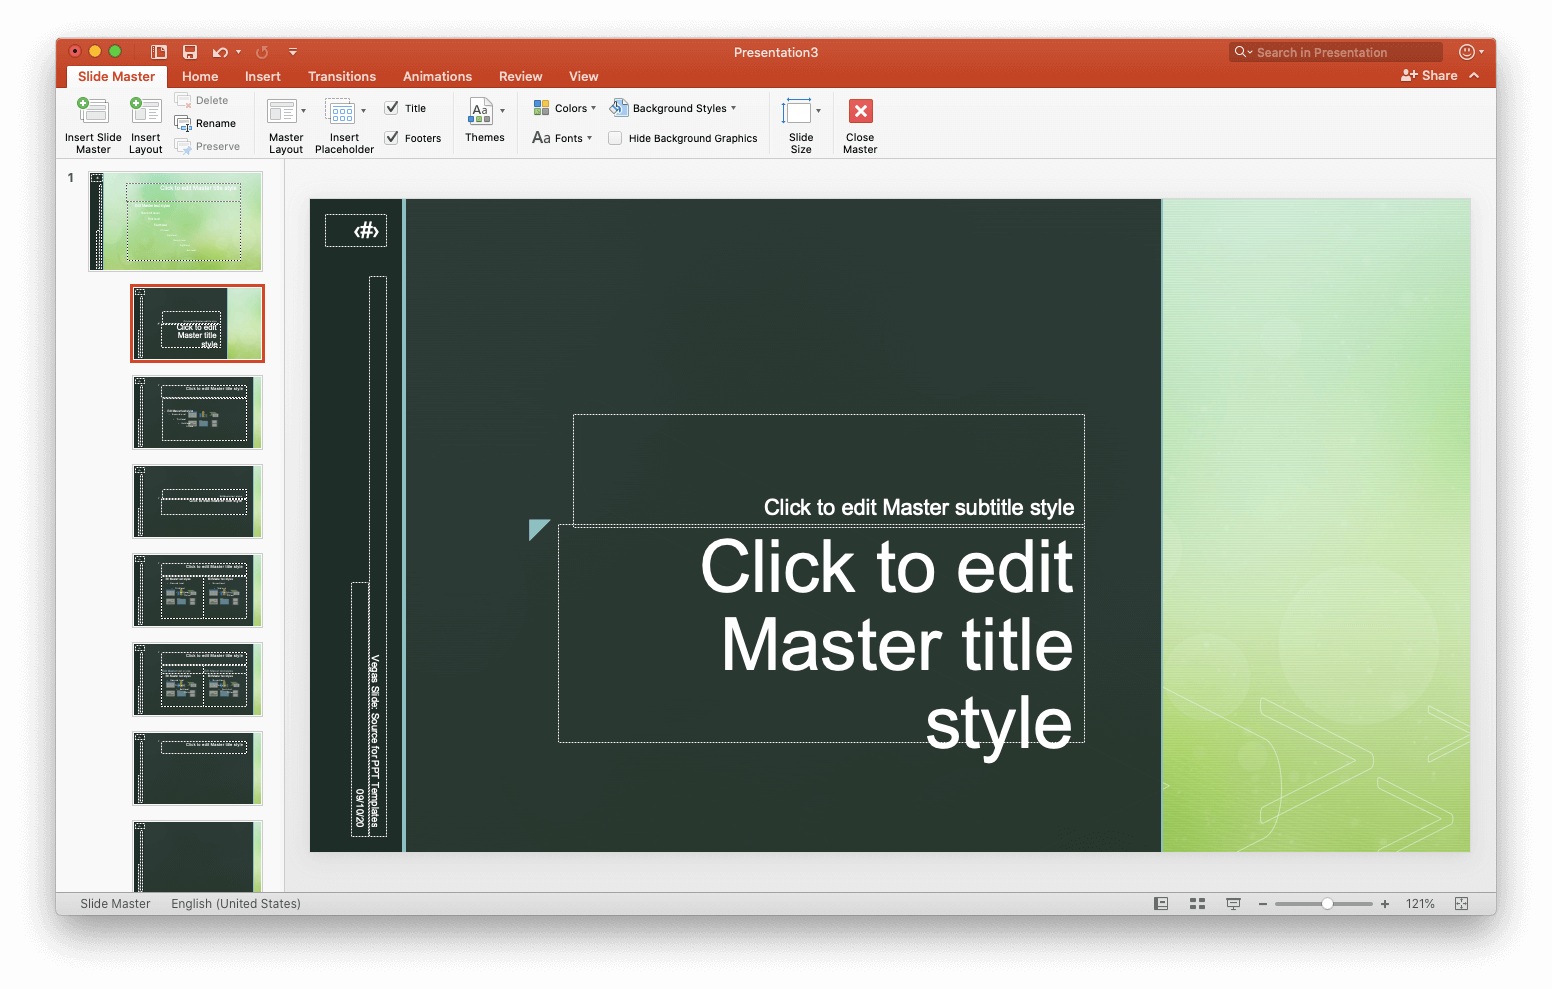
4. From now on, you can edit the fonts, layout, et cetera to your likings. For this tutorial, we are about to change the appearance of the title slide. Try to highlight the biggest font
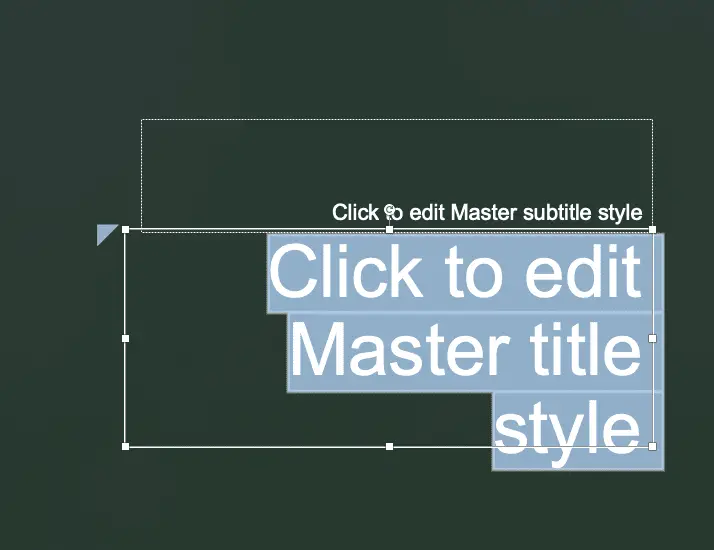
5. Click Home, and then edit the font typeset. We are changing to Bauhaus 93, bold, and stretch the text box little bit to the left
6. Feeling a little bit creative? You can add some shapes for an aesthetic purpose!
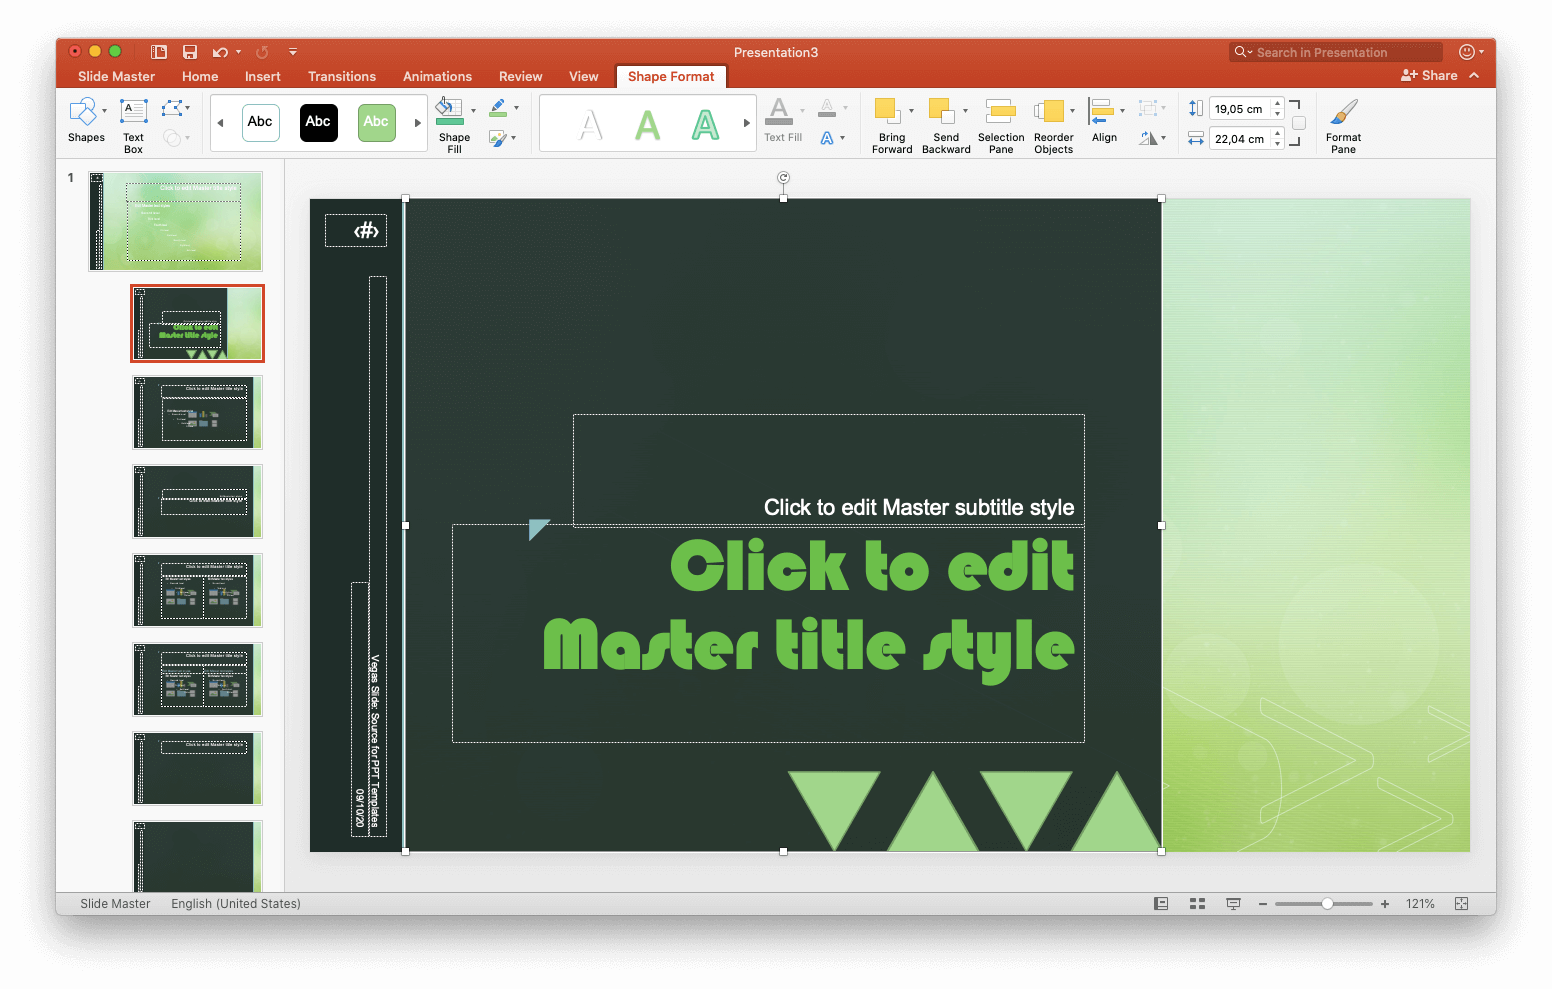
7. If you notice, on the left side there’s a textbox with date and ‘Vegas Slide’. That’s called footer. If you change or modify these elements, you can copy and paste the format to all the master slides. You can read the rest of the article here.

8. Click View then Normal View. The master slide is already done.
There you go! You can try to tweak any format you don’t think suitable for the presentation. Better than creating from the scratch, right? Good luck for the tweaking!
