After designing presentation slides for years, I learned that font selection is perhaps one of the most important equations to make a beautiful, eye-catching slide that guarantees to stick the audience’s attention.
It’s not like Microsoft PowerPoint which shares the same font database as the operating system. Fonts in Google Slides are pretty limited, to say the least. But of course, that’s a wrong statement. There are virtually all fonts you will ever need on Google Slides, you just haven’t seen them.
Google Slides leverages the power of Google Fonts, a library for free and open-source fonts used by web developers and graphic designers alike. Here’s how to pull the Google Fonts database to Google Slides.
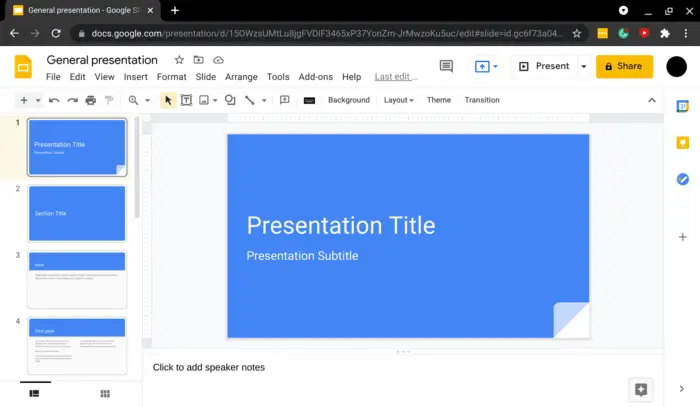
1. Launch any document on Google Slides.
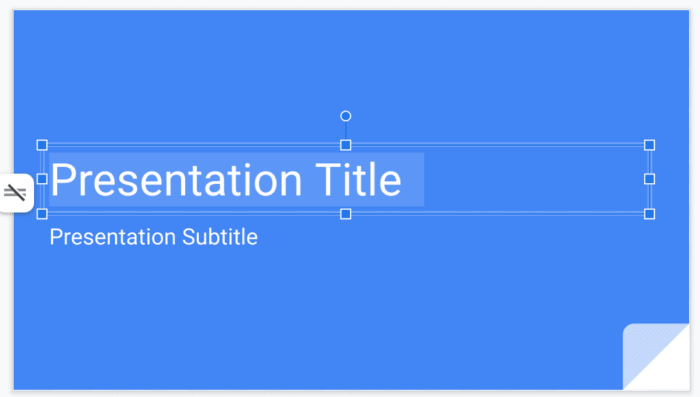
2. Then select a text, any text.
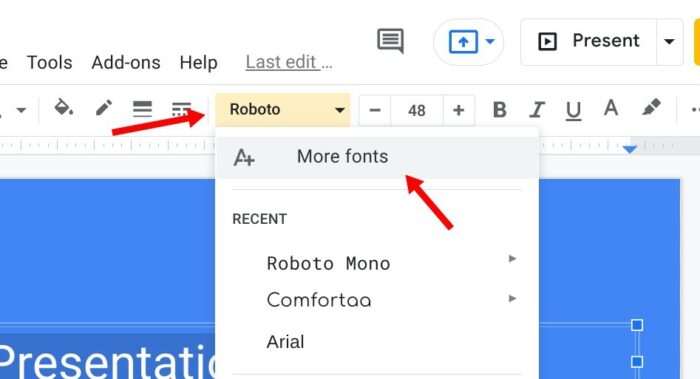
3. Click Font and select More fonts.
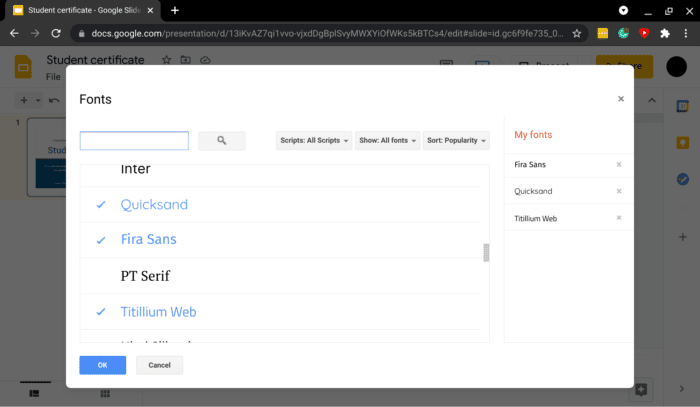
4. Here, you can find the fonts you need. You may narrow down the list by searching for its name or scripts.
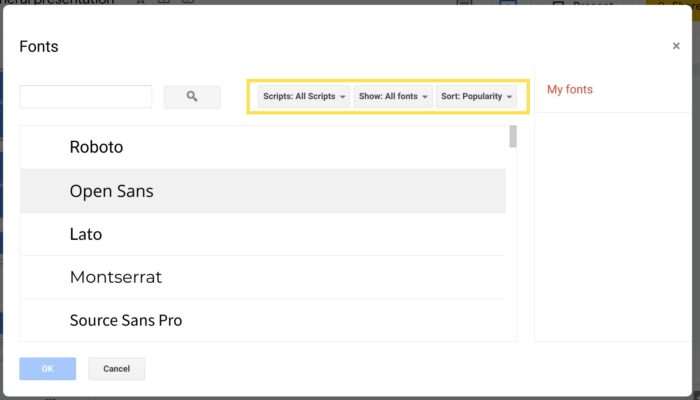
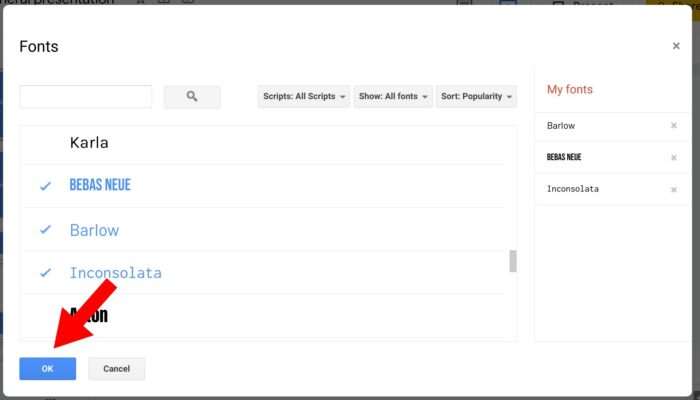
5. Click on all the fonts you want to add, then hit OK.
6. Go to Font again and the new fonts should appear there.
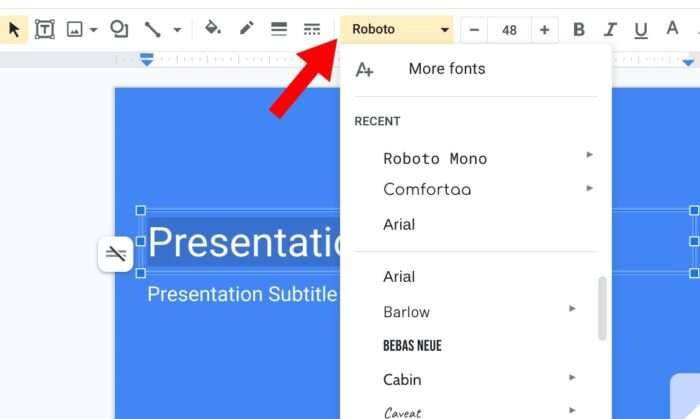
The new fonts would also appear on other documents, basically, they stick to your Google account.
If you feel the font list on your Google Slides is getting overwhelmed, you can remove them by going to Font > More fonts > click (x) on the font you want to remove, then hit OK to confirm.
