Fonts are crucial for making text easy to read and visually pleasing at the same time. When you made a PowerPoint document from one computer, everything looks fine until you transfer it to another device. Then the text doesn’t look the same anymore. You might be asking, why?
Turns out, PowerPoint will use available fonts in any given computer. If the font used in a document isn’t installed, then it will automatically select an alternative font which often breaks the design.
To prevent that from happening, you must embed the font data inside the document to ensure design consistency across devices. Here’s how to do that.
1. Open the PowerPoint document you want to include its fonts.
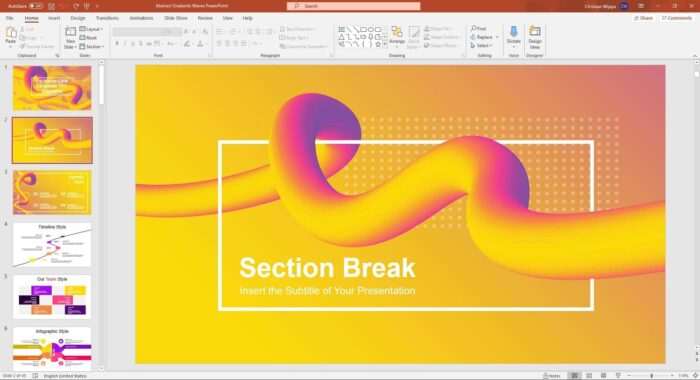
2. Go to File on the top left.
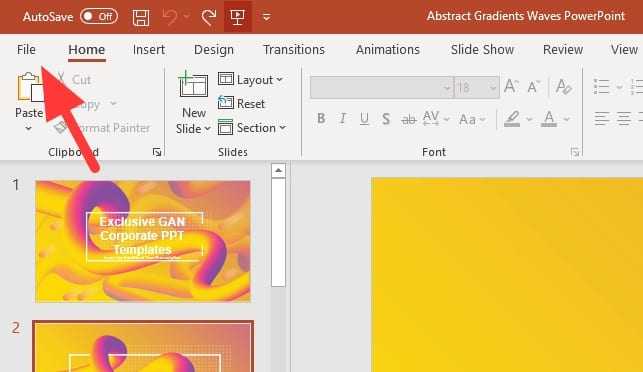
3. Select Options.

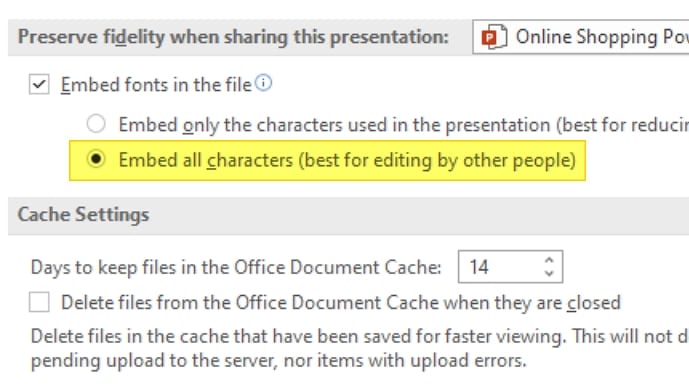
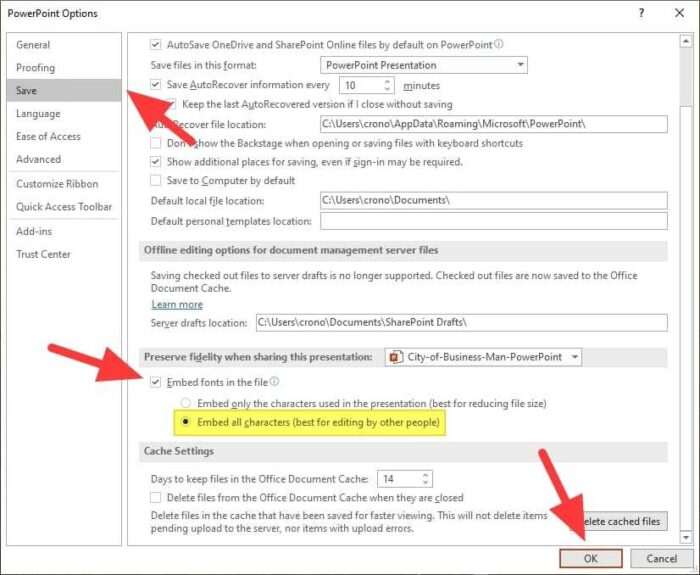
4. Head to Save > Embed fonts in the file > Embed all characters > OK.
5. Now go to File and select Save As.
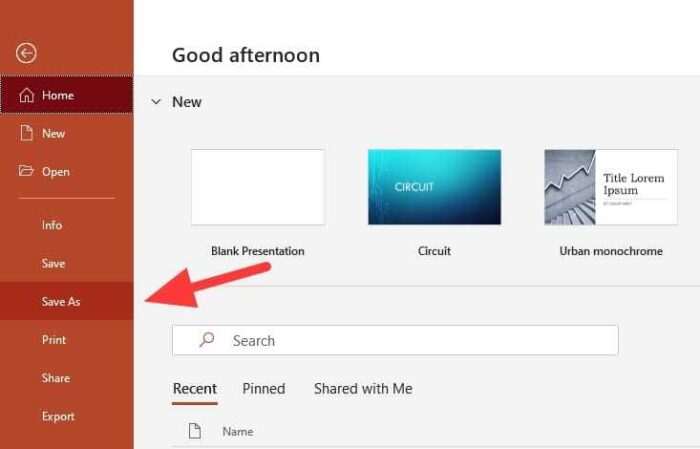
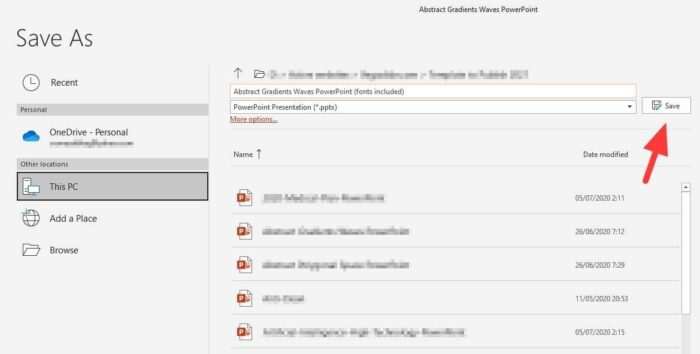
6. You can save the document normally but I suggest you give a slightly different name to differentiate itself from the original one without fonts included. Click Save and the PowerPoint document is ready to use.
Info: PowerPoint documents with fonts included can be a lot bigger than the original document depending on the size of the font data. Try these tips to reduce the PowerPoint file size.
Just to be sure, try to open the document on a different device and see if the text remains consistent. You can also ask your colleagues to try the document on their devices.
Another note you need to know is there are numbers of fonts that aren’t embeddable to PowerPoint. When that was the case, consider using alternative options with roughly similar visual characteristic.
