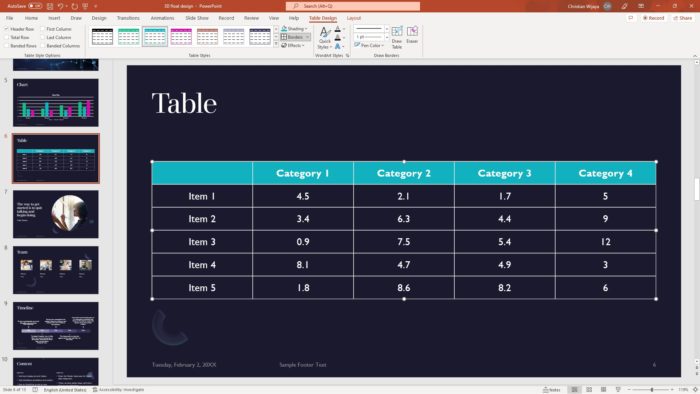
Table is a great way to present data to audiences by allowing you, as a presenter, to dissect information into a column or row that is easy to navigate. Microsoft PowerPoint has the necessary tools and features to create a table right on the platform without the need for Excel or a third-party program.
In this article, I will walk you through step by step to insert a regular table into a PowerPoint slide. Keep in mind that I didn’t cover embedding data from Excel, so we are going to draw a table and then populate it with data manually.
So, without further ado, follow these steps.
1. Launch PowerPoint and locate the slide where you’d like to insert a table.

2. Then, go to Insert > Table and then select the table size. You may also select Insert Table and enter the number of rows and columns or Draw Table with a cursor.

3. You have created a table.
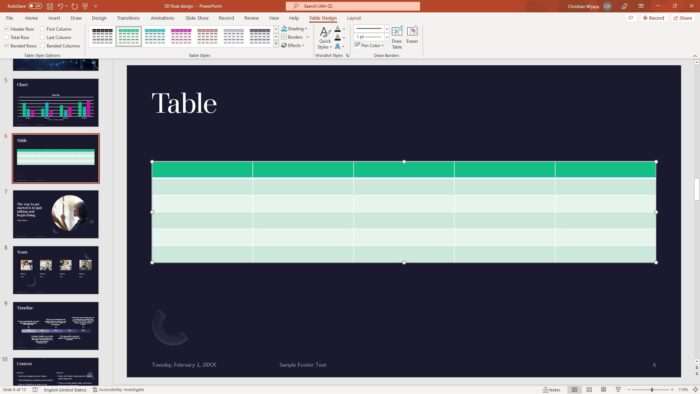
4. Now you can fill it with data. It’s recommended to do this first before changing the table’s design and layout.
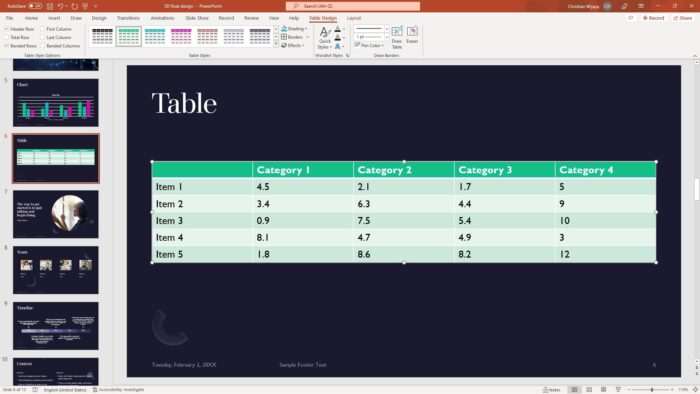
5. To adjust the style of the table, there are plenty of options in the Table Design menu.

6. Meanwhile, settings like height, width, alignment, and general table settings can be found under the Layout menu.

As a tip, keep the table simple and not overcrowded with data. If there are many items to present, consider splitting them into a new slide. You might also want to use a larger font and appropriate color to ensure visibility when projected onto a screen.
Anyway, that’s the basic idea of making a table in PowerPoint. With the tools at hand, there is the freedom to modify the look and feel of the table as you like. Don’t hesitate to experiment with that and see which version you’d like to present.
