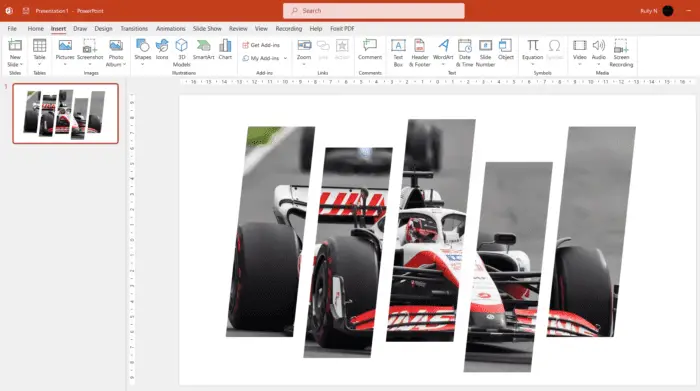
There are many ways in which you can split an image into multiple pieces. You can use Photoshop to cut up the image and then save each piece as a separate file, or you can use the “split” effect found in PowerPoint.
The effect is created by splitting the image into multiple pieces and displaying them in a way that they can be viewed as a whole.
This technique is very popular in infographics, presentations, and data visualization. The split image can be used to display information about different aspects of the same topic or it can be used to create a narrative story with different panels that show one event from many perspectives.
1. In a new blank slide, go to the Insert tab > Shapes and choose Parallelogram. Basically, you can choose any shape you like.

2. Draw one shape, after that press Ctrl + D to duplicate. Arrange the position and the length as you like.

3. Next you’ll need to take the outline off. Select all the shapes, and go to the Home tab, Shape Outline > No outline.

4. Immediately, right-click on the shape and choose Group > Group.

5. Right-click again, but this time choose Format shape.

6. On the right side, choose Picture or texture fill.

7. Click Insert, and choose From a File.

8. Pick the image file, and Insert. You can pick any picture you want. But it works a little bit better if your group shape is kind of similar in dimensions to the image.

Again, these are just shapes. Do another experiment with another shape and explore your creativity.


