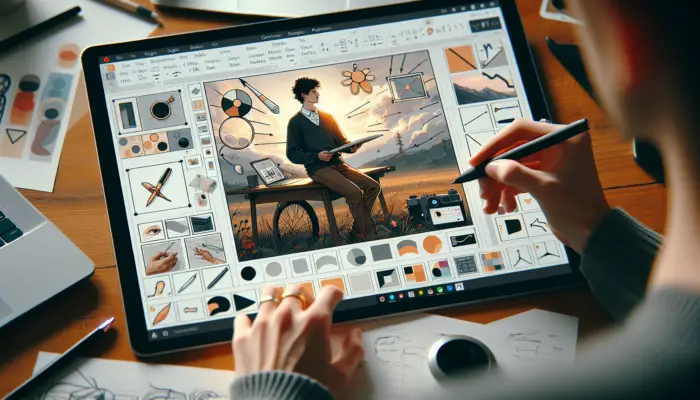
Drawing freehand in PowerPoint allows you to create custom sketches, diagrams, illustrations, and other designs that can enhance your presentations. Whether you want to emphasize a concept, map out ideas, or just add some visual flair, the drawing tools in PowerPoint make it easy to be creative. In this guide, we’ll cover everything you need to know to start drawing freehand in PowerPoint.
Why Draw Freehand in PowerPoint?
Here are some of the key benefits of drawing freehand in PowerPoint:
- Add visual interest – Rather than just text and basic shapes, freehand drawings make your slides more visually compelling. This helps keep your audience engaged.
- Emphasize concepts – Draw attention to key points by circling, underlining, or marking them with arrows, stars, or other symbols.
- Map out ideas – Sketch out concepts, workflows, relationships, hierarchies, and other abstract ideas visually.
- Annotate images – Import images into PowerPoint and draw on them to call out important details.
- Unleash creativity – Drawing tools allow you to add personal flair and style that sets your presentation apart.
Accessing the Drawing Tools
BoldThe drawing tools are available on the Draw tab in PowerPoint. Here’s how to access them:
- PowerPoint 365 – The Draw tab is visible by default. If not, enable it by going to File > Options > Customize Ribbon and checking the Draw box.
- PowerPoint 2019 and 2016 – Click the Review tab, then click Start Inking to reveal the drawing tools.
Once visible, simply click the Draw tab whenever you want to activate the drawing tools.
Drawing with Your Mouse or Trackpad
To draw with your mouse or trackpad:
- Click the Draw tab
- Select a drawing tool (pen, highlighter, etc.)
- BoldClick and drag to draw shapes and lines on the slide.
It can be tricky to draw neatly with a mouse, so don’t worry about perfection. Use broad strokes and you can refine later if needed.
Drawing with a Touchscreen Device
If you have a touchscreen laptop, tablet, or interactive whiteboard, drawing is much more natural:
- Tap the screen with your finger or stylus to start drawing.
- Use your finger or stylus just as you would a real pen, marker, or highlighter.
- Palm rejection allows you to rest your palm on the screen while drawing without leaving marks.
Drawing this way allows fluid, expressive sketches.
Customizing Drawing Tools
To change the color, size, and other properties of your selected drawing tool:
- Click the small arrow next to the tool
- Choose options like line color, thickness, transparency and more
- Click away when done to apply changes
Experiment until you get the look you want. Frequent properties like color and thickness can be changed with buttons on the Draw tab for convenience.
Converting Drawings to Shapes
Once finished with your sketch, you can convert it to a shape for further editing:
- Select the drawing
- Click Ink to Shape on the Draw tab
- PowerPoint will attempt to trace your drawing and convert to a shape
- Refine if needed by adjusting nodes or converting back to ink
Additional Tips for Freehand Drawing
- Zoom in when drawing details or annotating images
- Group related drawings so they move together
- Lock drawings in place so they don’t get moved on accident
- Save as images or PDF to reuse drawings in other apps
- Practice on a scrap slide to get comfortable with the tools
The freedom to draw anything opens up new creative possibilities for your PowerPoint presentations. With a little practice, you’ll be sketching out ideas in no time!


