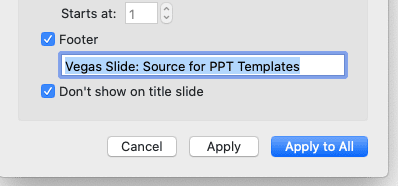
Footer is a tiny space on the bottom of your slide yet also plays a crucial role. You can add up your brand name or personal branding on every slide of your presentation! This can help you look professional and amusing at the same time.
While looking at 50 (or more) slides you already prepared, you might be considering whether or not to add a footer. You don’t have time to edit one by one!
Worry not. We already prepare the simplest guide to edit footer in powerpoint Mac OS so you can save time and be ready in minutes.
Follow the steps below:
1. Open the file you want to edit
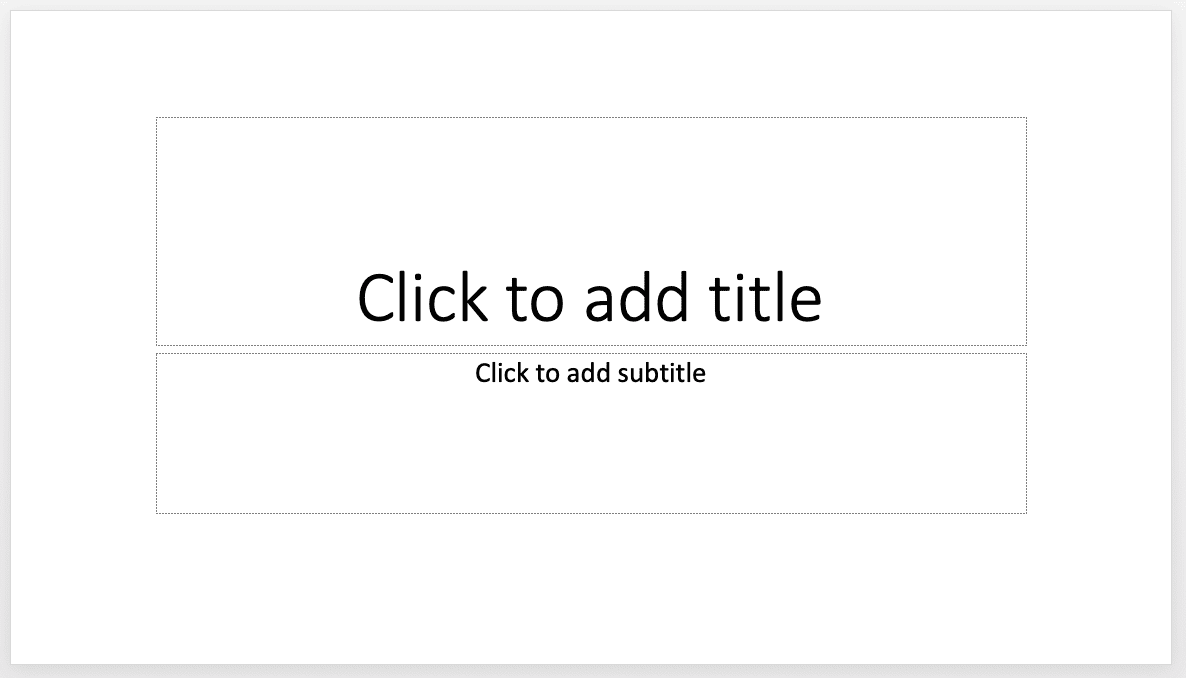
2. Click Insert, then click Header and Footer

3. It will pop up like this
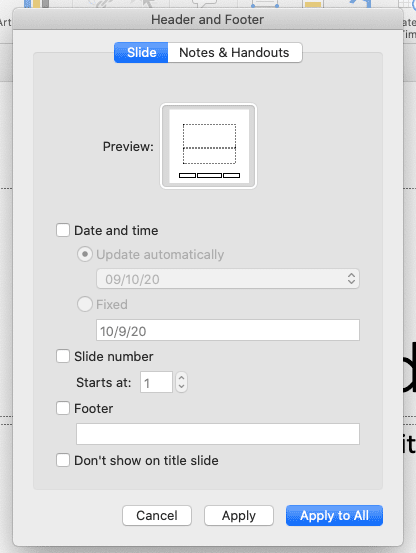
4. You can find various options to add, from date & time to your personal footer. On this tutorial, we will try to add personalized footer
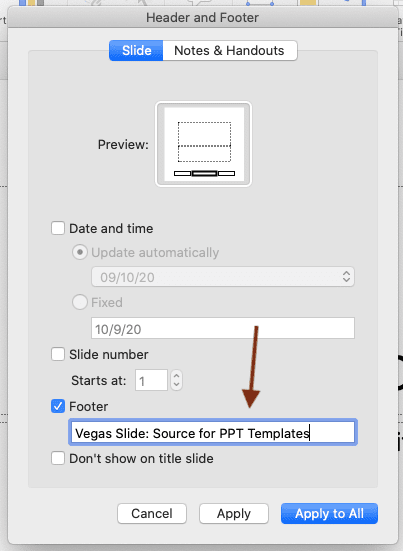
5. Click Apply to All
6. Yes! You can see your personalized footer on the bottom of the slide.
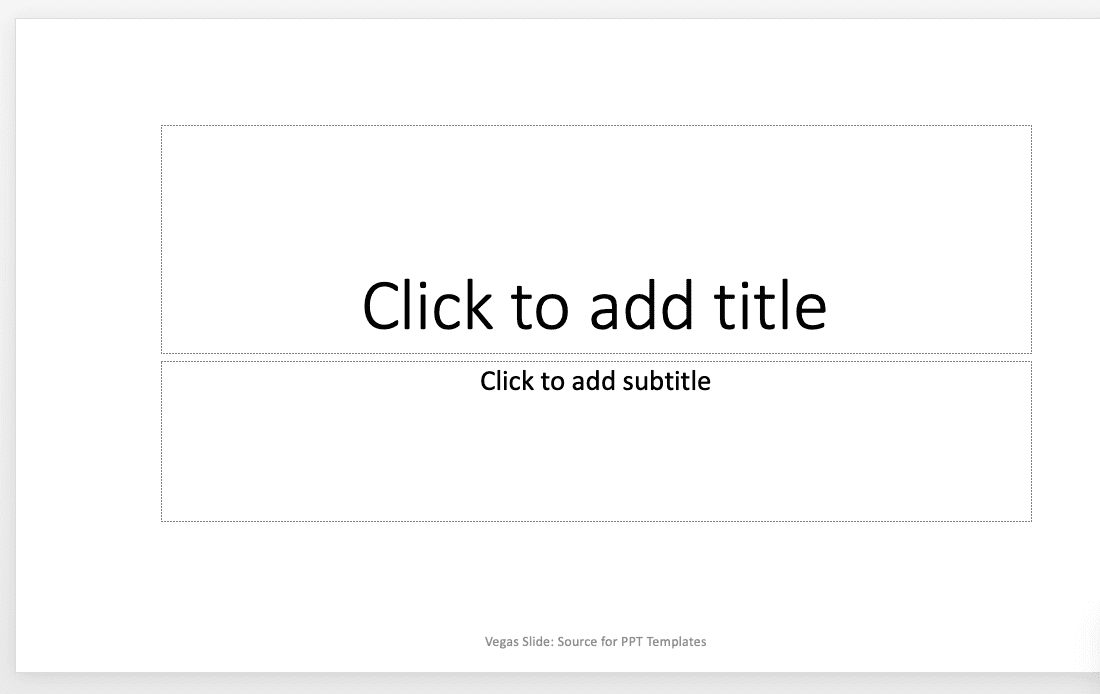
7. Look at the next slide, the footer is still there.
8. You can also change the format easily, but it only applies to one slide. We will talk about this in another article “How to edit master slides on Powerpoint”.

There you go! Usually the footer is used to show the file is confidential. But you can also add up your name or your brand to get more exposure. Good luck!
