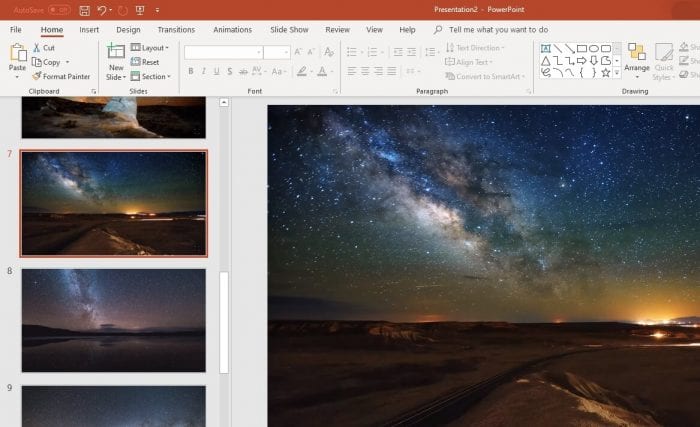
Taking screenshots is an essential skill for creating tutorials, documentation, presentations, and more. Microsoft Office apps like Word, Excel, and PowerPoint make it easy to take screenshots and incorporate them into your documents.
In this article, we will walk through the steps to take screenshots in Word, Excel, and PowerPoint using built-in tools.
How to Take Screenshots in Microsoft Word
Microsoft Word has a handy screenshot tool that allows you to quickly capture screenshots and insert them into Word documents. Here are the steps:
Use the Built-in Screenshot Tool
- Open the Word document where you want to insert the screenshot. Place the cursor at the insertion point.
- Go to the Insert tab and click Screenshot.
- In the gallery that opens, you will see thumbnails of all open windows. Click the window you want to capture to insert the screenshot.
Word screenshot
- To capture a specific part of the screen, click Screen Clipping instead. Your pointer will turn into a crosshair.
- Drag to select the area you want to capture. The area will be highlighted.
- Release the mouse button to capture the selection and insert it automatically.
Use Print Screen
Alternatively, you can use the Print Screen button:
- Arrange your windows to show what you want to capture.
- Press Print Screen on your keyboard to copy the entire screen to the clipboard.
- In Word, position the cursor and press Ctrl + V to paste the screenshot.
- Right-click the image and choose Format Picture to crop or edit the screenshot as needed.
Customize and Annotate
The inserted screenshots can be formatted and annotated within Word:
- Crop, resize, or reposition the image as needed
- Add captions, callouts, highlights, arrows etc. to call attention to parts of the screenshot
- Apply various artistic effects and picture styles
How to Take Screenshots in Excel
Taking a screenshot in Excel works very similarly. Here are the main methods:
Use the Built-in Tool
- In Excel, arrange the worksheet area you want to capture.
- Go to Insert > Screenshot.
- Select the window thumbnail or click Screen Clipping.
- Drag to select the area and release to capture the screenshot into the worksheet.
Keyboard Shortcuts
- Windows: Press Alt + Print Screen to copy just the Excel window.
- Mac: Press ⌘ + Shift + 4 then drag to select the area to capture.
Copy Range as Picture
- Select the range of cells to copy.
- Go to Home > Copy > Copy as Picture. This will open picture export options.
- Choose picture format and quality. Click OK.
- The selected range will be copied as an image that can be pasted into other Office documents.
How to Take Screenshots in PowerPoint
The process for taking screenshots in PowerPoint is very similar to Word and Excel:
Use the Built-in Tool
- In the PowerPoint presentation, go to the slide where you want to add the screenshot.
- Click Insert > Screenshot.
- Select a window thumbnail or click Screen Clipping.
- Select the area to capture by dragging the mouse.
- The screenshot will be automatically added to the slide.
Use Keyboard Shortcuts
Alternatively, you can use the print screen button to copy your entire screen or active window to the clipboard, then paste the image into PowerPoint.
Edit and Customize
Like all inserted pictures, you can format screenshots using tools under Picture Format or Picture Styles in the ribbon. Resize, crop, add borders, effects, and more.
Tips for Taking Better Screenshots
Follow these tips to take clear, useful screenshots:
- Hide unnecessary interface elements like the ribbon or rulers
- Zoom into the area to capture more detail
- Clean up the screen by closing unused windows and browser tabs
- Capture curved corners by holding the Alt key (Windows) while selecting the area
- Use a large monitor for more flexibility in capturing wider content
- Use multiple screenshots for long documents or worksheets
Share and Use Screenshots
Once captured, screenshots can be used to enhance all kinds of Office documents:
- Presentations: Demonstrate interfaces, highlight key points
- Word docs: Create illustrated instructions, tutorials, documentation
- Excel: Capture and share important data, charts and calculations
- Email: Explain issues to support, provide examples to colleagues
With the built-in tools in Microsoft Office, taking screenshots is quick and easy. Follow the steps outlined to capture screenshots and incorporate them into Word docs, Excel sheets, PowerPoint slides, and more.


