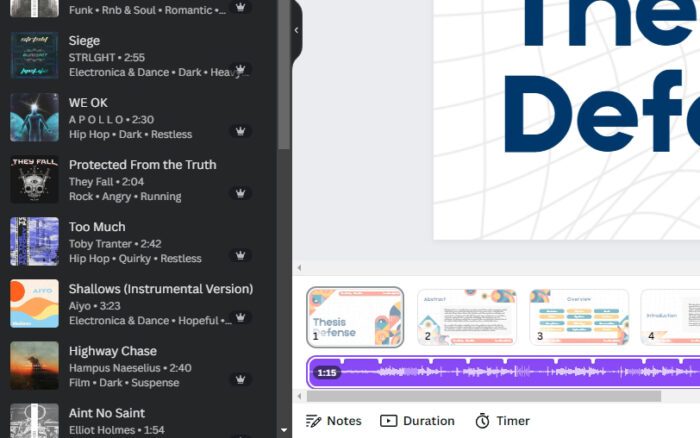
Creating beautiful and effective presentations is crucial for communicating ideas and engaging audiences. With Canva’s user-friendly design platform, anyone can create professional-quality presentations, even without prior design experience.
In this blog post, we provide a step-by-step guide to creating stunning Canva presentations in just 5 easy steps.
Step 1: Choose an Eye-Catching Template
Canva offers hundreds of professionally designed presentation templates to kickstart your creative process. Browse categories like creative, simple, modern, elegant and more to find the perfect design.
Consider the purpose and audience for your presentation. For example, choose a creative template for a fun, innovative pitch or a minimal template for a formal business proposal.
Canva’s template library also includes industry-specific designs for education, technology, healthcare and others.
Once you’ve selected a template, you can fully customize it by changing colors, fonts, adding your brand logo and more. The template gives you an impactful starting point.
Education presentation template
An example education presentation template from Canva
Step 2: Incorporate Visual Media
Visuals make presentations more memorable and engaging. Take advantage of Canva’s massive media library with over 75 million images, graphics, videos and more.
Search for relevant media or browse categories like food, technology, nature, people and more. Everything can be customized – change image colors, crop photos, add transparency and effects.
Uploading your own visuals is also seamless. Drag and drop files from your computer directly onto Canva slides.
Product launch presentation example
Example product launch presentation with visuals
Step 3: Organize Information in Sections
Break up information using Canva’s wide selection of slide layouts like title & text, comparison, process, image grid and more.
Organize content into clear sections to guide your audience through key ideas and concepts. For example, open with a title and agenda slide, cover benefits in one section, product features in another, ending with a summary and call to action.
Maintain visual consistency across slides with cohesive color schemes, fonts, shapes and objects. This creates flow while allowing flexibility slide-by-slide.
Step 4: Animate Your Presentation
Make your presentation interactive by adding animations and transitions. Import your Canva slides into the desktop Canva Presentations app for access to these features.
Animations bring individual elements like images, icons and text to life. Choose entrances like fade, fly, flip and more.
Transitions control how slides change from one to the next. Options like fade, push, wipe and zoom help guide focus.
Timing controls make animations and transitions smooth during actual presentations. Rehearse mode lets you practice with the animations.
Step 5: Present with Confidence
When it’s time for the actual presentation, take advantage of Canva’s real-time presentation tools:
- Presenter View displays current slide, next slide preview, timer and notes.
- Remote Control lets you control slide progression from another device.
- Record Presentation to capture narration and on-screen movement.
Rehearse thoroughly to ensure content flows properly and use the timing from rehearsals to pace yourself. Speak slowly and clearly, establish eye contact with the audience and use natural hand gestures.
Following this easy 5-step Canva guide will help you create polished presentations to effectively communicate your most important ideas!


