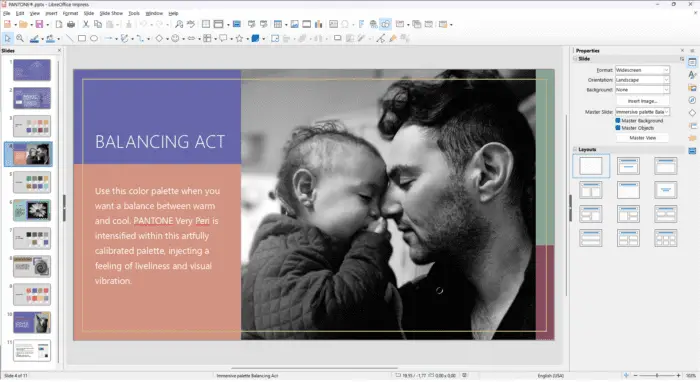
PowerPoint is a versatile presentation software that allows you to create visually compelling slide decks. However, you may sometimes need to use individual slides or images from a PowerPoint presentation in other applications. Converting PowerPoint slides into image files provides an easy way to reuse content.
Why Convert Slides to Images
There are several reasons you may want to save PowerPoint slides as images:
- Use slides in video or web projects – Adding slides as images allows you to easily include them in videos, websites, blogs and more. The image format ensures compatibility across platforms.
- Embed slides in documents – Inserting slides as images into Word docs, reports or other file types lets you reuse visuals without compatibility issues.
- Share visually – Saving key slides, charts or diagrams as images makes them easy to share via email and social media. Images work across all devices.
- Print graphics – Printing slides as high-quality image files produces better physical prints than printing slides directly.
- Archive for reuse – Converting presentations to JPEG or PNG images provides an archived format to reuse slides later in various ways.
How to Save Slides as Images
Saving PowerPoint slides as images is quick and straightforward. Here are the key methods:
Export Slides Individually
- Open the target slide and select File > Export
- Choose export format – JPEG, PNG, GIF, etc.
- Select slide size/quality options
- Save slide to desired location
Export All Slides
- Go to File > Export and choose format
- Select Export All Slides
- Set quality/size options
- Save presentation to export folder
Change File Extension
- Go to File > Save As
- Change file type to JPEG, PNG, etc.
- Save slide(s) as individual images
PowerPoint makes it easy to reuse slides by saving them in common image formats.
Image Quality Considerations
When saving PowerPoint slides as images, consider the following for best results:
- Resolution – Higher resolution images have more detail. Set to 300+ DPI for printing graphics. Lower resolutions like 96 DPI work for web/video.
- Dimensions – Larger images have higher quality but bigger file sizes. Scale image dimensions as needed for your intended use.
- Format – JPEG is great for photos but has compression artifacts. PNG preserves quality and supports transparency.
- Color mode – RGB provides the best color accuracy. Grayscale is better for simple diagrams.
Adjust the output settings in PowerPoint to optimize your exported slides.
Tips for Converting Slides to Images
Follow these tips when saving PowerPoint slides as images:
- Save a copy of the presentation first so you don’t overwrite the original
- Double check image names/locations before saving
- Spot check a few exported images to verify quality
- Use batch conversion to export all slides at once
- Store exported images in a separate folder
- Compress images if you need smaller file sizes
Converting slides properly takes a few extra clicks but enables easy reuse of your presentation visuals.
Alternative Ways to Extract Images
In addition to the export options in PowerPoint, you can also extract images from presentations using:
- Screen captures – Use Snipping Tool, keyboard shortcuts or screenshots to copy slides.
- Online converters – Upload presentations to convert PPT files to JPG online.
- Extraction tools – Specialty software extracts all images in presentations.
- Unzip presentations – Rename PPTX to ZIP and open to access slide images inside.
These methods provide additional flexibility for saving slides and images to reuse externally.
Converting PowerPoint slides into easy-to-share image files opens up countless possibilities for repurposing presentation visuals. By following the export, conversion and extraction options outlined, you can save individual slides or entire presentations as JPG, PNG or other standard image formats for use across all your projects and devices.


