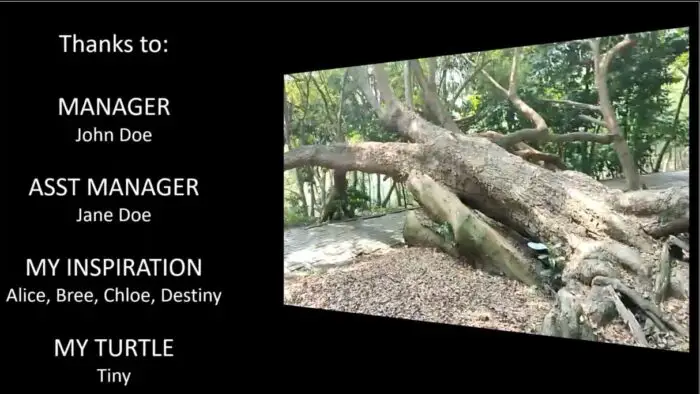
At the end of every movie, there are end credits. End credits provide a comprehensive list of all those who contributed to its creation, including gaffers, technical advisers, and set decorators. This is usually conducted by the production firm or producer and when the cast and crew are thanked for their efforts.
You can also do end credits in PowerPoint to thank the people who are contributing to your presentation.
We’re giving you a quick tutorial on how to create end credits in PowerPoint. It’s going to be easy. So let’s jump into it.
1. Prepare a new blank slide, go to the Design tab, and select Format Background.

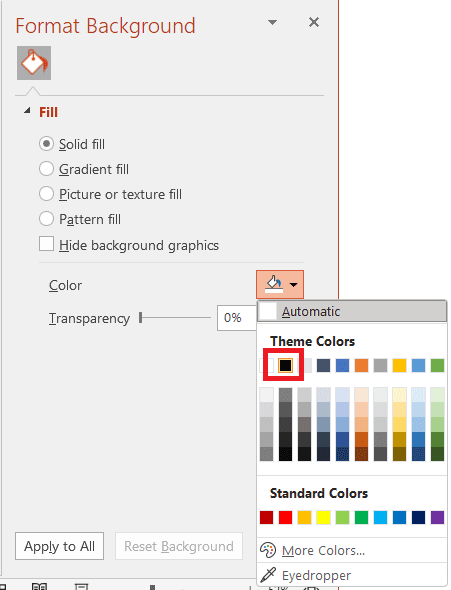
2. Select Solid Fill, and pick black from the gallery.
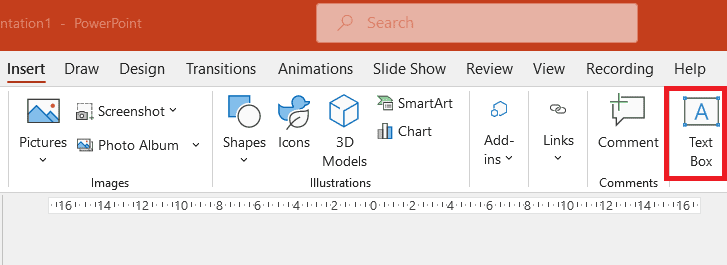
3. Go to the Insert tab, and select Text Box.
4. Draw a text box and fill it with the text for end credit.
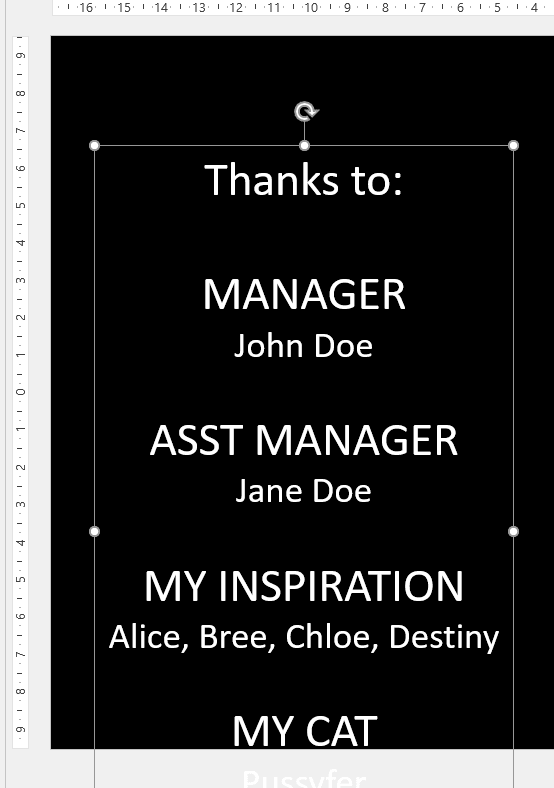
5. Drag the text down so that it is not visible on the slide.

6. Go to the Animations tab, and select Add Animation > More Motion Paths.
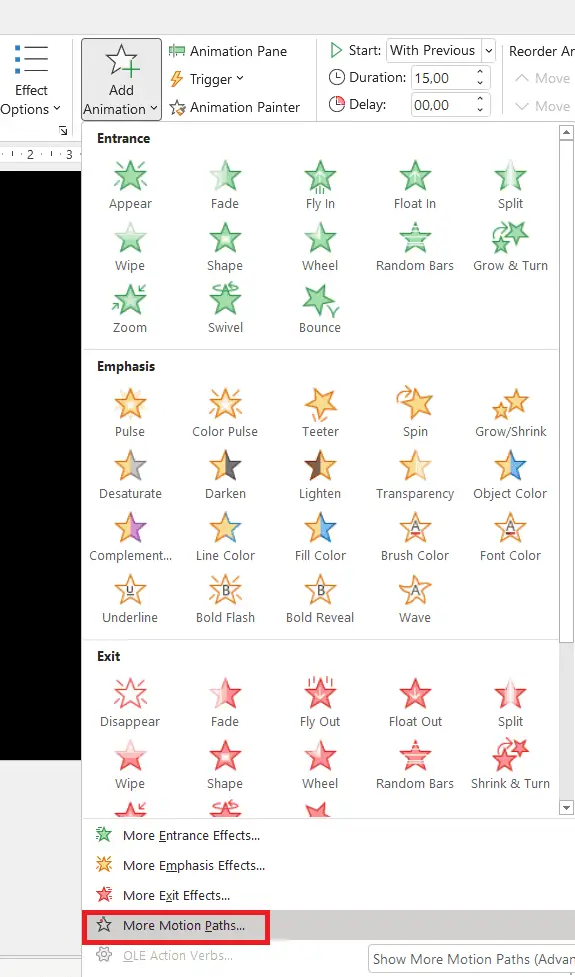
7. Select Up, and click OK.
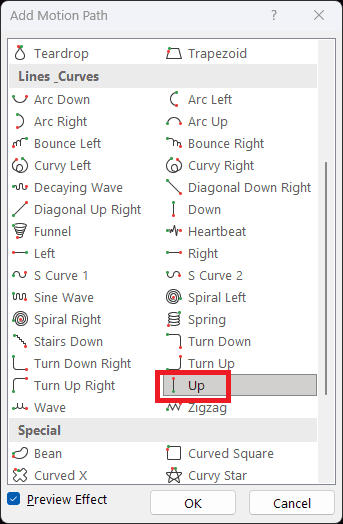
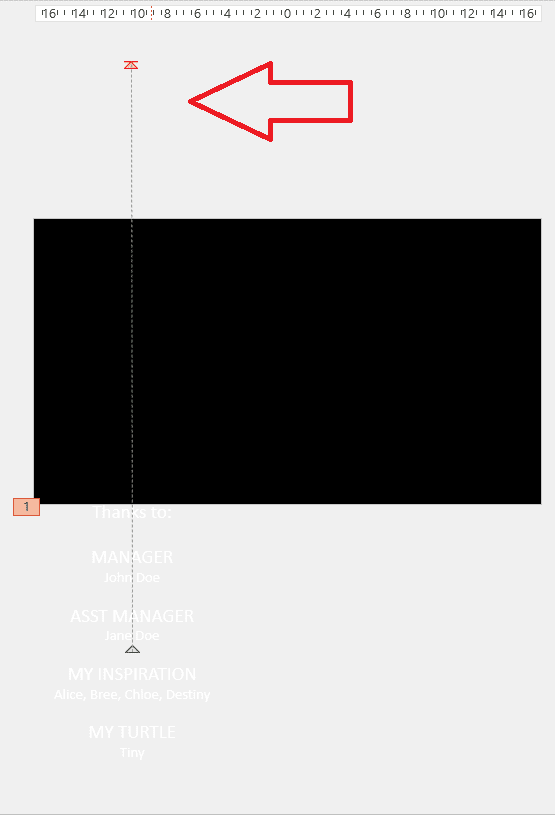
8. Drag the red dot up, so the text box is above the slide.
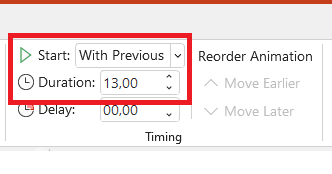
9. Set the Duration to any time you prefer, and Start: With Previous.
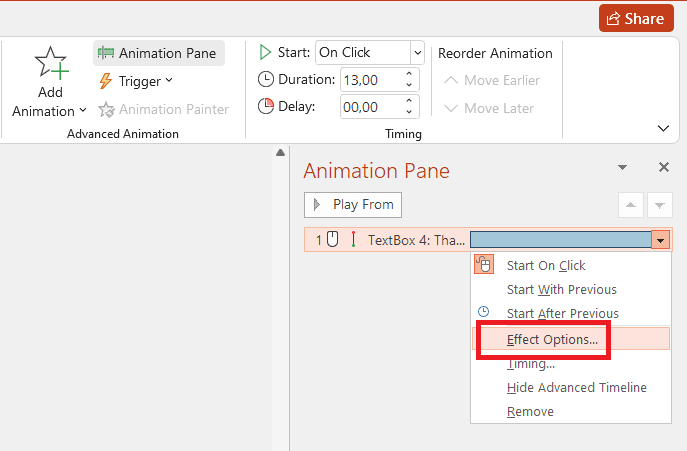
10. Click Animation Pane, right-click, and select Effect Options.
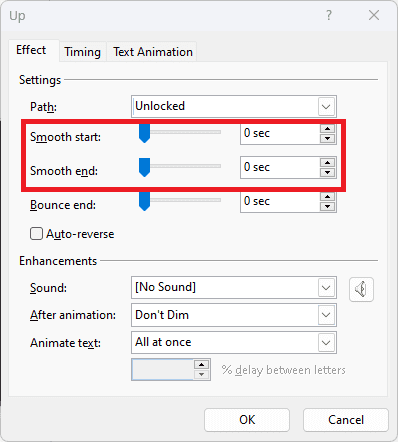
11. Set Smooth start and Smooth end to 0 sec. Click OK.
12. This will be the result.

Add a video for a movie-like effect
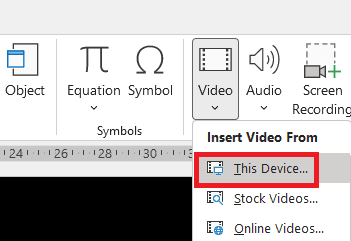
1. In the Insert tab, select Video > This Device.
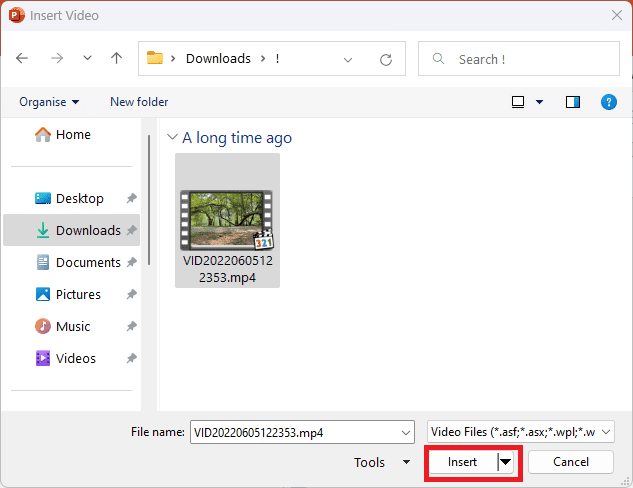
2. Choose your video and click Insert.
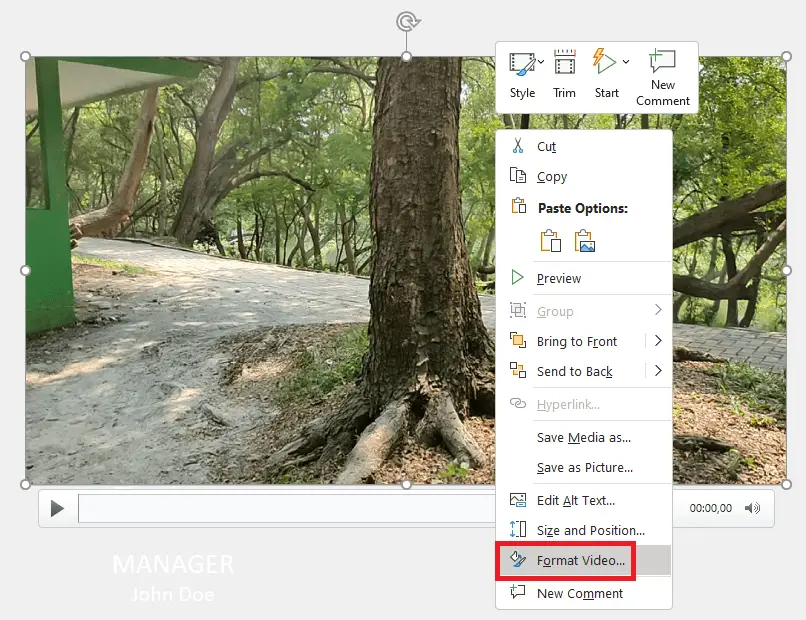
3. To make the perspective effect, select the video, right-click and select Format Video.
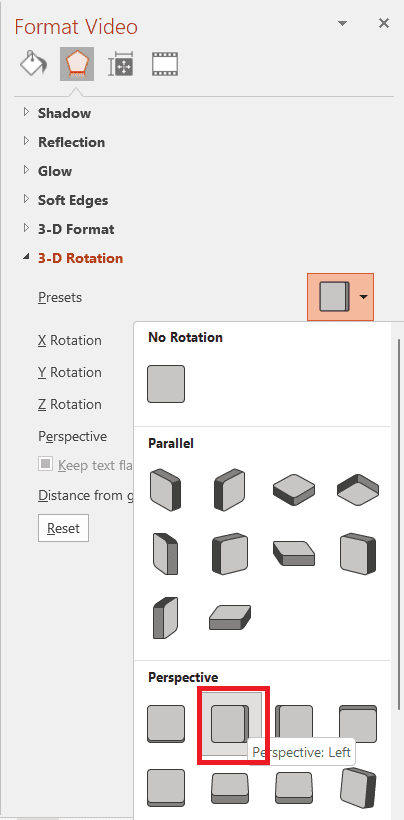
4. Under the 3-D rotation section, choose a preset called Perspective Left.
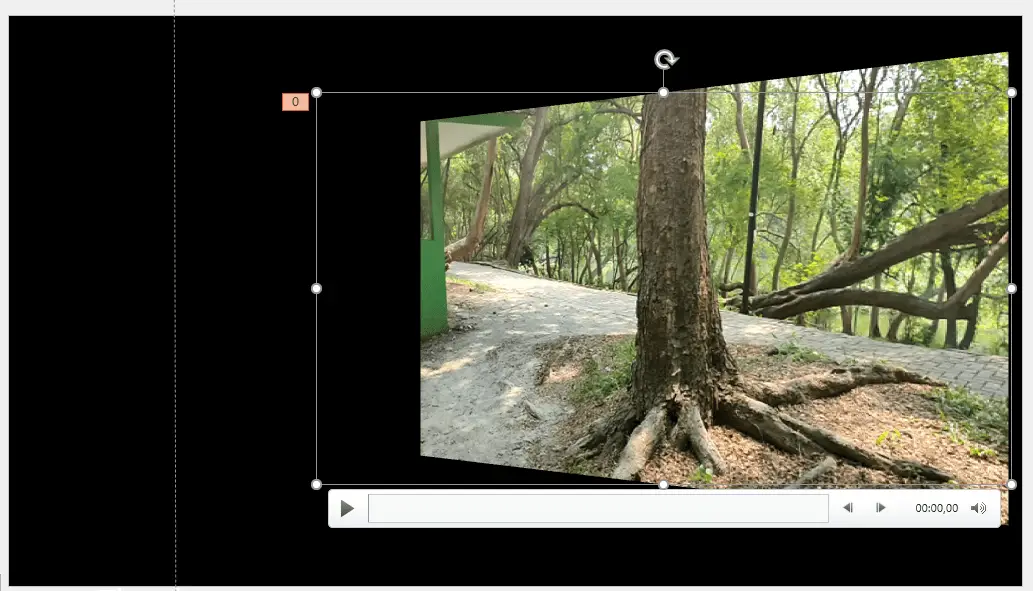
5. Resize and position the video at the right location.
6. Click Animation Pane, and make sure the video is in the first order. You can drag it or click the arrow button.
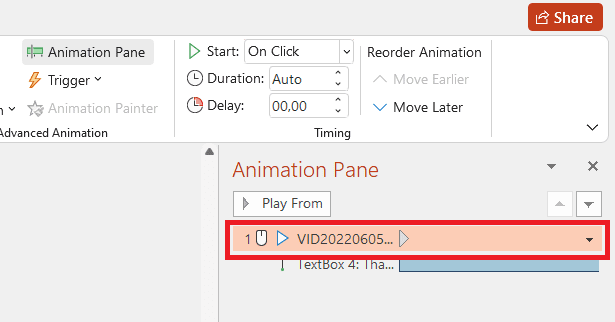
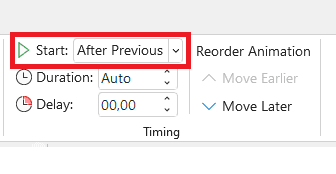
7. In Start, change it to After Previous.
Your end credit is now ready. Let’s preview it.
