Interactivity is one of many factors to keep a presentation more engaging and vivid. With a laser pointer device, now presenters can interact directly with a slide without having to stay in front of a computer. This opens a whole new exciting feature that is otherwise difficult to apply before.
One particular effect that is often used on an image is “click to zoom”. Basically, the picture would be enlarged when a mouse click is triggered on it. But how to use this effect on PowerPoint?
In this guide, I will show you how to enable that effect on a picture in PowerPoint. The procedure is quite easy, but basic knowledge of PowerPoint would be needed.
Now, let’s hop into it.
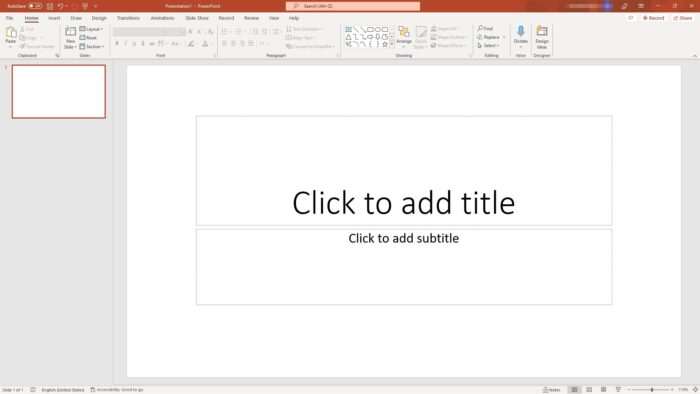
1. Launch a PowerPoint document. For example, I’m using a blank presentation.
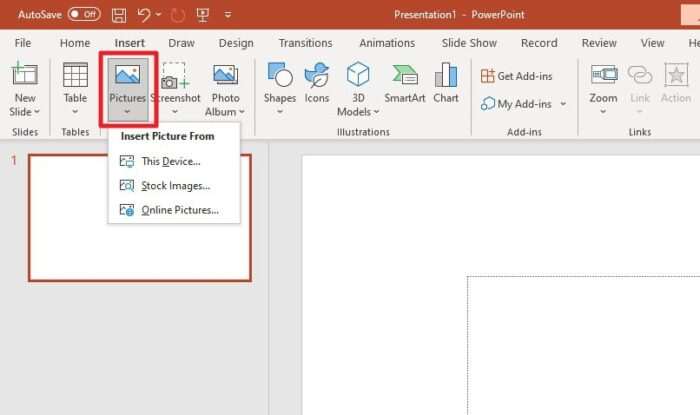
2. Go to Insert > Pictures and select the image source of your choice.
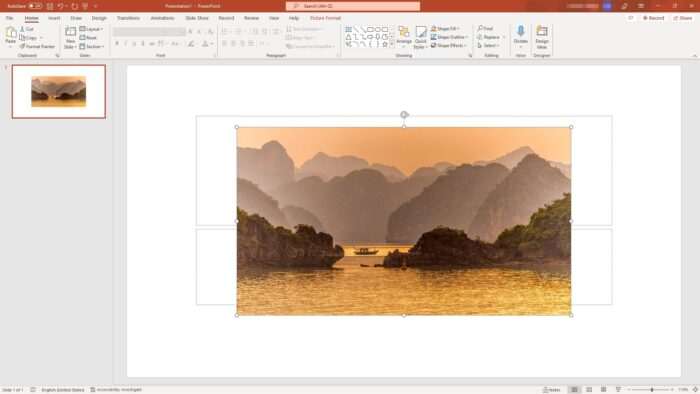
3. Place it on a slide. Ideally, keep the dimension moderately small.
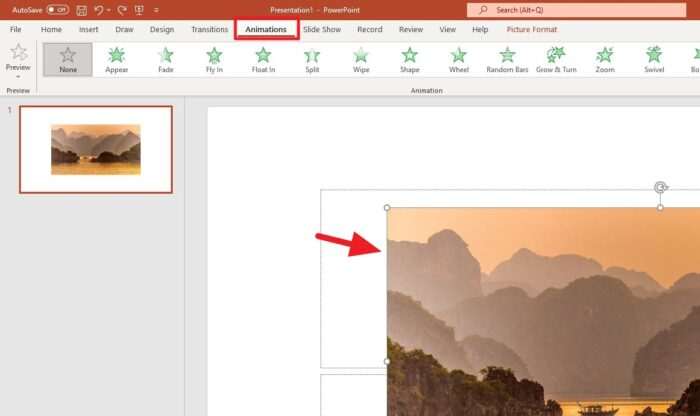
4. Click on the picture and go to Animations.
5. Now, navigate to Add Animation > Grow/Shrink.
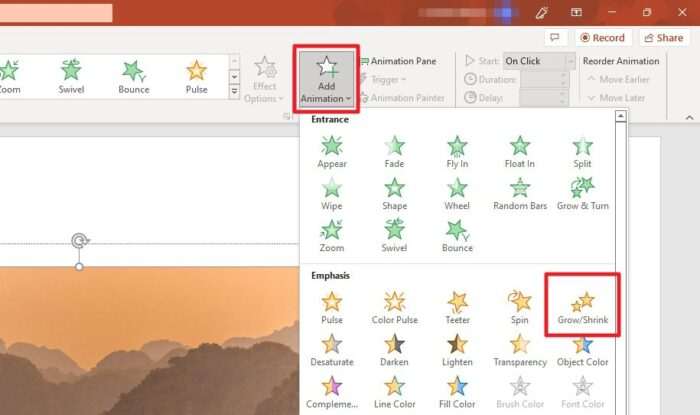
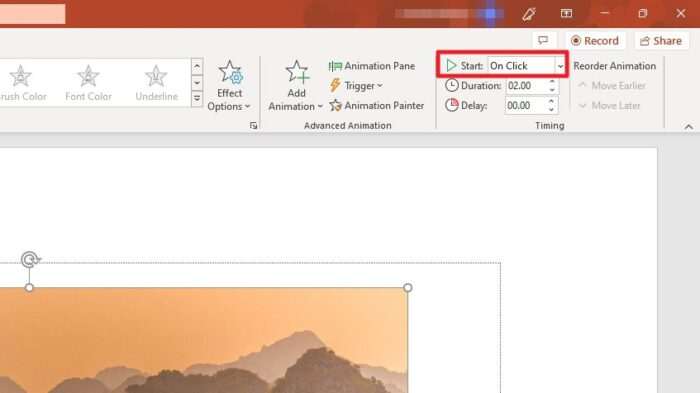
6. Still under the Animations menu, be sure that it starts with On Click. You may also want to modify the Duration and Delay.
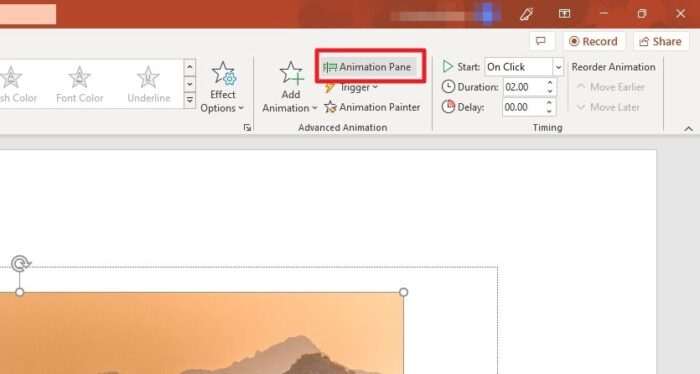
7. We are basically done here. But if you want to adjust the enlarged size, click Animation Pane.
8. Right-click on the animation and select Effect Options…
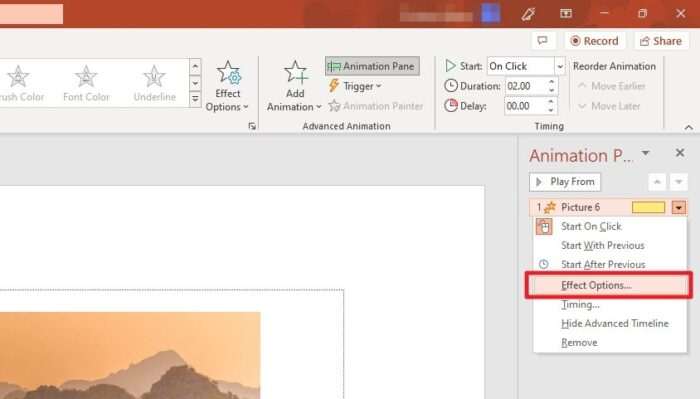
9. You can change the size here. Then, hit OK.

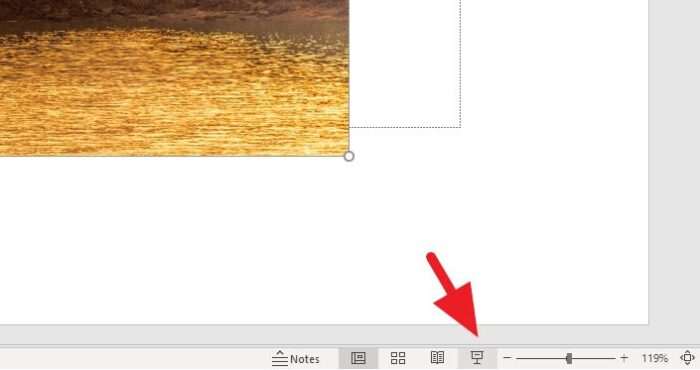
10. Finally, don’t forget to test the slide to see how it would look animated.
Tip: Add a fraction of animation time on “Smooth start” and “Smooth end” at the Effect Options window. This will make the entire animation feels fluid and less jagged.
And that’s pretty much it! The guide above is somewhat basic, leaving spacious room for improvements like adding more animation effects, additional text, and organizing timing. To learn more about animation timing on PowerPoint, check out this article.


