Animation plays an integral role in a presentation. With the right configurations, it creates a smooth, enjoyable slide that most audiences would love to see. And of course, making a perfect animation sequence isn’t an easy task. You must know the trigger, animation style, effects, duration, and particularly, the timing.
Timing or delay is extremely important for a slide with dozen of animations. Basically, it will allow certain animations to play after the other ones finished. This can be tricky, but the concept is surprisingly simple.
Here’s how you can set animations timing on Microsoft PowerPoint.
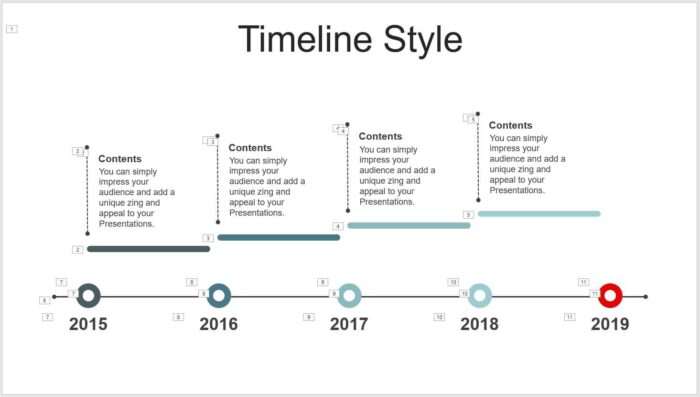
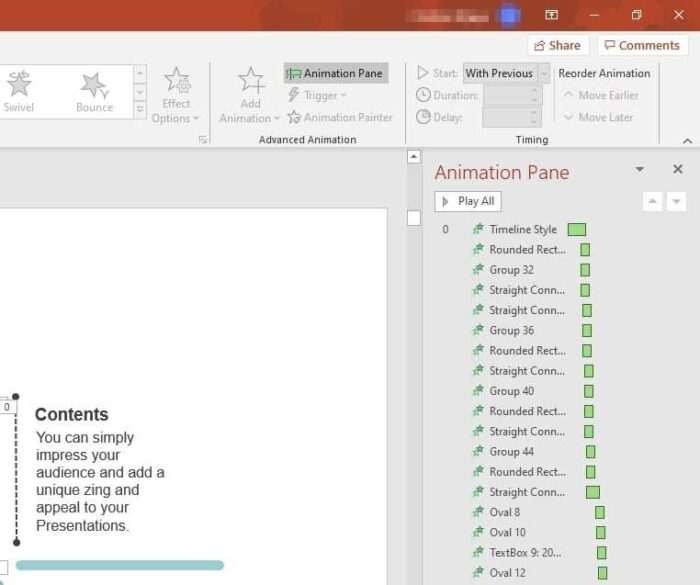
1. Set animation styles on the slide’s element you want to animate.
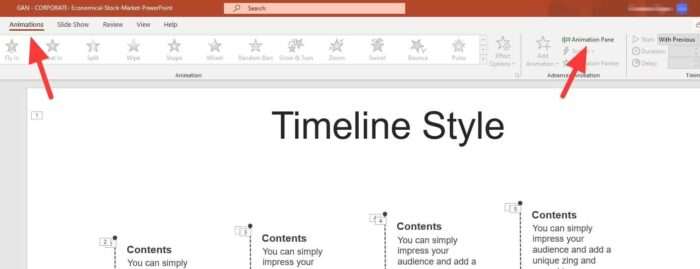
2. Then head to Animations > Animation Pane.
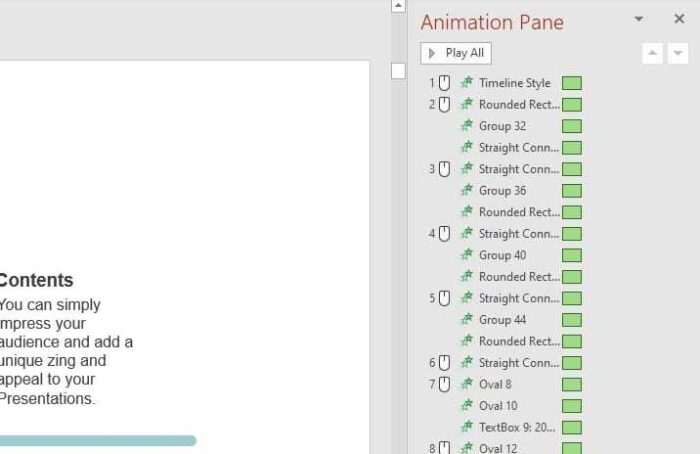
3. You will see something like this. It represents a raw form of the animation timing. You certainly don’t want to present something with this mess.
4. Now, click on an animation, preferably the first one and working it to the bottom. Then you can play with the Start, Duration, and Delay settings.
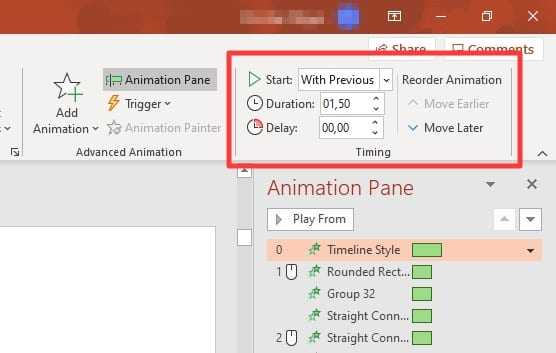
5. The process can consume quite some time but when done, the green bar size and position should be changed according to your timing settings.
6. Try out the settings until you found the perfect balance.

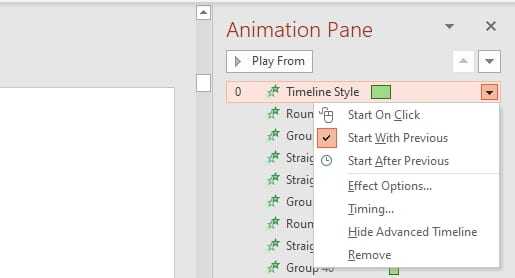
Once you doing enough work for the animation timing, you will get a better sense on how to set it properly. You may want to take a look at the animation context menu as it provides extra features to enhance the animation effect.
And that’s it for now. From now on, I hope this guide helps you creating a beautiful presentation slide.


