Often enough, you want to export PowerPoint slides into an image format (such as PNG, JPEG, GIF, TIFF, etc) for certain purposes.
Perhaps you want to send it to social media, keep it as a wallpaper, or just love the design of the slide. Whatever your choice, PowerPoint has always a feature to let you exporting those slides into an image.
So, how to do that? And which of the best format should I choose?
The following guide is based on Microsoft PowerPoint 365 version 1902. Other versions might have a slightly different look and feel. However, the step by step process should be the same.
How to export PowerPoint slides to images
In this tutorial, you will learn how to export PowerPoint slides (PPT/PPTX) into an image format, such as JPEG, PNG, TIFF, GIF, etc. The process is very easy and can be done in less than a minute.
1. Go to File.
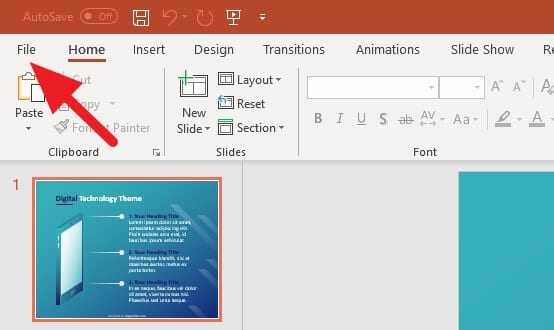
2. Locate Save As.
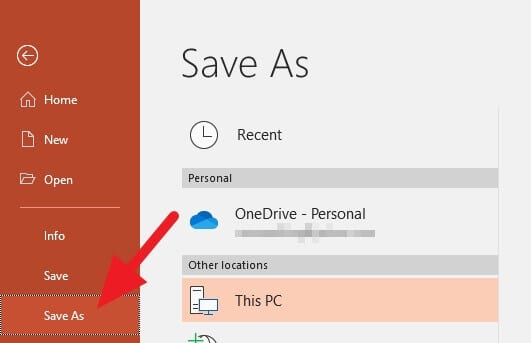
3. Select the format you want. PowerPoint has four different image formats: JPEG, PNG, GIF, and TIFF.
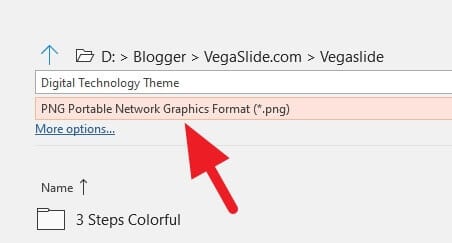
4. Click Save to confirm. Make sure you have located the output folder where the image(s) will be saved.
5. Choose whether you want to export All Slides or Just This One (the one you recently displayed).

6. The export process has completed. Click OK to close.

7. Now you have the image version of the PowerPoint slide.

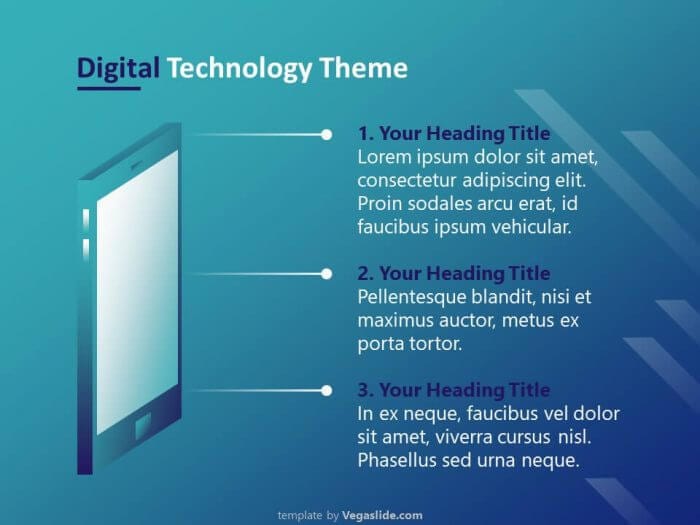
The sample image on the tutorial above is based on Digital Technology Theme PowerPoint Template. You can download and use the template for free.
Here is a quick explanation of each image format:
- PNG — bigger file size with a detailed pixel and transparent effect capability
- JPEG — smaller size with decent quality, perfect for a web image
- GIF — only supports 256 colors and less detail
- TIFF — meant to be preserve quality which means can’t be compressed
I personally prefer JPEG or PNG because these formats are the most common type on the internet. But feel free to choose the best format that works for your intentions.
Alternative Method: Print Slides as PDF
An alternative approach is to “print” your presentation to a PDF file. The PDF will contain your slides as images that can be extracted.
- Go to File > Print and select the PDF printer option if available. If not, select Microsoft Print to PDF.Print to PDF
- Under Settings, choose Notes Pages to include slide images with notes.Notes Pages option
- Click Print. The PowerPoint slides will be saved as a PDF file.
- Use online tools or Adobe Acrobat to extract and save the individual slide images from the PDF.
Printing to PDF preserves the full resolution of your slides. The extracted images will be suitable for high quality printing.
Image Quality Considerations
When exporting PowerPoint slides, there are some important factors that affect image quality:
- Resolution – The default resolution when exporting slides is just 96 dpi. This creates pixelated, blurry images when printed or enlarged.
- Compression – File formats like JPEG use compression that can degrade image quality, especially with text. PNG files are better for maintaining quality.
- Color mode – Converting to grayscale or black-and-white reduces image quality. Stick to full color exports.
- Text – Small text doesn’t scale well when enlarged. For readable printed slides, font sizes of 24 pt or larger are recommended.
For best results, export your slides to PNG or PDF to avoid compression artifacts. If file sizes are too large, JPEG at maximum quality settings can work too.
Conclusion
Exporting PowerPoint slides as images is easy using the built-in Save as Picture, Export, and Print to PDF options.
For individual slides, right-click and select Save as Picture. To extract all slides or a batch of slides, go to File > Export and pick your format. Or print the entire presentation to a PDF file, then extract the slide images.
Aim for PNG or PDF files to maintain image quality, especially for printing slides. Be mindful of resolution, compression, color mode, text size, and other factors that affect image quality.
FAQs
How do I export all slides as images from PowerPoint?
Select File > Export > Change File Type > Image File Types. Select All Slides and choose image format like JPEG.
How do I format a PowerPoint slide to a picture?
Select the slide, go to File > Export > Change File Type, choose an image format, then Export Current Slide Only.
Can you export a PowerPoint slideshow?
Yes, go to File > Export > Create a Video and choose a video quality, or File > Save As and select PowerPoint Show as the file type.
How to save PowerPoint slide as image without losing quality?
Change the ExportBitmapResolution registry key to increase resolution, then File > Save As, choose an image format like PNG.
