Grouping multiple items together is a clever way to minimize the amount of work needed for otherwise labor-intensive tasks. This is especially true when designing a presentation slide where there could be tons of elements to take care of, including text, pictures, graphs, and videos.
If you are planning to embed more than one picture in your Google Slides presentation, it’s highly recommended to group them together so you can avoid repetitive work. For example, images that are clustered together are easier to move, resize, and apply other customizations.
To group images in Google Slides, follow the steps below.
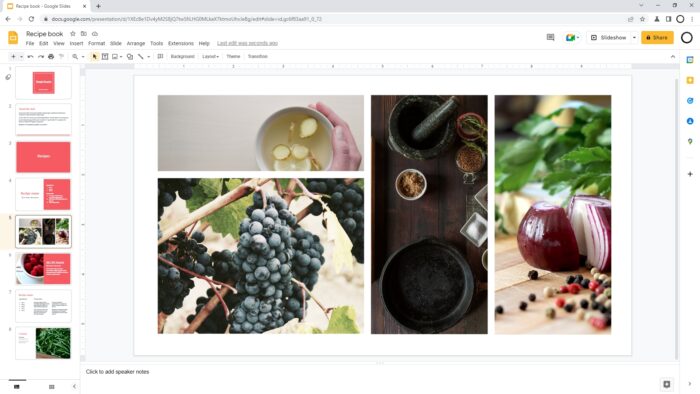
1. Open the document on Google Slides. Here I have a slide that contains some images but they are treated individually and I want to make them into one group.
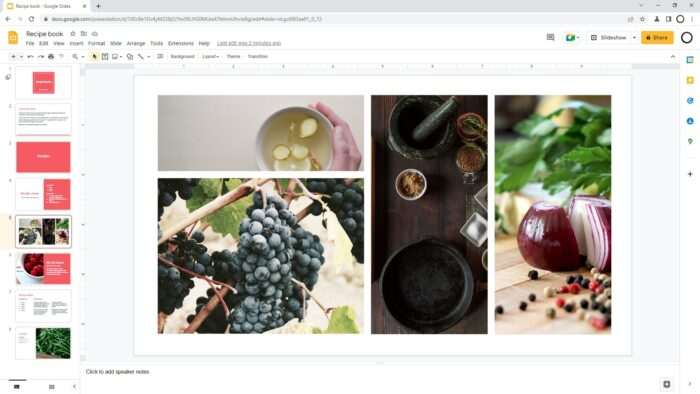
2. Press and hold the Ctrl key on the keyboard, then click on each image you want to group. You may also use the Ctrl+A shortcut to select all content (not just images) in the slide.

3. Right-click on one of the images, then click Group.

4. Now these images are grouped together, and treated as a single item. In the example below, I resized the group and each image is separated accordingly. That wouldn’t be possible without grouping.

5. If you want to separate them, right-click on the group and select Ungroup.

Remember, the same trick isn’t just limited to pictures. You can select and group items like videos, graphs, lists, text, shapes, and many more.
