Grouping is what makes the editing process in PowerPoint much simpler and easy to work with. The idea is merged objects will act as a giant one so we can universally apply a particular style, animation, hyperlink, or other feature once instead of manually redo the process several times.
Luckily, Microsoft PowerPoint allows you to group multiple objects, including text boxes, images, videos, charts, icons, and virtually anything that can be inserted into a slide. Check out the guide below on how you can group any objects in your presentation slides.
How to group multiple objects
1. Launch a PowerPoint document.
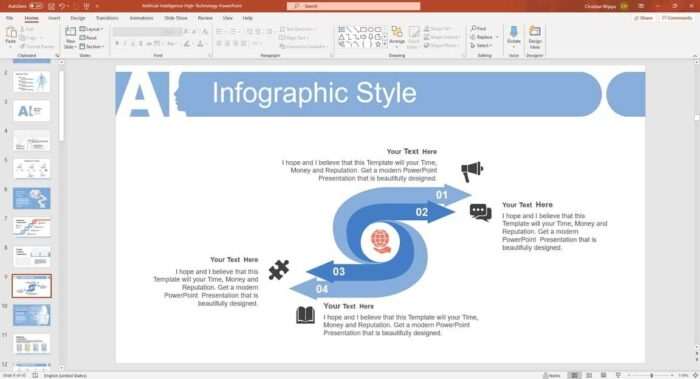
2. Select the content you want to group using the mouse cursor.

3. The selected objects will appear like this.

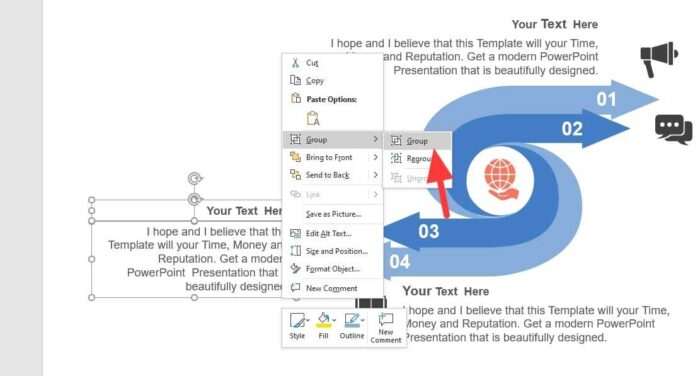
4. Right-click on the selection line on the edge, go to Group > Group.
5. Now the objects have been merged into one item.

While this method is good for selecting objects within closer proximity, it won’t cover if you want to group scattered objects which impossible to select by just using a cursor. That being said, you can follow the solution below.
How to group scattered objects
In this guide, I only want to select the scattered text boxes without touching the image in the middle.
1. Press CTRL+Click on one object.

2. Then, follow with other objects you want to group together.
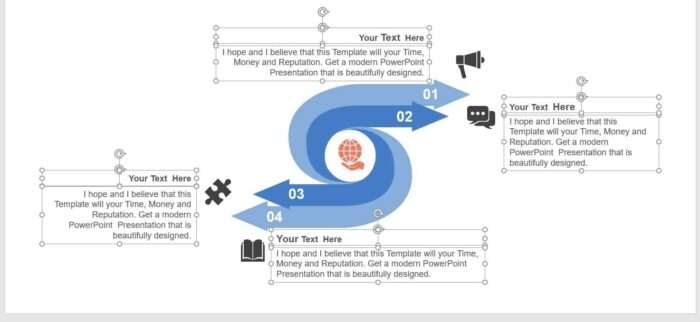
3. Right-click on the selection line and select Group > Group.

4. The objects have been grouped.
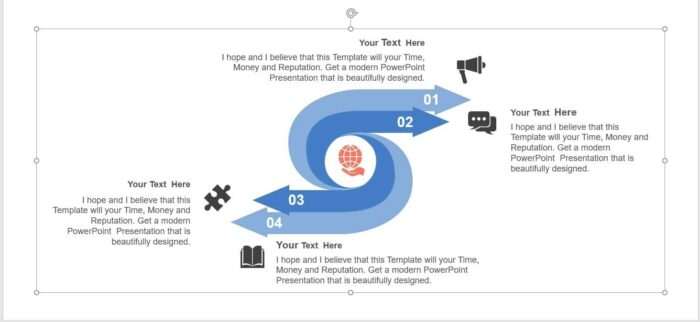
One thing to note here is grouping only possible for objects within the same slide. You may also need to rework animations that previously been applied before grouping, otherwise, it would look messy during the slideshow.
To disband the objects, all you need to do is right-click on the selection line, head to Group > Ungroup. Keep in mind that this action would discard any animations you put when grouped. Thereby, always double-check your slides before presenting them. Good luck!

