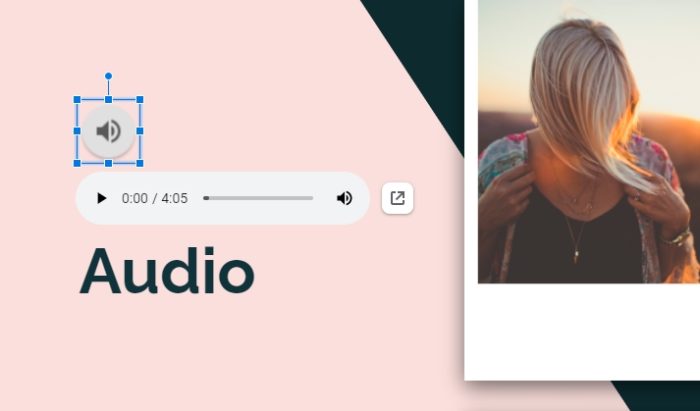
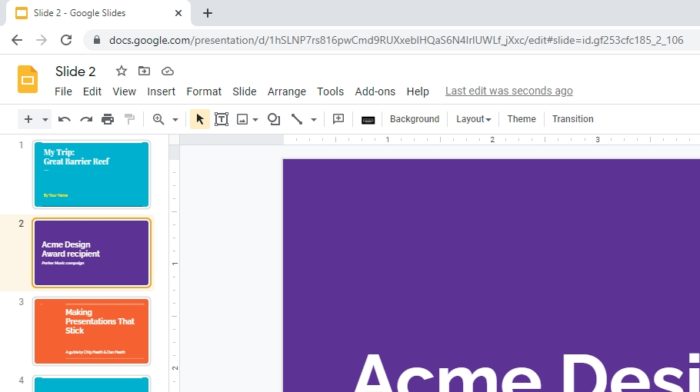
In April 2019, Google Slides is finally adding support for playing audio files on a presentation. The service announced that you can add your own audio file as long as the format is MP3 or WAV.
The audio file can be played during the presentation as background music or simply as a narrator, guiding audiences to get into the topic. The latter is extremely helpful as the presentation can run on its own without the need of the presenter.
Unfortunately, the process of adding an MP3 file is not like uploading something into the service. Instead, we need to utilize its companion storage service — Google Drive to insert the audio file right into your presentation.
And here’s the guide.
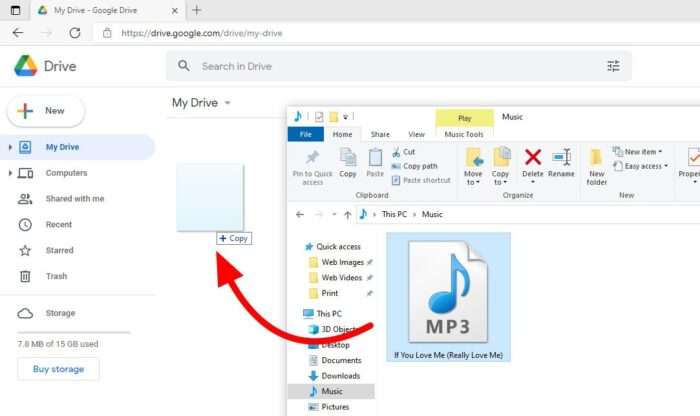
1. First, upload the MP3 or WAV file to Google Drive. Feel free to store it in any directory.
2. Next, open the Google Slides document to which you want to add the audio file.

3. Click on Insert > Audio.
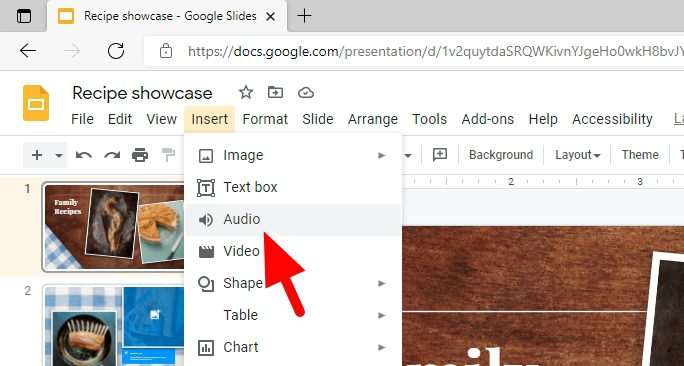
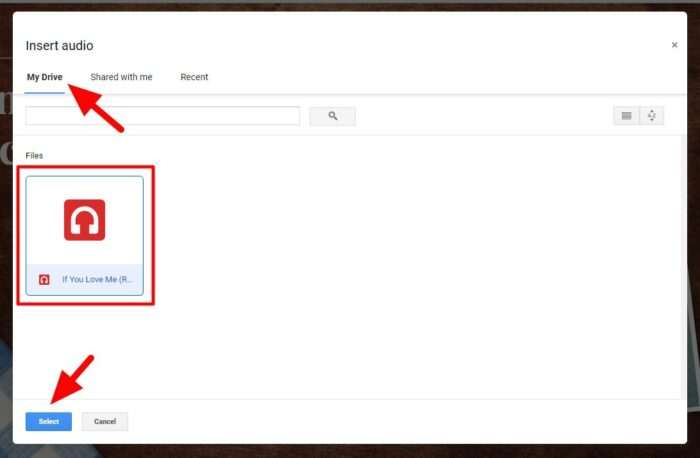
4. Under the My Drive tab menu, you should be able to found the uploaded file. Click on the file and Select to insert it.
5. The audio will be added, represented by the speaker icon. You may also change its settings through Audio playback.
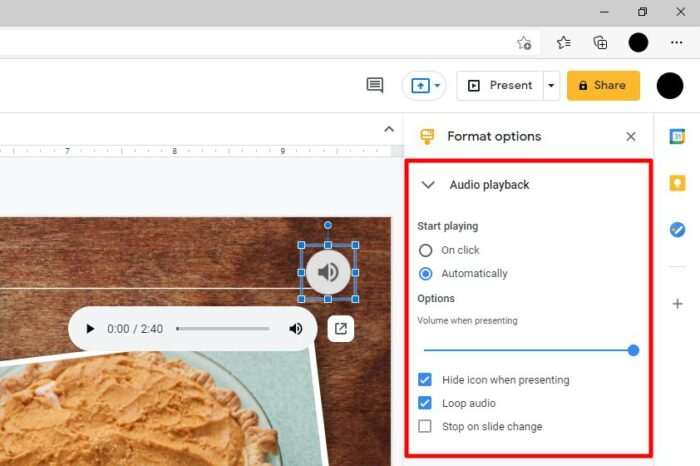
There are several settings that can be applied to the audio. Here’s a quick explanation:
- Start playing: On click — the audio will play only when you hit the speaker button.
- Start playing: Automatically — the audio will play exactly when you start presenting.
- Volume when presenting — adjust the audio level during the presentation.
- Hide icon when presenting — the icon will remain hidden when presenting but shown when editing.
- Loop audio — when the audio reaches the end, it will play again assuming the slideshow hasn’t ended.
- Stop on slide change — put simply, the audio can only play on the slide where it was inserted.
Keep in mind that the audio file is pulled directly from Google Drive. Be sure that your device is connected to the internet before presenting.
