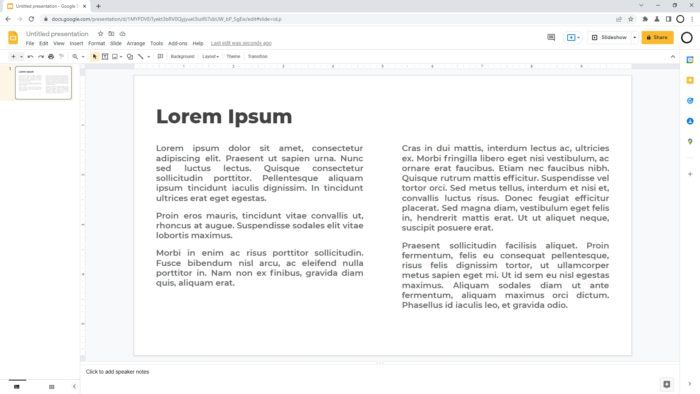
Adjusting the opacity of objects in your Google Slides presentations can help create more visually appealing and professional slides. By making elements semi-transparent, you can add depth, draw attention to key points, and make text or images stand out.
Follow this simple step-by-step guide to learn how to change the opacity of objects in Google Slides.
Step 1: Open Your Google Slides Presentation
First, open the Google Slides presentation that you want to edit. This can be an existing presentation or a new one.
Once your presentation is open, identify the text box, shape, image, or other object that you want to adjust the opacity of.
Step 2: Select the Object
Click on the object to select it. This will highlight the borders of the object, indicating that it is now selected.
Step 3: Access the “Format” Options
In the toolbar at the top of your screen, click on the “Format” tab. This will open a drop-down menu.
Step 4: Hover Over “Transparency”
In the “Format” drop-down menu, hover your mouse over the “Transparency” option. This will open a sub-menu.
Step 5: Adjust the Transparency Slider
In the Transparency sub-menu, you’ll see a slider that allows you to adjust the opacity percentage.
Drag the slider to the left to make the object more transparent and to the right to make it more opaque. You can adjust it to any level you want.
Step 6: Review and Repeat
Once you have adjusted the transparency, review your slide to make sure you are happy with how it looks.
To change the opacity of additional objects, simply repeat steps 2-5.
Tips for Using Transparency Effectively
Here are some tips to use transparency effectively in your Google Slides presentations:
- Use transparency strategically to emphasize key text and visuals
- Be subtle with transparency levels – usually 50% or less works best
- Make sure text remains legible when transparent
- Use transparency to create depth by making background images semi-transparent
- Apply transparency to shapes or text boxes to use as overlays
Keyboard Shortcut for Adjusting Transparency
Here is a handy keyboard shortcut to change transparency even faster:
- Select the object
- Press “Ctrl + Shift + O” (Windows) or “⌘ + Shift + O” (Mac)
- A transparency slider will appear – adjust as needed
Conclusion
Adjusting opacity is an easy way to add visual interest and make elements stand out in your Google Slides presentations. By following this simple guide, you’ll be able to tweak transparency like a pro.
Experiment with different transparency levels and combinations to create visually compelling and professional slides. Just remember to keep text legible and use it strategically to guide your audience’s focus.


