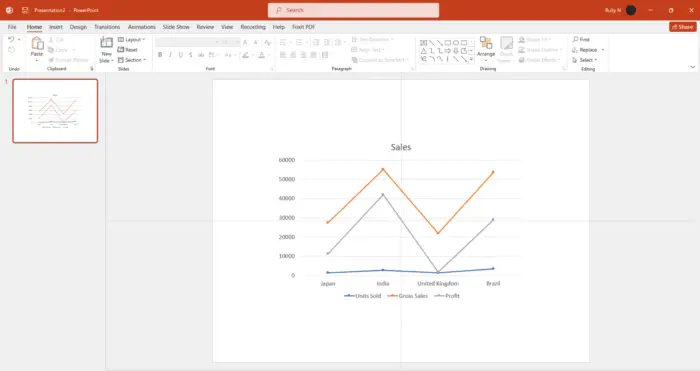
Creating a custom picture placeholder in PowerPoint allows you to define a specific area on a slide layout where you want images to appear, with a custom size and shape. This can help you maintain a consistent look across your presentation. Here is a step-by-step guide to creating custom picture placeholders in PowerPoint.
Benefits of Using Custom Picture Placeholders
Using custom picture placeholders provides the following benefits:
- Consistent image sizes and positions – The placeholder ensures images inserted in different slides have the same size and position. This creates a uniform and professional look.
- Reusable layouts – You can save the layout with the custom placeholder and reuse it across multiple presentations. This saves time compared to inserting and formatting images manually.
- Flexible shapes and sizes – You can make the placeholder any shape and size you want to fit your specific needs.
- Easy image swapping – It’s simple to swap the image within the predefined placeholder on each slide rather than having to resize and reposition new images.
Steps to Create a Custom Picture Placeholder
Follow these steps to create a custom picture placeholder in PowerPoint:
Access the Slide Master View
First, access the Slide Master view, which allows you to edit the slide masters and layouts:
- On the View tab, click Slide Master.
- The Slide Master and layout slides appear on the left. This is where you can edit masters and create custom layouts.
Insert a Picture Placeholder
Next, insert a picture placeholder into a slide layout:
- In the left pane, select the slide layout where you want the picture placeholder.
- On the Slide Master tab, click Insert Placeholder.
- Select Picture from the drop-down menu.
- A rectangular picture placeholder appears on the selected layout slide.
Customize the Placeholder
Now customize the picture placeholder to your preferred shape and size:
- Click on the picture placeholder and resize it by dragging the handles.
- To change the shape, right-click the placeholder and select Change Shape from the context menu.
- Choose a shape from the gallery or select Edit Points to create a custom shape from scratch.
- Drag the yellow edit points to customize the shape as needed.
Add Text Placeholders (Optional)
Optionally, you can add text placeholders to hold headings or captions related to the images:
- On the Slide Master tab, click Insert Placeholder and choose Text from the menu.
- Drag it to the desired location in relation to the picture placeholder.
- Resize and customize it as needed.
Save and Apply the Layout
Finally, save your new layout and start applying it:
- Click Close Master View to return to normal slide view.
- When creating new slides, select the layout with your custom picture placeholder.
- Drag your images into the placeholder box to automatically size and position them.
Now you have a fully customized layout with a tailored picture placeholder to maintain a consistent look across your presentation!
Tips for Using Picture Placeholders Effectively
Here are some tips to help you use custom picture placeholders effectively:
- Make sure the placeholder matches the slide content – don’t force images into unsuitable placeholders.
- Be consistent with placeholder sizes and positions across multiple slides and presentations.
- Add alt text to the images for accessibility. Right-click the image and select Format Picture.
- Lock the picture placeholder on the slide master to prevent accidental edits and distortions.
- Use high quality, compressed images in common formats like JPG to avoid overly large file sizes.
- Swap images easily while keeping the predefined size and shape by clicking into the placeholder.
- Group the picture placeholder with a text placeholder for captions or headings.
Common Questions
Here are answers to some common questions about custom picture placeholders:
How do I add a second picture placeholder?
Simply insert a new picture placeholder from the Slide Master tab. Customize it and position it as needed.
Can I make placeholders for other objects like charts or shapes?
Yes, you can create custom placeholders for other objects like charts, tables, shapes, and more. The process is the same.
What if my images are distorted in the placeholder?
If the images appear distorted, make sure they are high resolution and at least the same size as the placeholder. Also check that the placeholder shape isn’t warped.
What’s the easiest way to apply my layout with placeholders?
Save your layout to the Slide Master. Then when creating new slides, just choose that layout from the template thumbnails.
Conclusion
Custom picture placeholders give you full control over image placement in PowerPoint, ensuring a polished, professional look. By following the steps in this guide, you can create reusable slide layouts with tailored picture boxes to enhance consistency across your presentations. Mastering this simple customization will take your PowerPoint skills to the next level.


