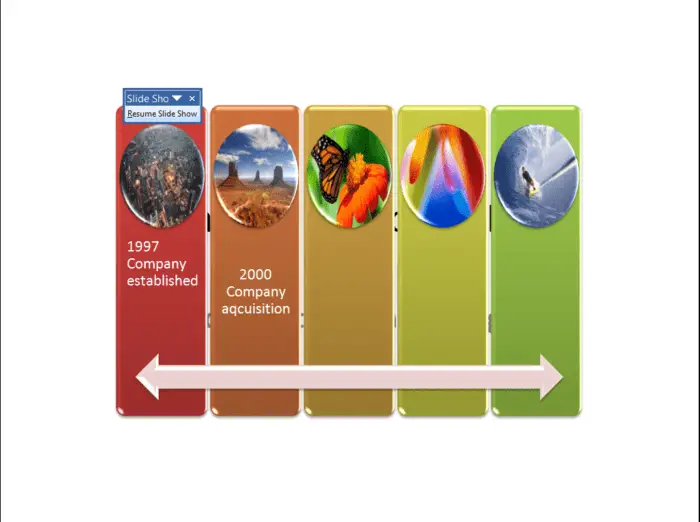
Timeline is a great way to present information in a chronological order. This is especially important in business environments as people may have to perform different tasks in different times.
Thankfully, making a basic timeline isn’t so difficult in PowerPoint. In fact, the presentation app has a dedicated feature called SmartArt which contains a number of templates you can use to build a beautiful timeline.
Here’s how to use SmartArt to create a timeline in Microsoft PowerPoint.
1. Launch PowerPoint, then go to Insert > SmartArt.
2. In the SmartArt window, you can choose from a variety of different designs for your timeline. There’s one custom built-in design for timelines, called Basic Timeline that I’ll be using for this example.
3. Choose Basic Timeline if you want to follow me in this tutorial. There are other styles for SmartArt that can also be used for the timeline which you can see in the image below; anything that resembles an arrow with points next to it is ideal for use as a timeline.
4. There are many options for PowerPoint timelines, but I usually go with the Basic Timeline SmartArt option.
5. Once you find the Basic Timeline, click OK to add the template to your slide and start adding your timeline to the slide. A SmartArt timeline is a single object that you can combine with other elements such as photos, text boxes, and more to create full slide designs.
And that’s how you make a timeline in PowerPoint. Of course, this guide only covers the basic of it but you can always experiment with other tools to create more attractive presentation slides.


