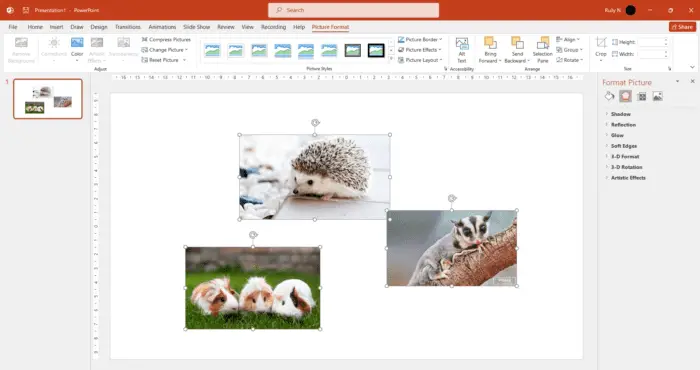
PowerPoint is an incredibly versatile application that most people use for creating presentations. However, you can also use it to edit images and export high-quality graphics.
In this blog post, we’ll walk through the step-by-step process for saving PowerPoint slides as images. We’ll also cover some best practices for optimizing images in PowerPoint.
Why Convert Slides to Images?
There are several reasons why you may want to save your PowerPoint slides as images:
- Reuse slides in other documents – Once exported as JPGs or PNGs, you can insert these slide images into Word docs, emails, websites, and more.
- Print graphics – To print PowerPoint slides at high resolution, you’ll need to save them as images first.
- Share visually – Images allow you to share compelling graphics from your PowerPoint file without requiring the recipient to have PowerPoint installed.
- Create social media posts – Images typically perform better than PowerPoint files on social platforms like Facebook and Twitter.
Step 1 – Set the Export Resolution
Before exporting your slides, it’s important to adjust PowerPoint’s image export resolution. The default is only 96 dpi (dots per inch), which produces low-quality pixelated images.
To increase the resolution:
- Open the Registry Editor
- Navigate to
HKEY_CURRENT_USER\Software\Microsoft\Office\16.0\PowerPoint\Options - Create a new DWORD named
ExportBitmapResolution - Set the value to 300 (for high resolution printing)
This changes the default export resolution to 300 dpi for all image formats.
Step 2 – Select the Slide(s) to Export
Next, open your PowerPoint presentation and navigate to the individual slide or slides you want to save as an image.
To select a single slide, simply click on the slide thumbnail in the left pane. To select multiple slides, Ctrl + Click each slide thumbnail.
If you want to save every slide, simply select any slide and skip this step.
Step 3 – Export as JPEG, PNG or GIF
With your slide(s) selected, go to File > Save As in PowerPoint. Then:
- Choose where you want to save the file
- Enter a file name
- Select “Save as type” and choose your preferred image format – JPEG, PNG or GIF all work well
- Click “Save”
PowerPoint gives you the option to export just the selected slide(s), the current slide, or every slide. Choose your preference.
Image Optimization Best Practices
To ensure your exported PowerPoint slide images are optimized for the web, print, or other uses, keep these tips in mind:
- Add Alt Text – Include descriptive alt text for accessibility and SEO
- Use Web Resolution – Downsample large images to 72 ppi for web use
- Compress Files – Use a tool like Photoshop to compress your image files
- Resize Appropriately – Scale image dimensions to fit your intended display size
Following these best practices will produce small, fast-loading images that look crisp on screens and in print.
Automate Export with VBA
If you need to frequently export multiple PowerPoint slides as images, you can save time by automating the process with VBA macros.
Here is some sample code for a macro that will batch export all slides in your presentation:
Sub ExportSlidesAsImages()

    Dim slide As Slide
    Dim filename As String
    Dim index As Integer

    index = 1

    For Each slide In ActivePresentation.Slides
        filename = ActivePresentation.Path & "\Slide" & index & ".jpg"
        slide.Export filename, "JPG"
        index = index + 1
    Next slide

End Sub
This macro loops through each slide, assigns a filename like “Slide1.jpg”, and exports the slide as a JPEG image.
With some simple VBA code, you can cut down on repetitive manual exporting work.
Conclusion
Whether you want to print impressive graphics, reuse slides in other apps, or optimize images for the web, saving your PowerPoint slides as JPGs, GIFs or PNGs is a great skill to have.
By following the step-by-step guide above and keeping best practices in mind, you can quickly generate high-quality images from your PowerPoint presentation slides.
Let us know in the comments if you have any other tips or tricks for converting slides to images!


