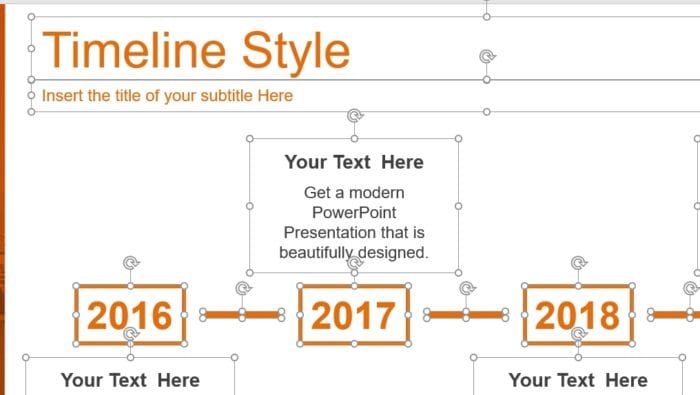
Curving text in PowerPoint is an eye-catching design technique that can make your presentations more visually appealing and emphasize key messages. By bending text around shapes or images, you can add flair while enhancing readability.
In this comprehensive guide, you’ll learn:
- The benefits of curving text in PowerPoint
- Step-by-step instructions for curving text
- Tips for choosing fonts and styles
- How to use animations with curved text
- Troubleshooting curved text issues
Whether you’re a beginner or a seasoned PowerPoint user, curving text is easier than you think with just a few simple steps. Let’s dive in!
Why Curve Text in PowerPoint?
Here are some of the key reasons to use curved text in your PowerPoint presentations:
- Draws attention: Curved text stands out, directing the viewer’s gaze to important content.
- Adds visual interest: Bending text makes slides less boring and plain.
- Emphasizes ideas: Curving highlights critical words or phrases.
- Improves flow: Text can curve with diagrams, images, and other shapes.
- Enhances creativity: Curved text enables unique slide layouts.
Using this technique strategically to showcase vital information gives presentations an artistic flair.
Step-by-Step Guide to Curving Text
Curving text in PowerPoint only takes a few simple steps:
- Insert a text box – Go to the “Insert” tab and click the “Text Box” button.
- Type your text – Enter the text you wish to curve into the text box.
- Select the text box – Click once on the text box to select it.
- Open text effects – Go to the “Format” tab and locate the “Text Effects” option.
- Choose a transform option – Click on “Transform” in the drop-down menu and select a curve style.
- Customize the curve – Adjust the handles on the text box to refine the curve.
It’s that easy! Now the selected text will bend according to the style you picked. Feel free to experiment with different curves, angles, and shapes to see what works best.
Formatting Tips for Curved Text
To make your curved text stand out, leverage these formatting best practices:
- Enhance readability – Use a large, easy to read font like Arial for curved text. Avoid thin fonts.
- Pop with color – Try a contrasting text color from your background color.
- Add effects – Shadows, reflections, and 3D give curved text extra dimension.
- Animate strategically – Subtle animations can spotlight curved text effectively.
Refine formatting like colors, effects, and sizing until you achieve the desired style.
Animating Curved Text in PowerPoint
Animations can highlight curved text by drawing attention with movement:
- Select the curved text box – Click to choose the text box you wish to animate.
- Open the Animations tab – Locate the “Animations” tab in the top menu.
- Pick an animation – Browse the options and select an entrance, emphasis, exit, or motion path animation that fits your needs.
- Customize the animation – Adjust animation settings like duration, delay, triggers, and repetition.
- Preview the animation – Use the “Preview” button to test the animation with your curved text.
When used thoughtfully, animations complement curved text to deliver memorable presentations.
Troubleshooting Curved Text Issues
If your curved text isn’t appearing correctly, try these troubleshooting tips:
- Adjust the text box handles to refine the curve shape.
- Switch to a larger font size if text is hard to read when curved.
- Reduce the amount of text to avoid crowding or overlapping on tight curves.
- Check for accidental extra paragraph marks making unwanted line breaks.
- Try a different curve style if the current option isn’t fitting your needs.
Taking a systematic approach typically resolves common curved text problems quickly.
Conclusion
Curving text in PowerPoint boosts engagement, guides the viewer’s gaze, and makes ordinary presentations extraordinary. With just a few clicks, you can bend text around shapes to produce eye-catching slides.
Now that you know how to curve text like a pro, the possibilities are endless! Use this dynamic technique to emphasize key messages while adding a professional design flair.
Whether you’re preparing for a big presentation at work or developing visual aids for school, curved text helps presentations stand out. Apply the tips in this guide to create sleek, modern slides sure to impress any audience.


