Working with fonts is an important part of creating visually appealing and professional presentations in Google Slides. With the right fonts, you can make your text stand out, convey key messages more effectively, and enhance the overall design of your slides.
In this step-by-step guide, we’ll cover everything you need to know about finding, adding, and removing fonts in Google Slides.
Finding Fonts Already Available in Google Slides
Google Slides comes pre-loaded with a set of fonts you can use in your presentations. Here’s how to find and browse them:
- Open your presentation in Google Slides and select the text box or placeholder text you want to format.
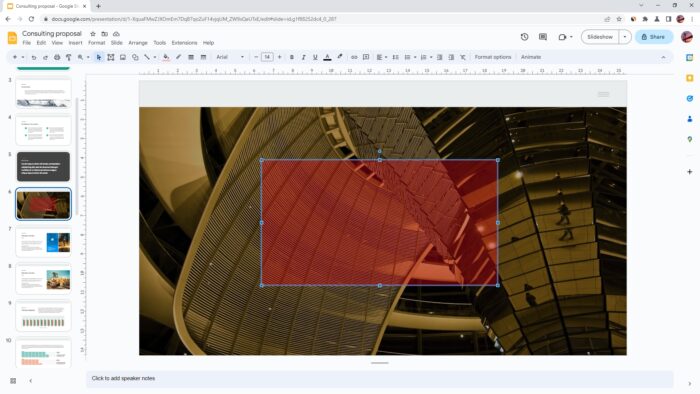
- In the toolbar, click the font drop-down menu to view all fonts available.
- Scroll through the list to view font families and variants. Fonts are organized into serif, sans-serif, handwriting, and decorative categories.
- Hover over any font to preview how it will look.
- Click a font to select it. The preview text will change to display the selected font.
This allows you to easily browse and sample fonts before applying them to text elements in your presentation.
Adding New Fonts from Google Fonts
If you want more font choices, you can add free fonts from Google Fonts:
- In Google Slides, select the text you want to change or the placeholder where you want to apply a new font.
- In the toolbar, click Add fonts.
- In the Add fonts sidebar, browse or search for fonts from the Google Fonts library.
- Use the filters to narrow down fonts by category like serif, display, handwriting etc.
- Click the plus icon next to any font to add it directly to your presentation.
- Once added, the new fonts will appear in the font drop-down menu for you to use.
This makes adding fresh font styles quick and easy. And you can use these Google Fonts in both web-based and offline Google Slide presentations.
Using Custom Fonts Uploaded to Google Drive
You may also have custom fonts saved on your computer that you want to use. Here is how to upload and add them:
- Save the font files (with .ttf, .otf extensions) to your Google Drive account.
- In your Google Slides presentation, click Add fonts in the toolbar.
- In the sidebar, select the Upload fonts tab.
- Click Select fonts from Drive and choose the files to upload.
- Once uploaded, the custom fonts will also appear in the font drop-down menu.
This allows you to use your preferred licensed fonts in Google Slides easily.
Removing Used Fonts
As you experiment with fonts, your presentations may end up with an extensive list making it difficult to navigate. When you no longer need a font, here is how to remove it:
- Click the font drop-down menu and scroll all the way down.
- Click Manage fonts.
- In the Manage fonts sidebar, find the fonts you want to remove.
- Click the trash can icon next to the font to delete it.
- Click Done to apply the changes.
The fonts will no longer appear in the font list or be available to use in your presentation.
Resetting Fonts to Default
If you want to start fresh and revert to the default Google Slides font set, you can reset everything:
- Click the font drop-down menu.
- At the very bottom, click Reset fonts to default.
- In the pop-up, confirm you want to restore the original fonts.
This will remove all added and custom fonts, restoring the standard font set.
Formatting Text with Available Fonts
Once you’ve customized your font collection, putting them to use is easy:
- Select the text elements or placeholders to format.
- In the toolbar, choose a font family and style from the drop-down menus.
- Adjust font properties like weight, size, color etc.
- Use the text formatting options to make other styling changes.
Take advantage of the available controls to make your fonts stand out on each slide, emphasizing key text and messages.


