Bullet points are far more superior than a long paragraph. It conveys a simple message in each line where your audience can digest relatively quicker. That’s part of the reason why bullet points are still relevant to use in a presentation, even today where pre-made templates are pretty much available everywhere.
In Google Slides, they made it easy to create a bullet list on a presentation slide. It offers a conventional bulleted list and numbered list which you can select whatever is best for the content.
For a more complete guide, check out the tutorial below.
Creating new bullet points
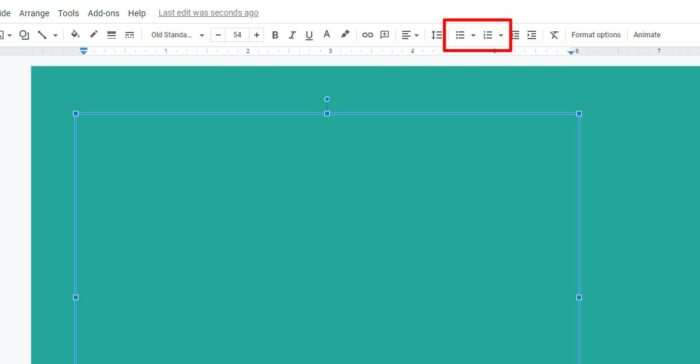
1. Place the mouse cursor on a text box, and then click between Bulleted list and Numbered list.
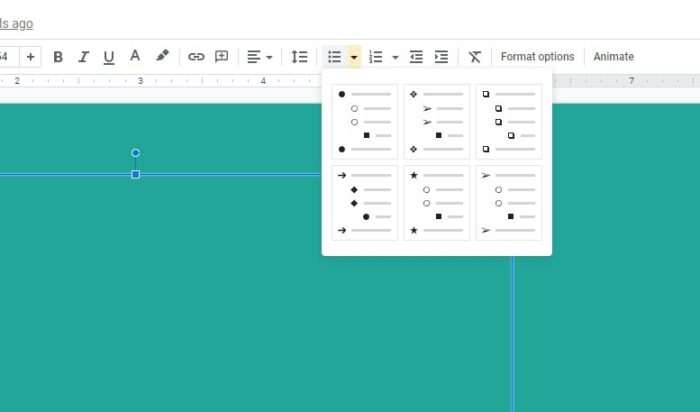
2. You may choose a different style by expanding the menu.
3. A bullet point should appear before the cursor. From here, you can type something. Press Enter on the keyboard to create another bullet next to it.
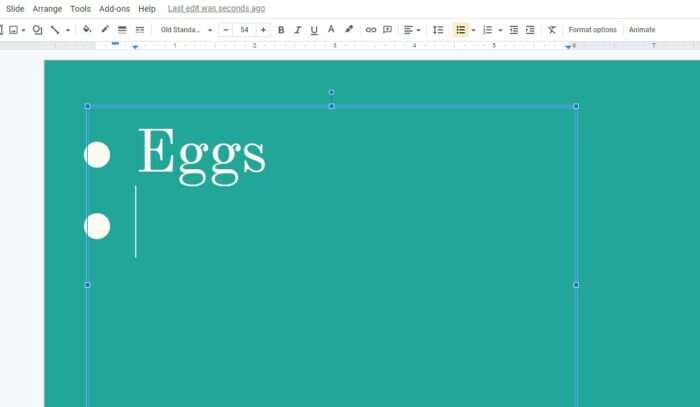
4. Now you have created your first bullet points.
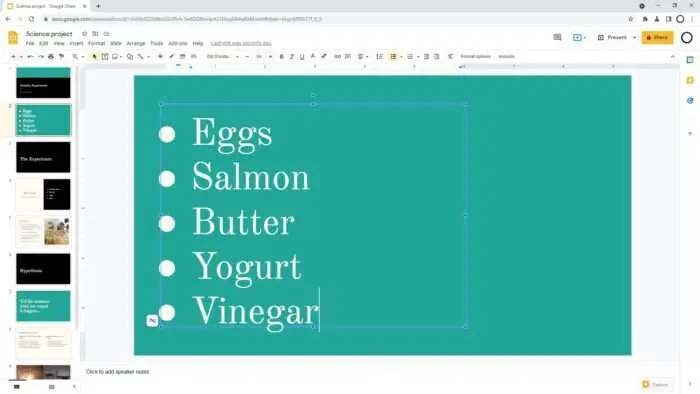
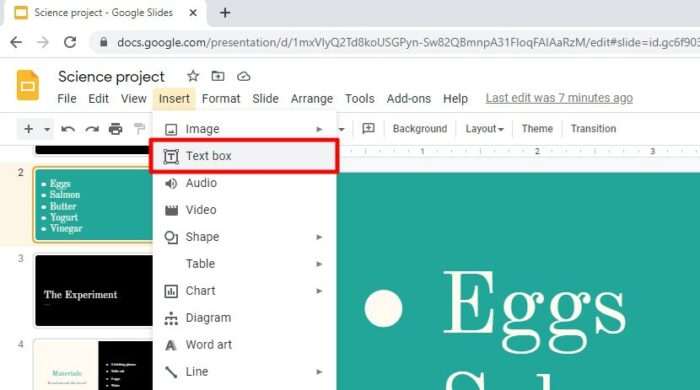
5. If the available space is not enough. Try reducing the font size or add a new text area via Insert > Text box.
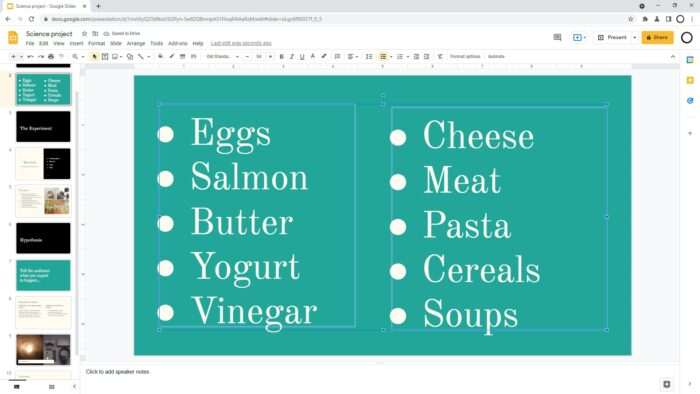
6. For example, I created multiple text boxes, each containing its own bullet points.
Converting lines into bullet points
If you already have several lines of text that are not created using a bullet list, no worry, Google Slides lets you convert them into a bulleted list format.
1. Select all text you want to convert (Ctrl+A).

2. Click either the Bulleted list or Numbered list format.
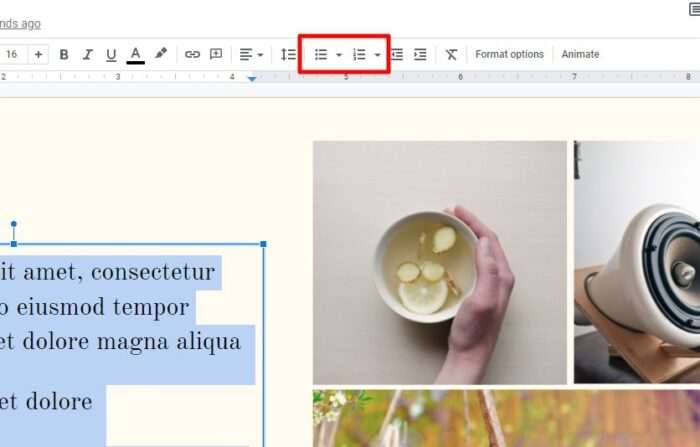
3. Bullet points have been added.
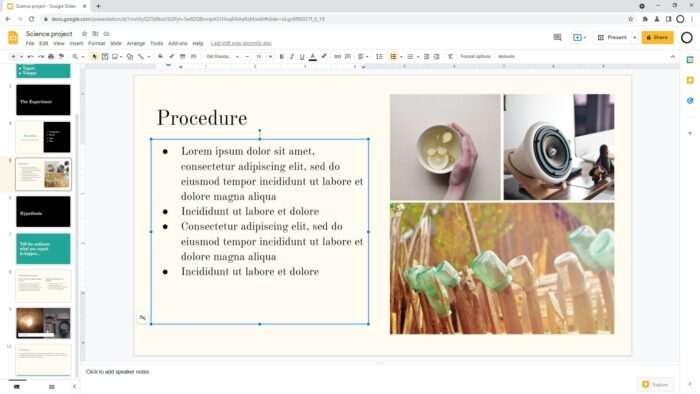
To get a better look, try to give enough space between lines. Make sure they are simple and don’t look overly crowded — after all, the goal of a bullet list is to simplify a long, boring paragraph. Be sure to stick to that foundation.

