If you’re looking to create visually stunning presentations, one way to enhance the visual appeal of your slides is by using transparent images. Transparent images blend seamlessly into your slide deck, making your presentations look more professional and visually appealing.
Additionally, transparent images can help you to convey complex ideas more easily. By removing the background, you can focus the viewer’s attention squarely on the image content.
This article will guide you through the process of making the image background transparent in PowerPoint. I’m running Microsoft PowerPoint 365 but any recent versions should work fine. Let’s do it!
Table of Contents
How to remove the background from the image
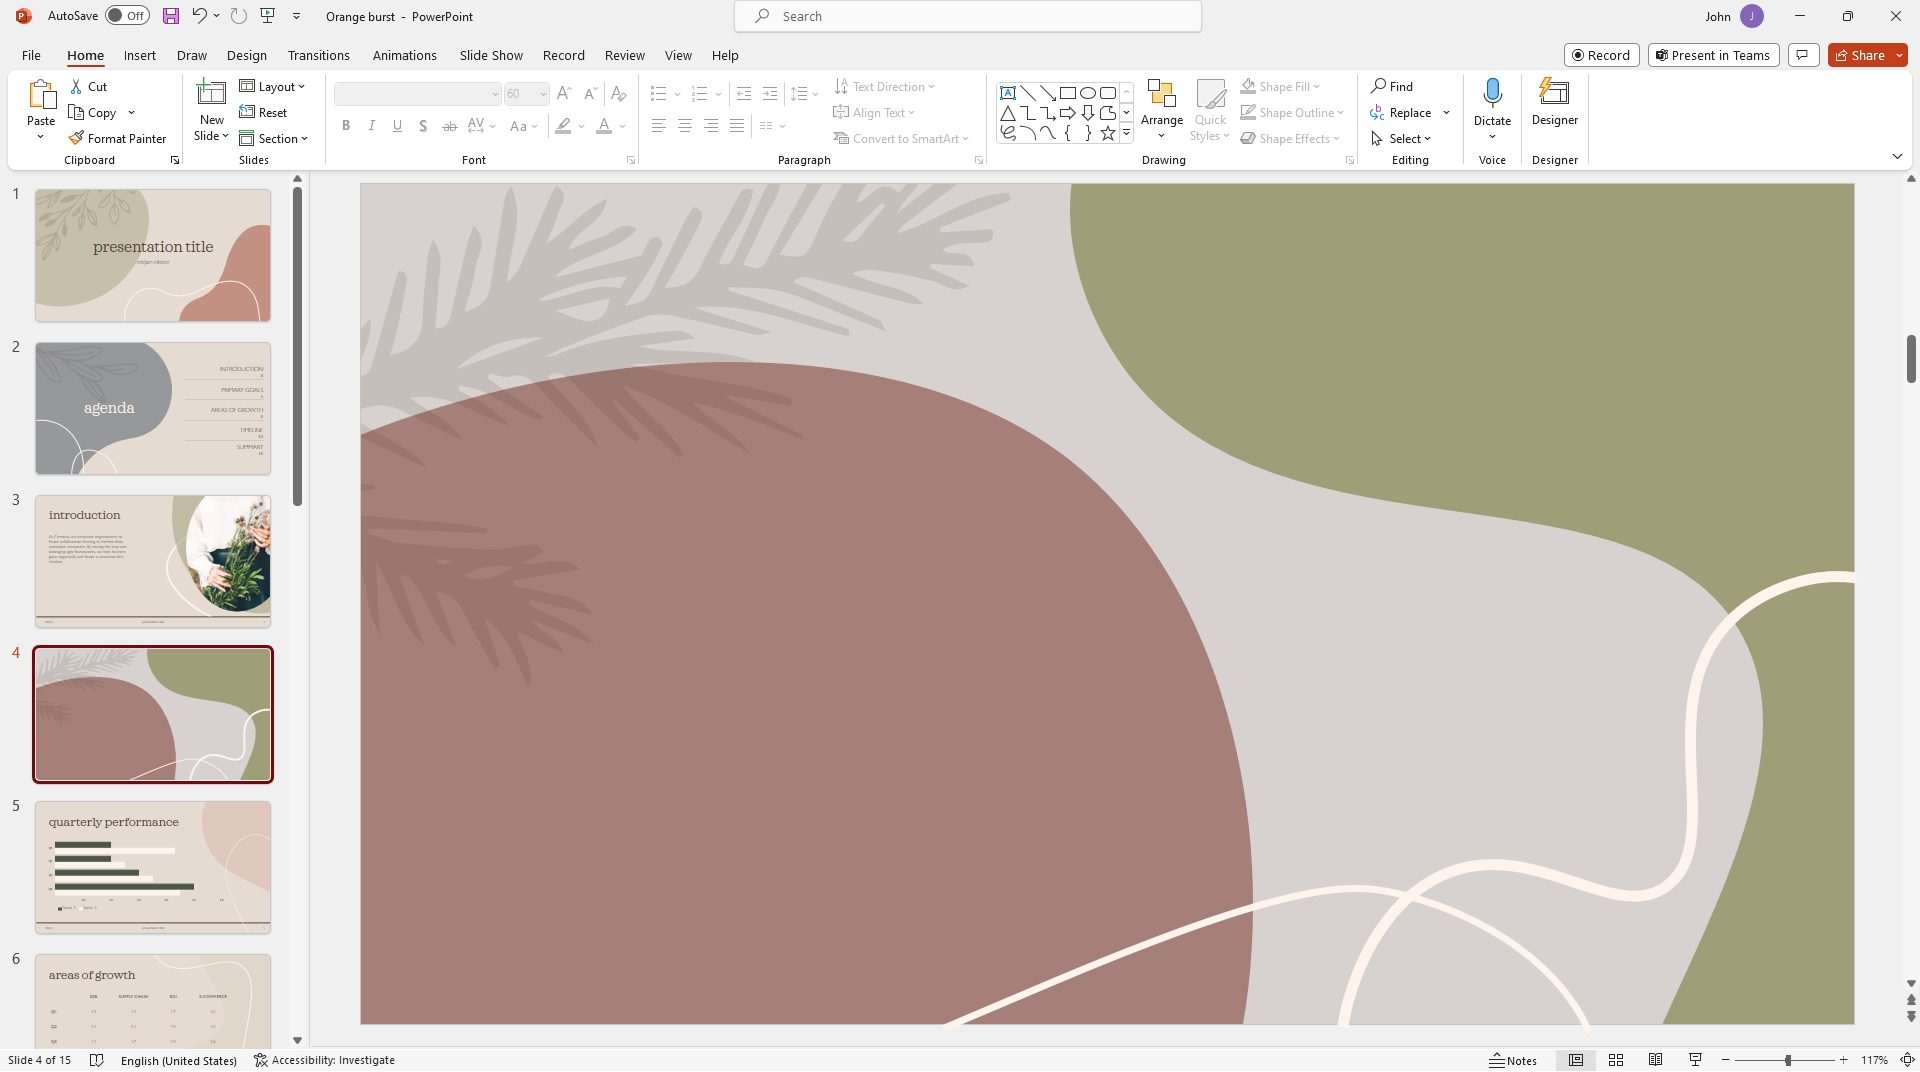
1. Open your PowerPoint document.
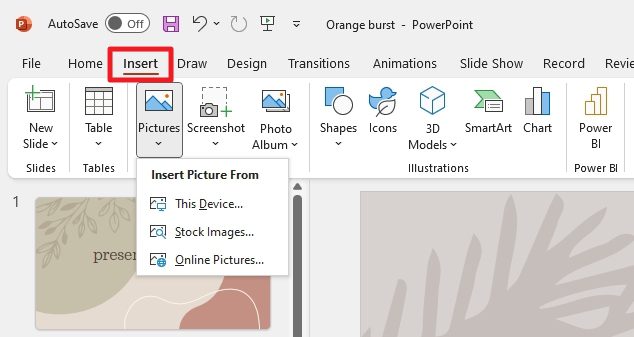
2. To import an image to the slide, go to Insert, select Pictures, and choose where you want to get the image from.
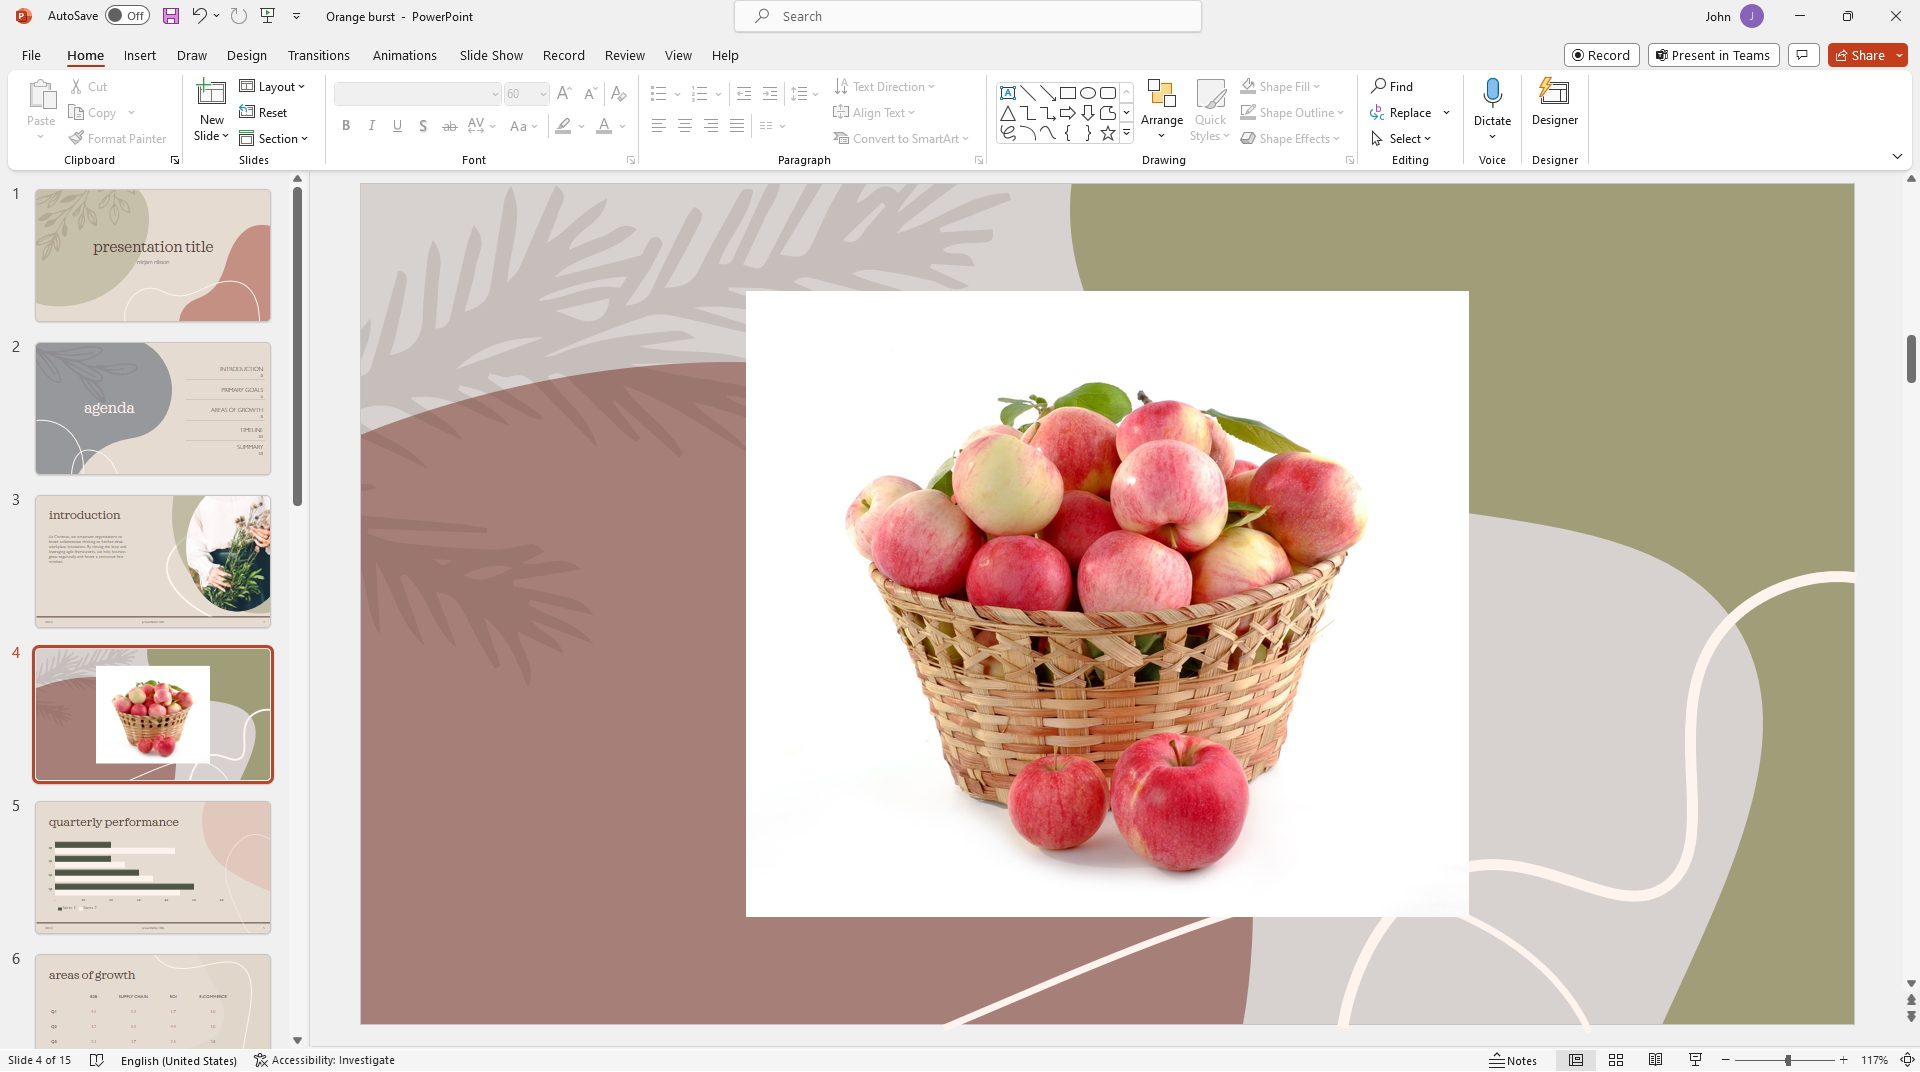
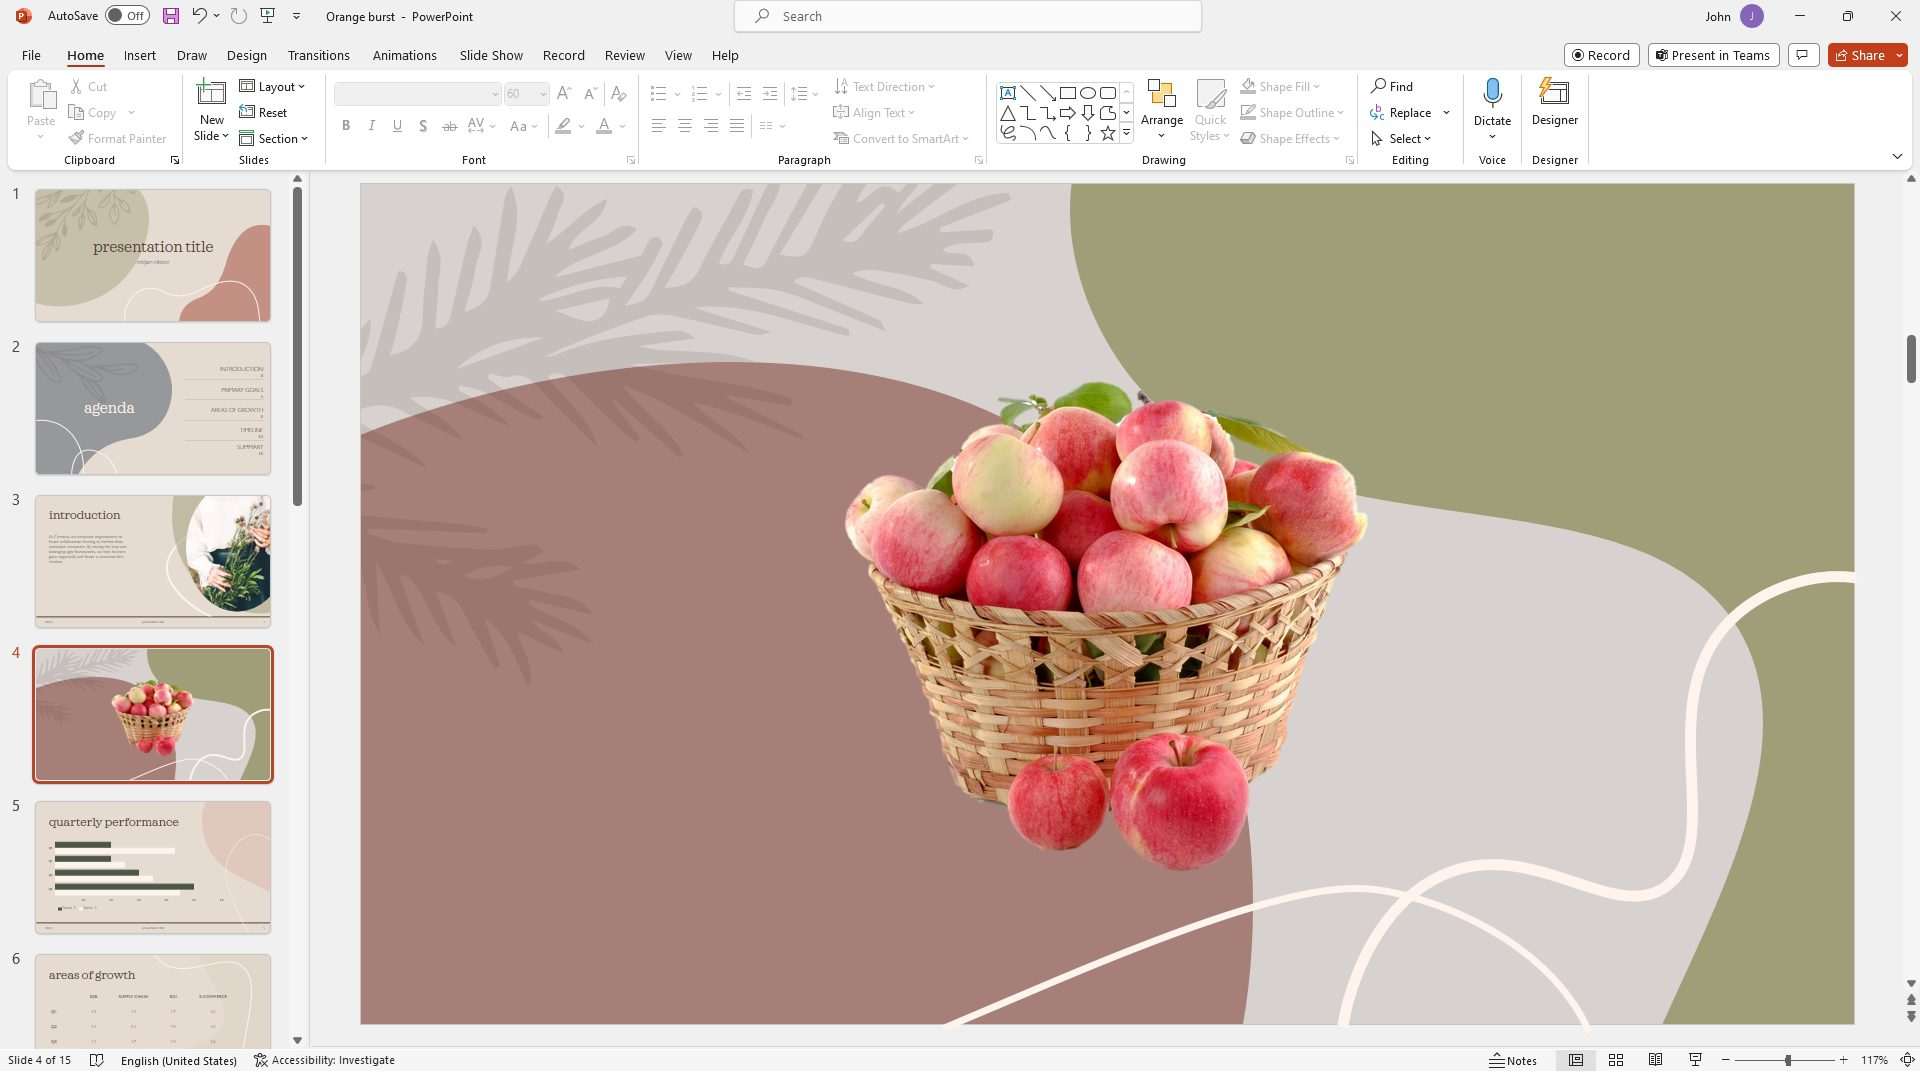
3. In this example, I have a picture of a basket of apples with white background. My goal is to remove the white background and leave the basket intact.
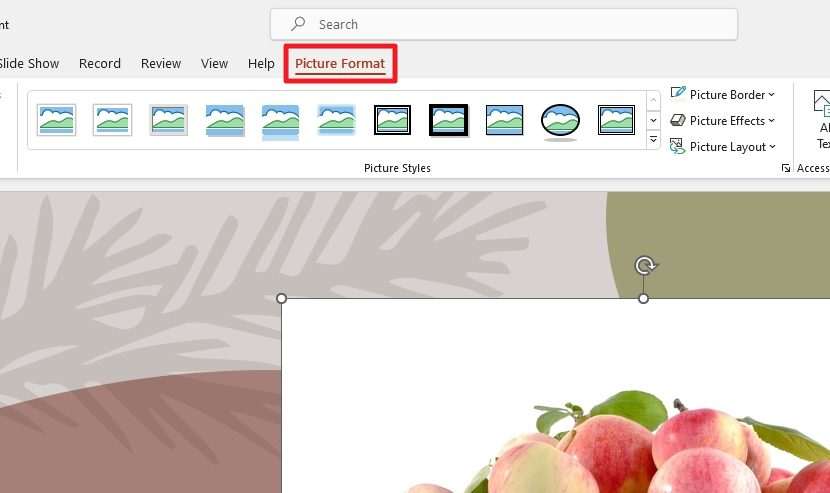
4. Now, click on the image and then go to Picture Format from the upper row menu.
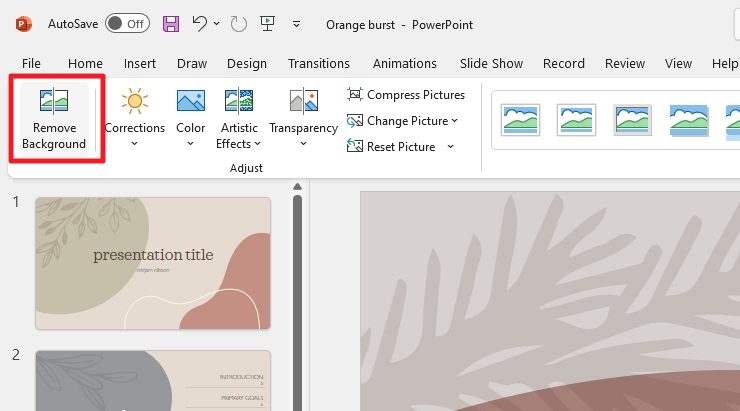
5. Click Remove Background.
6. The image would turn like this. Basically, the purple area is the part that PowerPoint thinks is unnecessary and has to be removed. Of course, this automatic selection isn’t always accurate but you can always modify what to keep and what to remove.

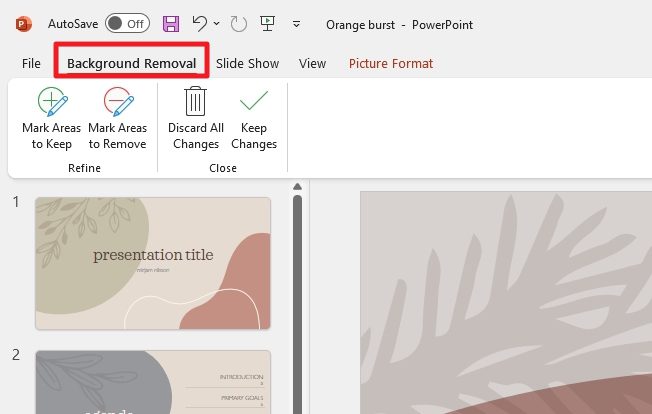
7. To do that, go to Background Removal, and then choose between Mark Areas to Keep and Mark Areas to Remove.
8. In this example, this apple is a little bit cropped. So, I’m using the Mark Areas to Keep tool to make sure it won’t be removed. Use either tool that you see fit.

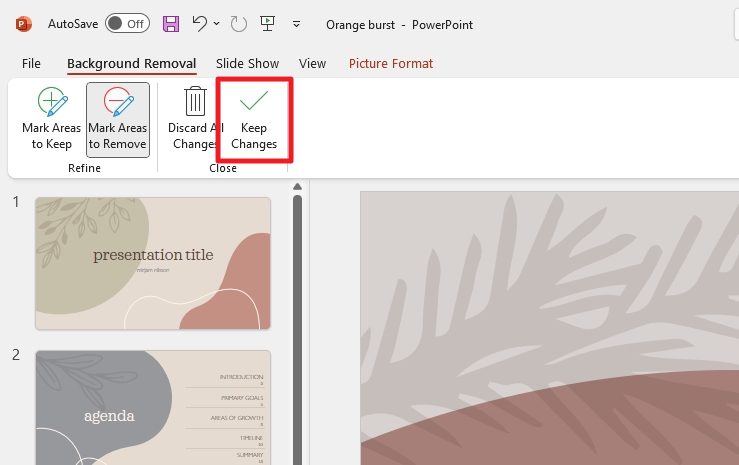
9. Once everything looks okay, click Keep Changes.
10. And this is the result. You have made the background image fully transparent.
Frequently Asked Questions
How do I make the background of a picture transparent?
To make the background of a picture transparent in PowerPoint, click on the image, go to Picture Format, click Remove Background, adjust the selection area with the Mark Areas to Keep and Mark Areas to Remove tools, and then click Keep Changes.
Why is my PNG image not transparent in PowerPoint?
If your PNG image is not transparent in PowerPoint, it may be because the image has a white background. Unfortunately, PNG doesn’t always have a clear transparent background. To remove the white background in PowerPoint, select the picture and choose Picture Format > Remove Background.
How do I save a PNG with a transparent background in PowerPoint?

To save a PNG with a transparent background in PowerPoint, select the image on a slide, right-click on it, and choose Save as Picture. Make sure to select PNG as the file type, and PowerPoint will save the image with a transparent background.


