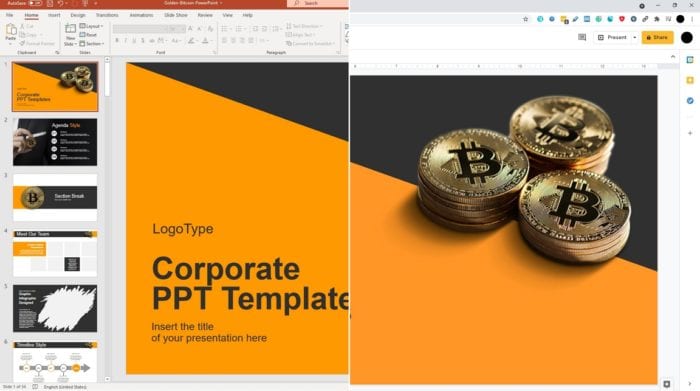
Adding images to your PowerPoint presentations can make them more visually appealing and help communicate your message more effectively. However, when inserting large high-resolution photos, you may find that they extend beyond the slide boundaries or appear blurry when resized.
Fitting oversized pictures properly in PowerPoint slides without distorting them requires some simple techniques. This article will provide a step-by-step guide on the various methods to seamlessly integrate large images into your PowerPoint decks.
Prepare the Image Before Inserting
Before placing a large picture in PowerPoint, it’s best to prepare it appropriately outside of the software first.
Here are some tips:
- Optimize resolution – Scale down extremely large images to an appropriate print resolution of 150ppi using image editing software like Photoshop. This will reduce the file size and pixelation.
- Save in web-friendly formats – JPEG and PNG formats work best for web and PowerPoint. Avoid massive TIFF or PSD files.
- Crop if required – Trim away unnecessary areas in the photo to focus the attention on the key subject.
Insert Picture and Resize
Once the image is ready, it’s time to place it in the presentation.
- In PowerPoint, navigate to the Insert tab and click Pictures.
- Select the optimized image from your folders and insert it.
- You will likely see only a portion of the photo on the slide.
- Select the picture, go to the Format tab then adjust the Height and Width in inches to fit the slide.
- For web presentations, set the dimensions between 7.5” to 10” inches. For print, a width of 10” is standard.
- Click the image and drag-and-drop it if the resized picture is not visible on the slide.
Zoom Out to Locate and Reposition
If the inserted image is still not fully visible after resizing, you can zoom out within PowerPoint to reposition it back into the slide frame.
- In the bottom-right corner of the workspace, click and drag the Zoom slider towards the left to zoom out of the slide.
- Click on the small visible portion of the protruding picture and drag it back within slide boundaries.
- Adjust the zoom back to 100% to view the properly fitted image.
Crop to a Shape
Cropping the overflowing portions of a large image to unique shapes can be an attractive way to fit pictures in PowerPoint.
- Select the image, go to the Format tab and click the Crop dropdown menu.
- Choose Crop to Shape and pick a shape like a circle, triangle or star.
- Resize and reorient the shape over the picture as desired using the handle points.
- Click the Crop button again to trim away excess areas.
Compress Images
Compressing oversized pictures can effectively reduce their file sizes and decrease PowerPoint deck sizes.
- Click on the image and go to the Format tab.
- Select Compress Pictures from the Adjust group.
- In the compression settings, target an appropriate resolution below 150ppi.
- Ensure ‘Apply to all pictures’ is checked. Click OK.
- Recompress multiple images similarly to optimize overall file size.
Properly integrating large photos into PowerPoint helps present high-quality visual content without slide overflow issues or distortion. With the techniques above, fitting pictures to convey impactful messages effectively is simple.


