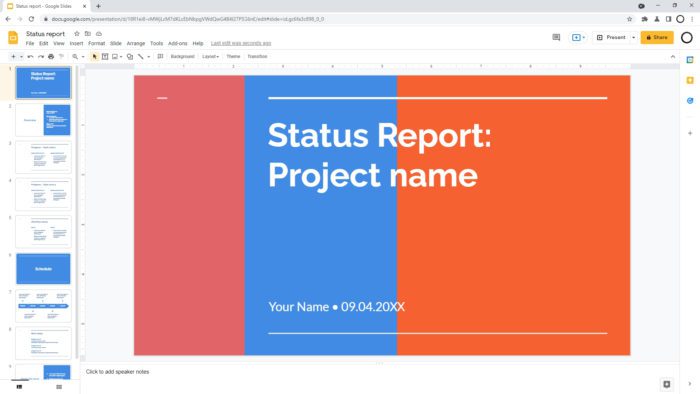
Flipping an image in Google Slides is easy and only takes a few clicks. Whether you want to flip an image horizontally, vertically, or rotate it, Google Slides provides handy image editing tools to help you adjust images seamlessly right within your presentations.
In this comprehensive guide, you’ll learn:
- Why you might need to flip or rotate images in Google Slides
- The step-by-step process to flip images horizontally and vertically
- How to rotate images in Google Slides
- Additional tips for editing images in Google Slides
Why Flip or Rotate Images in Google Slides?
Here are some common reasons you may need to flip or rotate an image in Google Slides:
- The image is facing the wrong direction for your slide layout
- You want to create a mirrored effect
- You need to correct the orientation of a scanned document or photo
- You want to add visual interest by altering perspectives
- You’re creating puzzles or brain teasers and need pieces to fit together in different orientations
Flipping images vertically or horizontally in Google Slides is easy, allowing you to quickly adjust images without having to go back to an external editing program.
How to Flip an Image Horizontally in Google Slides
Follow these simple steps to flip an image horizontally in Google Slides:
- Open your Google Slides presentation and select the image you want to flip.
- Click on the “Arrange” tab at the top of the screen.
- Select “Rotate” from the drop-down menu.
- Choose “Flip horizontally” from the submenu.
Your selected image will now be flipped along its vertical axis, with the left and right sides swapped.
How to Flip an Image Vertically in Google Slides
Similarly, you can flip an image vertically by swapping the top and bottom edges. Here’s how:
- Select the image you want to flip in your Google Slides presentation.
- Click the “Arrange” tab.
- Select “Rotate” from the drop-down menu.
- Choose “Flip vertically” from the submenu.
The top and bottom edges of the image will now be inverted.
How to Rotate Images in Google Slides
Aside from flipping, you can also rotate images in Google Slides:
- Click on the image to select it.
- Click the “Arrange” tab.
- Choose “Rotate” from the drop-down menu.
- Select your desired rotation option (90° left, 90° right, 180° flip) from the submenu.
Use image rotation for slight adjustments or more dramatic visual effects.
Tips for Editing Images Further in Google Slides
Google Slides provides additional built-in tools for enhancing images right within your presentations:
Crop images: Remove unwanted areas by clicking “Crop image” after selecting the image.
Resize images: Click and drag any corner or edge to resize. Hold shift to retain proportions.
Recolor images: Change an image to grayscale, sepia, or other color filters under the “Recolor” tab.
Adjust transparency: Lower opacity to create layered effects under the “Adjustments” tab.
Add borders and effects: Use the “Format options” sidebar to add borders, reflections, shadows, and more.
Take advantage of these formatting options to customize images to suit your presentation needs.
Quick Recap
- Flipping images horizontally or vertically in Google Slides only takes a few clicks using the “Rotate” tool under the “Arrange” tab.
- You may need to flip images to correct orientation, create mirrored effects, or build puzzles.
- Rotating images provides another way to adjust perspective or layout.
- Crop, recolor, or apply other formatting options to further edit images.
With Google Slides’ user-friendly image editing tools, you can tweak images directly within your presentations to get them just right.
I hope this guide gives you the skills and inspiration to take full advantage of image formatting in Google Slides! Let me know in the comments if you have any other tips or tricks for working with images.


