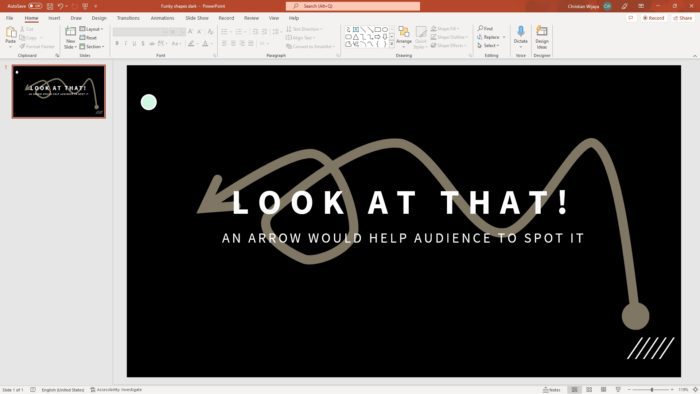
Adding images to your PowerPoint slides can make them more visually engaging and help communicate key information. However, busy or complex images can sometimes be distracting. When you want to draw attention to a specific part of an image, highlighting that portion is an easy way to guide your audience’s focus.
In this step-by-step guide, you’ll learn three methods for highlighting part of an image in PowerPoint.
Why Highlight Parts of Images in Presentations
Before jumping into the how-to, let’s look at some of the benefits of highlighting portions of images:
- Draws attention – Highlighting directs your audience’s eyes to the most important or relevant area of an image. This helps ensure they absorb the key information.
- Simplifies complex images – Some images, like charts, diagrams, and photographs, can be visually complicated. Highlighting the key area simplifies it for your viewers.
- Creates contrast – The highlighted area will stand out from the rest of the image due to the contrast in color. This contrast is what catches the audience’s eye.
- Emphasizes key points – Pairing an image highlight with a key talking point helps reinforce that information for your listeners.
Method 1: Draw a Shape
The easiest way to highlight part of a picture in PowerPoint is by layering a shape over the image area you want to feature. Here are the steps:
- Insert image – Add the photo or graphic you want to edit onto a PowerPoint slide.
- Insert shape – Go to the Insert tab and select a Shape. Choose a shape like a circle or rectangle to frame the portion you want highlighted.
- Resize and position – Click and drag the shape’s sizing handles to resize it. Position it over the image area you want to draw attention to.
- Format shape – Right click the shape and choose Format Shape. Go to Shape Fill and pick a bright fill color like yellow, green, or orange.
- Send backward – With the shape still selected, right click and choose Send Backward so the image is in front of the shape.
And you’re done! The transparent shape will highlight part of the image. Feel free to add multiple shapes if needed.
Method 2: Crop Image to Shape
Another approach is cropping the image itself into a shape. Here is how:
- Insert image
- Crop image – Select the image, go to Picture Format > Crop, and pick Crop to Shape
- Choose shape – Select a shape like a circle or triangle from the menu
- Adjust crop – Click and drag the crop handles to resize and position it over the area you want to feature
- Recolor image – Go to Picture Format > Recolor and choose a bright color like yellow or orange
Once cropped into a shape, the image portion will be highlighted in the vibrant color you selected. The rest of the image will be grayed out.
Method 3: Fragment Image
You can also highlight part of a picture in PowerPoint by fragmenting it:
- Insert shape – Add a shape, like a circle, over the area you want to highlight. Size it to fit.
- Merge shapes – Hold CTRL and select both the image and shape. Right click and choose Merge Shapes > Fragment.
- Ungroup – Right click the image and choose Ungroup. This will separate the shaped portion.
- Recolor – Select just the fragmented shape piece and recolor it a bright highlight color.
- Bring forward – With the recolored shape fragment selected, right click and choose Bring Forward until it is in front of the image.
Fragmenting splits an image into pieces, allowing you to recolor a specific portion. It’s a bit more complex than the other methods but gives you more control.
PowerPoint Image Editing Tips
When highlighting parts of images in your PowerPoint slides, keep these tips in mind:
- Use shapes and highlights sparingly. Only highlight the most important elements to avoid overwhelming your audience.
- Make sure highlights are large enough to see. Don’t make them too subtle.
- Use a color that contrasts the image so the highlight stands out.
- Don’t cover up key details with a highlight shape. Keep it see-through.
- Highlight areas that reinforce your verbal message. Pair visual and verbal cues.
Presentation Visual Best Practices
Images serve an important role in presentations but need to be used carefully. Here are some best practices to follow:
- Choose high quality, relevant images – Avoid blurry, distracting, or confusing pictures.
- Limit images per slide – One image paired with concise text is best for clarity.
- Make sure images are large enough to view properly.
- Use basic image editing tools wisely to crop, resize, or enhance images when needed.
- Credit images – Cite source for any images you did not create yourself.
Recap and Next Steps
Highlighting portions of images is an impactful technique to try in your next PowerPoint presentation. It quickly draws your audience’s gaze to the key area you want to feature.
To highlight an image, simply layer a shape over it, crop the picture itself into a shape, or fragment the image to isolate an area.
Remember to use highlights judiciously, choose colors that contrast well, and reinforce the highlighted areas with your speaking points.
Now that you know how to highlight parts of images, it’s time to put this skill into practice! Try out these methods in your next presentation.


