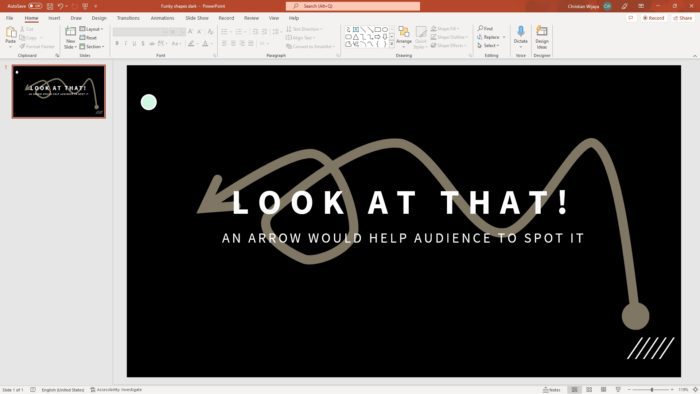
There could be dozens of items with multiple points of interest in one presentation slide. A clever presenter will use a design that lets the audience skim the entire slide and land their focus on a specific item. For this purpose, an arrow is often used to quickly draw attention to the thing you want them to see.
While there are plenty of arrow designs available in PowerPoint, this guide will only cover the steps needed to create a simple curved arrow on a presentation slide.
I will also explain several other methods to make different kinds of arrows. Let’s check them out!
#1 How to draw a simple curved arrow
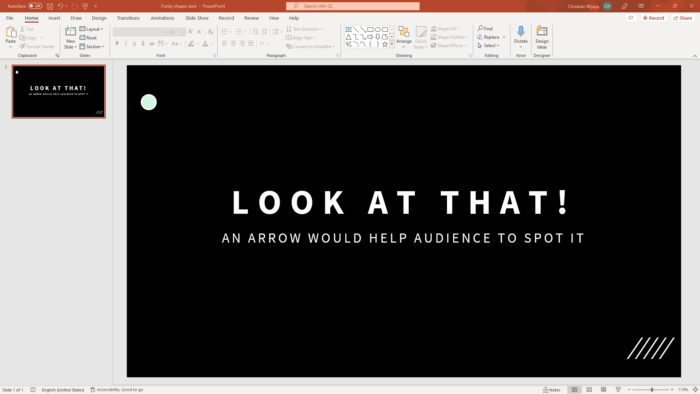
1. Fire up your PowerPoint document.
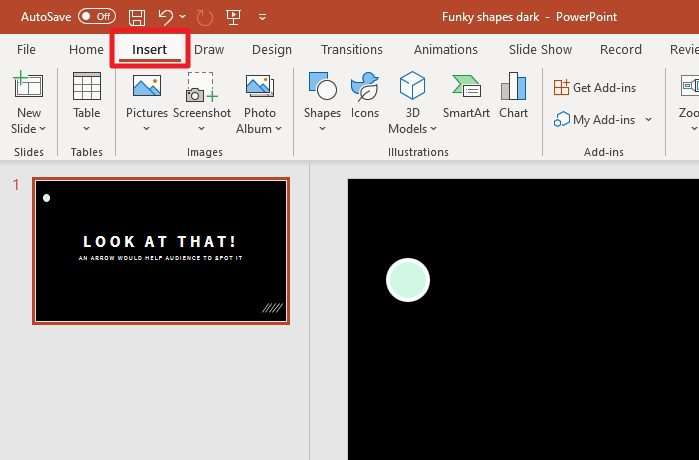
2. Navigate to the Insert menu.
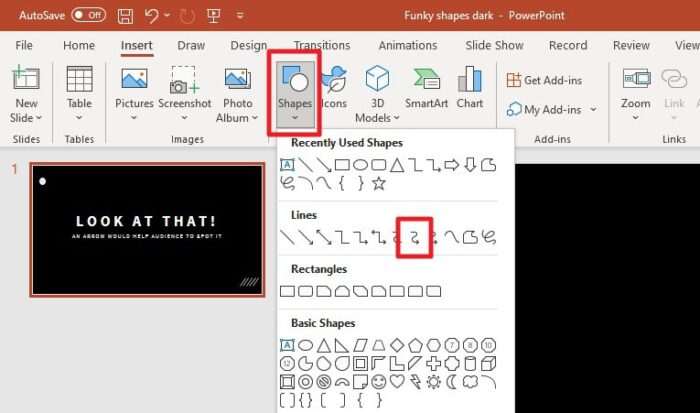
3. Go to Shapes > Curved Arrow.
4. Start drawing the arrow by clicking and dragging the mouse pointer.
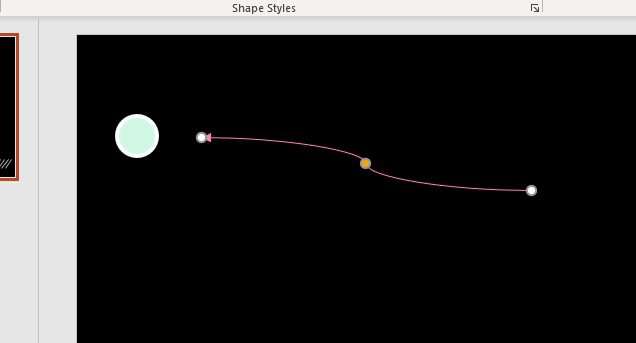
5. You have created a curved arrow. But it needs some visual upgrades. Visit Shape Format.
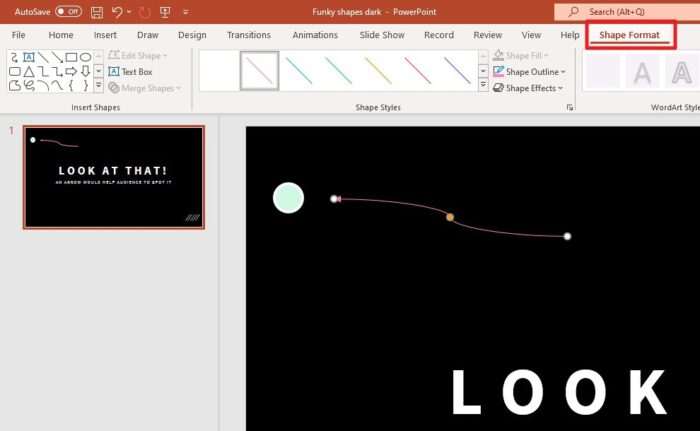
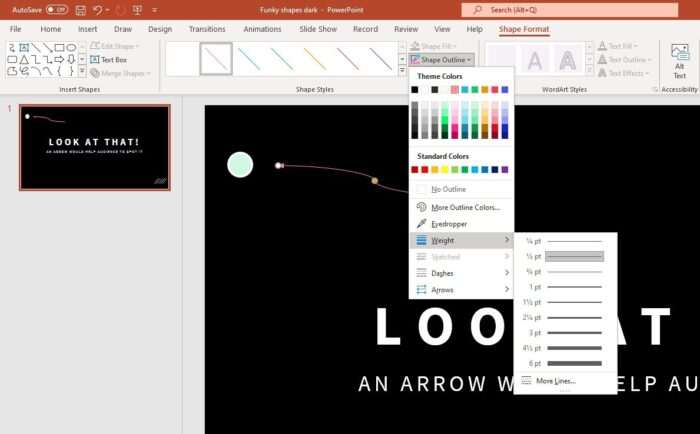
6. In this menu, you can change the arrow color, thickness, effects, and other styles.
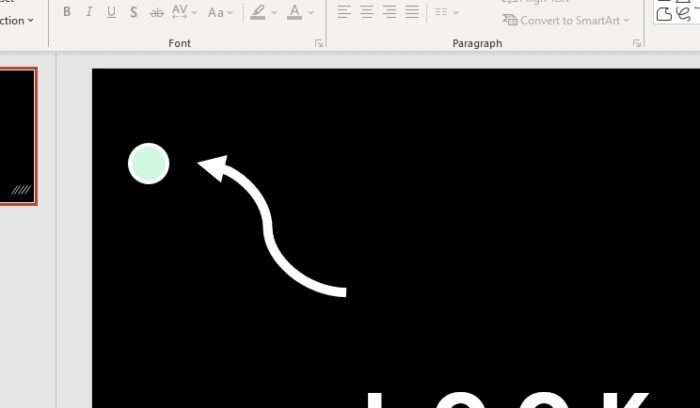
7. A simple curved arrow has been created.
#2 Creating a curved arrow using the Curve Shape
The following method is a little more complex than the previous one but this is extremely helpful to draw a long and nicely curved arrow. The Curve option from the Shape menu is going to help us with this.
1. Go to Insert > Shape > Curve.
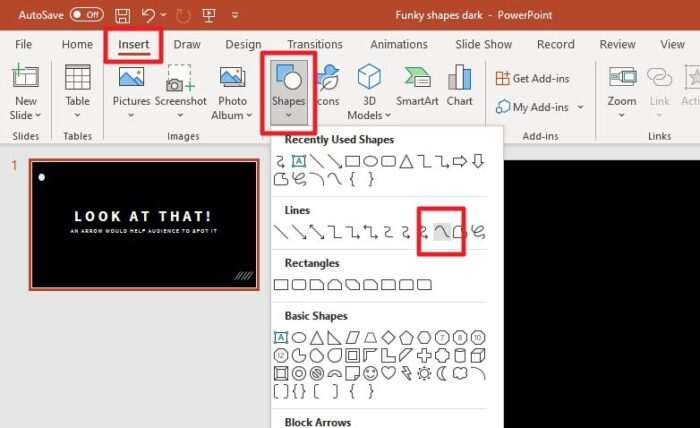
2. Draw a curved line with the mouse click. To finish drawing, perform double-click or press Esc.
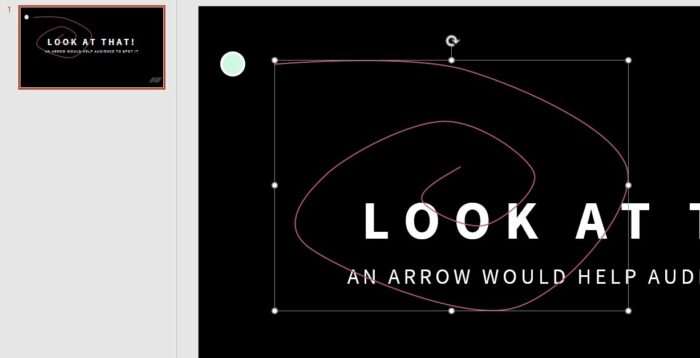
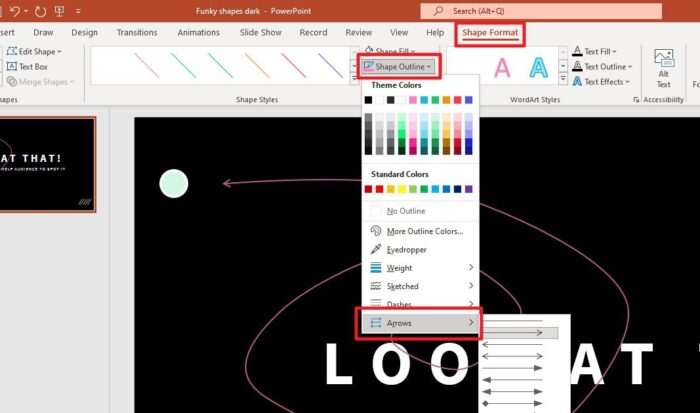
3. Now, navigate to Shape Format > Shape Outline > Arrows and then select your preferred pointer.
4. And there you go. You have created a curved arrow using Curve.
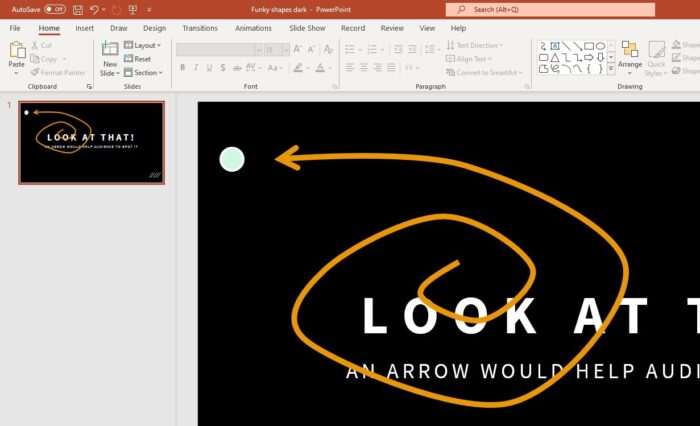
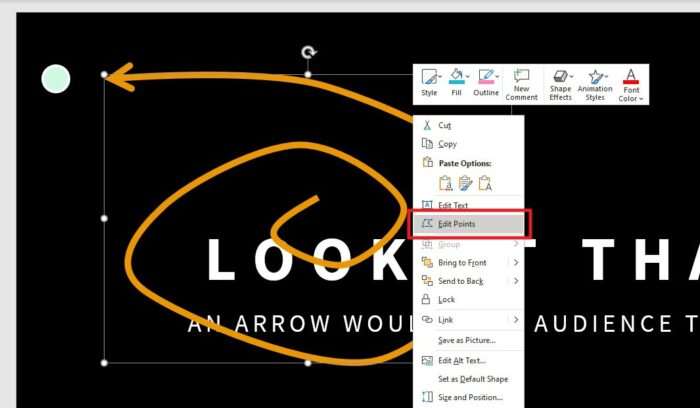
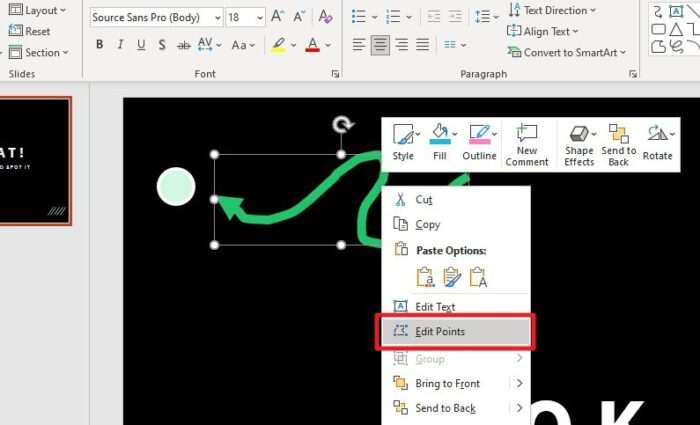
5. By the way, you are free to adjust the line by right-clicking and Edit Points.
#3 How to draw a curved arrow freely (scribble)
For anyone who loves to draw an arrow via a touchscreen device or with a stylus, you can take advantage of the Scribble feature on PowerPoint. This provides better flexibility on how you want to make the arrow look.
1. Go to Insert > Shapes > Scribble.
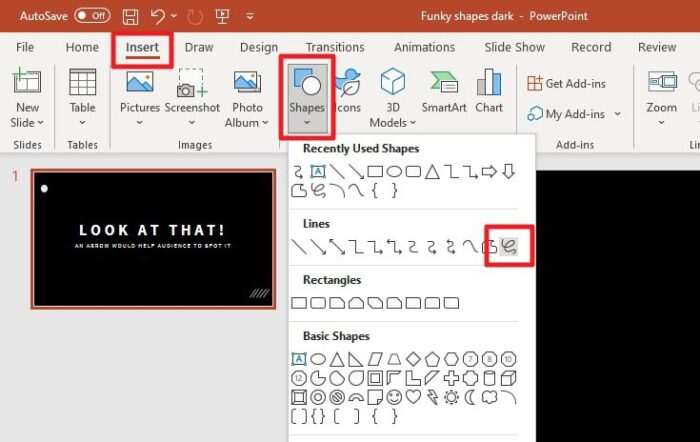
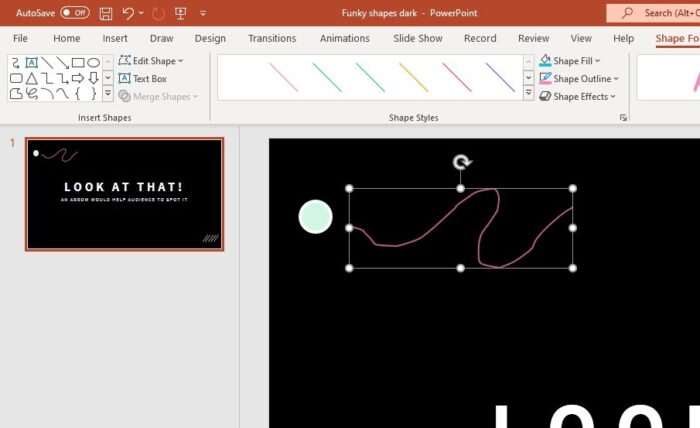
2. Draw a custom line by clicking and dragging the mouse.
3. Now, navigate to Shape Format > Shape Outline > Arrows and select the pointer of your like.
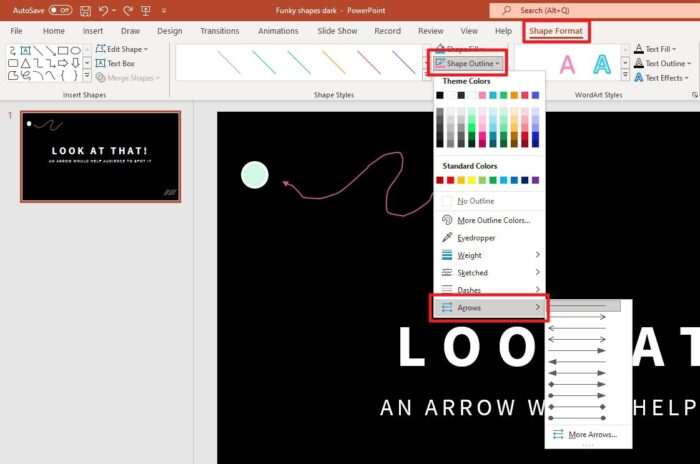
4. You have created a curved arrow by scribbling.
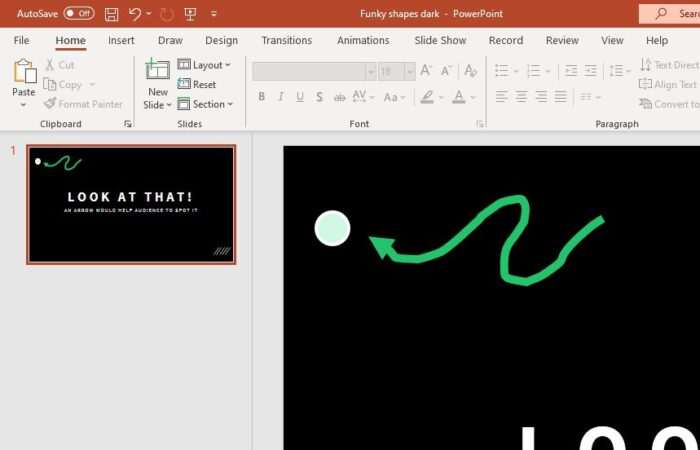
5. Again, the curved points can be modified later via the Edit Points menu.
These are just some basic examples of PowerPoint’s fantastic ability to engrave a custom shape. There are other Shapes you could pick to achieve a different arrow style or totally unique figure, like a light bulb, wind turbine, and Falcon 9 rocket just to name a few.
