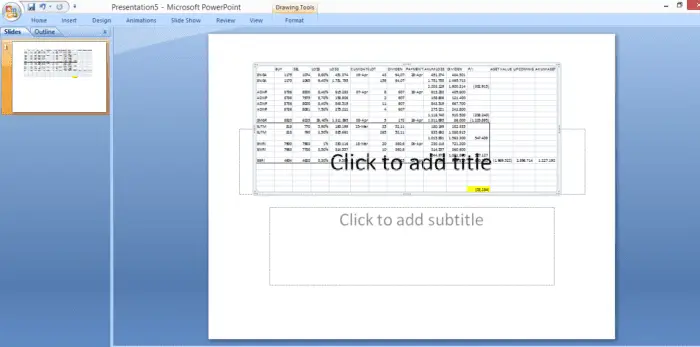
Linking data between Excel and PowerPoint is extremely useful for creating data-driven presentations. However, you may not always want to link the entire Excel worksheet. Often, you only need a specific part of the data.
In this step-by-step guide, I’ll show you how to link just a section of an Excel worksheet into your PowerPoint presentation.
Why Link Part of an Excel Worksheet?
Here are some common reasons you may want to link only part of an Excel worksheet rather than the whole thing:
- Your worksheet contains sensitive data that shouldn’t be shared in the presentation
- You want to link a specific data table or chart, not everything
- Linking less data makes your presentation file smaller and more manageable
- Your audience only needs to see a subset of the data for your analysis
Step 1: Open Your Excel File and Select the Data to Link
First, open the Excel workbook containing the worksheet with the data you want to link.
Then, select the specific cells, columns, rows or named range that you need to include in PowerPoint. You can select non-contiguous cells using Ctrl-Click as well.
Make sure your desired data makes sense as a standalone table or chart without other information.
Select data in Excel
Tip: To link a named range, simply select the name from the Name Box instead of cell references.
Step 2: Copy the Selected Data
With your desired cells or named range selected, copy the data. You can either:
- Right-click and select Copy
- Press Ctrl + C on your keyboard
- Go to the Home tab and click Copy
This copies the selected data into your clipboard.
Step 3: Paste Link the Data in PowerPoint
Go to the PowerPoint presentation and open the slide where you want to link the Excel data.
Select the slide placeholder where you want to insert the linked data. This can be a text box, content placeholder, or even the entire slide.
Go to the Home tab and click the arrow under Paste. Select Paste Special.
Paste Special in PowerPoint
In the Paste Special dialog box:
- Select Paste link
- Choose Microsoft Excel Worksheet Object under As:
- Click OK
This inserts the selected data as a linked Excel worksheet object so it will stay connected to the original Excel file.
Step 4: Edit the Linked Data in PowerPoint
With the linked data inserted, you can edit it just like any other PowerPoint object.
You can:
- Resize and position the linked table or chart
- Edit the formatting using Shape Styles and WordArt Styles
- Add borders, shadows and other effects
- Animate the object
- Add linked text boxes with references to the data
Formatting linked Excel data
Tip: To edit the original data, double-click the linked object and it will launch the Excel file with the selected cells.
Step 5: Update Links to Refresh Data
When the original Excel data gets updated, you’ll need to refresh the linked data in PowerPoint.
There are a few ways to do this:
- Right-click the object and select Update Link
- Go to the Data tab and click Refresh All under Connections
- Go to File > Info > Edit Links to Files and click Update Now
The linked data will get refreshed with updated information from Excel.
By linking only a specific part of an Excel worksheet into PowerPoint, you can include relevant data without overwhelming your audience with unnecessary information. Follow these steps to create clean, focused, data-driven presentations.


