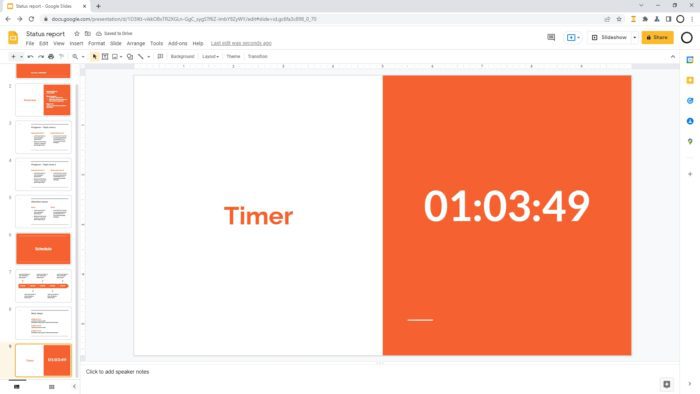
Moving slides in Google Slides presentations is easy whether you want to reorder a few slides or move one slide to the very end. With a simple drag-and-drop, you can change the order of slides and organize your presentation exactly how you want.
Why Move Slides in Google Slides
There are a few key reasons you may want to move a slide in Google Slides:
- Reorder slides to change the flow or story of your presentation
- Move slides to the end to deprioritize or archive them
- Skip slides you don’t need but want to keep for later
- Duplicate slides to reuse content
- Add transitions between slides for more polish
Reordering and moving slides gives you flexibility in organizing your presentation. You don’t have to delete slides if you want them out of the main flow.
How to Move a Single Slide
Moving one slide in Google Slides only takes a few clicks. Here’s how:
- Open your Google Slides presentation
- In the sidebar thumbnail view, click on the slide you want to move
- Drag and drop the slide to its new position
- A horizontal guide line shows you where the slide will land
- Release the mouse button to drop the slide into place
And you’re done! The slide is now moved.
You can move slides anywhere in the presentation, including the very beginning or end.
How to Move Multiple Slides
To move more than one slide at a time:
- Open your Google Slides presentation
- In the sidebar thumbnail view, click on the first slide you want to move
- Hold the Shift key and select additional slides to move
- Drag the selected slides and drop them in their new position
When you select multiple slides, they collapse into one thumbnail that moves together as a group. This makes it just as easy to reorder several slides at once.
How to Move a Slide to the End
If you want one slide at the very end, like an archive or credits, use these steps:
- Select the slide you want to move in the sidebar
- Press Ctrl + Shift + Down arrow (Windows) or ⌘ + Shift + Down arrow (Mac)
- The slide jumps to the end of the presentation
Or you can simply drag and drop the slide into the last position manually.
Either way, the keyboard shortcut or drag-and-drop moves the selected slide to the end in one step.
How to Skip Slides
Instead of deleting slides you want to temporarily remove from the flow, you can skip them:
- Select the slide(s) to skip
- Right-click and choose Skip Slide
Skipped slides remain in the file but do not show when you present. You can unskip them anytime to restore them.
Add Transitions Between Slides
You can also add subtle transitions between slides to polish your presentation:
- Select a slide
- Click Transition on the toolbar
- Choose a transition type and duration
Save transitions for occasional use between key slides. Overusing transitions can make your presentation too busy or corny.
Tips for Moving Slides
Here are a few tips as you move slides around:
- Review your presentation flow as you reorder slides
- Be consistent with layouts when possible
- Limit transitions to important slides
- Skip (don’t delete) slides you might need later
With these tips and steps, you can easily move, reorder, and skip slides right within Google Slides.


