Sharing printed PowerPoint handouts is a great way to enhance your presentation and allow your audience to follow along or take notes. However, you may not want the automatically generated date to appear on every page of the handout.
Luckily, it’s easy to print PowerPoint handouts as PDF files without any dates showing. In this guide, I’ll walk you through the complete process step-by-step.
Why Print Handouts as PDFs
Before jumping into the how-to, let’s first go over why you may want to print your PowerPoint slides as PDF handouts in the first place:
- Portability – PDF files look the same on any device or operating system. Your recipients can view, print or save the handouts from a phone, tablet, Mac, PC, etc.
- No Formatting Issues – Unlike Word docs, PDF handouts retain all your original PowerPoint formatting, fonts, images, etc.
- Compact File Size – PDF files are typically much smaller than PPT/PPTX files, making them easier to email and share online.
- Add Notes – You can optionally include speaker notes in the PDF handouts to provide additional context.
Step 1: Remove Date from Slide Master
The first thing you need to do is remove the date from appearing on slides:
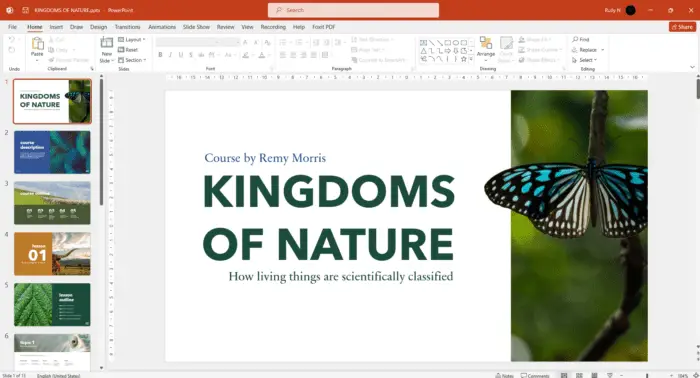
- In PowerPoint, go to View > Master > Slide Master.
- In the Placeholders pane, uncheck the box next to Date.
- Click Close Master View to return to normal editing mode.
This change will prevent a date from showing up on any slides or handouts.
Step 2: Save Presentation as PDF
Now you can save your presentation as a PDF handout:
- Go to File > Export > Create PDF/XPS Document.
- Click Options.
- Under Publish What, choose Handouts.
- Adjust any other settings as needed, like slides per page.
- Click Publish.
Your presentation will now save as a PDF handout without any dates showing!
Pro Tip: Enable the “Open file after publishing” option before clicking Publish so the PDF automatically opens after saving.
Customizing Your PDF Handouts
When saving as PDF handouts, you have additional options to customize the final output:
- Add Borders – Check “Frame slides” to outline each slide on the handout.
- Include Notes – Choose “Notes pages” to add your speaker notes to the PDF.
- Modify Page Layout – Select the desired slides per page, orientation and paper size.
- Print in Color/Grayscale – Choose color, black and white or grayscale PDF printing.
- Optimize File Size – Set to “Minimum size” for smaller files or “Standard” for higher print quality.
Emailing or Printing PDF Handouts
Once you save your PowerPoint deck as a PDF handout, you can easily:
- Email It – Attach the PDF file to an email to share digitally with recipients.
- Print It – Send the handout straight to your printer for physical copies.
- Upload It – Add the PDF handout to your website, LMS course or file sharing platforms.
- View on Mobile – Open the handout on phones/tablets for portability.
Because you took the extra step to remove the date, your PDF handouts will have a clean, professional look without unnecessary timestamps getting in the way.
Handout Alternatives Like Word Docs
PDF isn’t your only option for sharing presentation handouts. You can also:
- Export handouts to Microsoft Word to allow editing.
- Copy/paste slides into Google Docs for easy sharing.
- Print slides directly from PowerPoint using the built-in Handouts layouts.
However, PDF remains the best digital file format for maintaining formatting and cross-device compatibility.
Remember Page Setup Settings
When you print PowerPoint slides, handouts or notes directly, your page setup settings like date/time and slide number formatting will carry over to the printout.
To prevent dates from printing, be sure to access View > Header & Footer and uncheck any date/time options before sending the file to the printer.
Conclusion
Removing unwanted date stamps from your PowerPoint handouts is simple when you save them as PDF files. Just delete the date placeholder from the slide master and export using the right print settings.
Now you can easily distribute clean, professional presentation handouts to your colleagues, students and event attendees alike!
Let me know in the comments if you have any other questions about printing PowerPoint slides without dates. I’m happy to help!


