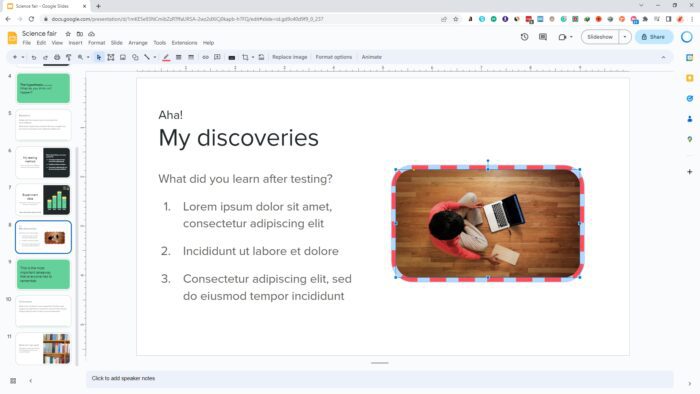
Google Slides is a powerful yet easy-to-use presentation software that allows you to create visually appealing slides. With its wide range of features, you can style text in creative ways to make your presentations stand out. This article will teach you how to rotate, curve, mirror, flip, and write backward text in Google Slides.
Rotating Text
Rotating text in Google Slides is useful when you want to add visual interest or fit more text into a compact space. Here are three easy methods to rotate text:
1. Right-click on the text box
Right-click on the text box and select “Rotate” from the context menu. Then choose options like “Rotate 90° clockwise” to rotate the text. This method rotates the entire text box.
2. Use the Arrange menu
Select the text box and click the “Arrange” menu. Go to “Rotate” and pick one of the preset rotate options to slant your text.
3. Drag the rotate handle
Click and drag the circular rotate handle of the text box to manually rotate your text. You can position the text at any angle this way.
Curving Text
Curved text adds style and makes your slides more visually interesting. Here’s how to curve text in Google Slides:
First, add curved text in PowerPoint using the Transform options under Text Effects. Copy this slide and paste it into Google Slides. The curved text gets transferred. Alternatively, use online curved text generators to create curved text and copy-paste into Slides.
Mirroring Text
The mirroring effect makes text appear reversed, with letters flipped. To mirror text in Slides:
Enable the “Reflection” option under Format options. Fine-tune the reflection angle and transparency settings to control the mirror effect. You can also mirror uploaded text images using the Reflection setting.
Flipping Text
Flipping text vertically or horizontally makes for great visual impact. Here are two ways to flip text in Google Slides:
Under the “Arrange” menu, choose “Rotate” and select “Flip vertically” or “Flip horizontally” options. Alternatively, right-click the text box and pick flip options from the context menu.
Writing Backward Text
Since Google Slides doesn’t directly support backward text, upload an image of the text you want inverted. Enable the Reflection setting for this text image box to mimic backward text.
Creative Text Effects in Slides
As you can see, Google Slides provides easy options to rotate, curve, mirror, flip or write text backward. Use these text effects sparingly to accentuate key messages and increase the overall visual appeal of your presentations.
Rotate text boxes to fit more text in a compact way or simply for visual impact. Curved text wrapped around images or shapes grabs attention. Subtly mirrored text with low transparency settings adds depth. Flipping text conveys strong contrast.
But be careful not to overuse fancy text styling as it can overwhelm your audience. Apply these creative effects to highlight headings, taglines or key takeaways for maximum effect.
Best Practices for Text Styling
When styling text in your Google Slides:
- Use creative text effects to accentuate important text, not all content
- Keep text easy to read by not overdoing rotations or reflections
- Ensure flipped or mirrored text doesn’t cause confusion about meaning
- Check that text contrasts well against colored backgrounds
- Use a consistent style for a professional, polished look
Following these best practices will ensure your audience can clearly understand your text while appreciating the visual appeal of smart text styling.
Get creative with text in Google Slides to make presentations that are visually memorable and impactful!


