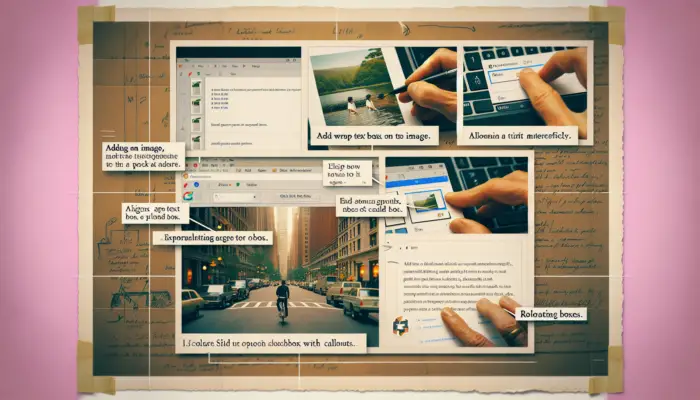
Wrapping text around images in Google Slides can help create more visually appealing and professional-looking presentations. However, Google Slides doesn’t have a built-in “Wrap Text” tool like Microsoft Word.
In this blog post, we’ll walk through an easy workaround to wrap text around images in Google Slides, using text boxes and precise alignment.
Why Wrap Text Around Images?
Wrapping text around images in presentations:
- Makes slides more visually interesting and aesthetically pleasing
- Allows better use of space on the slide
- Draws attention to key images and reinforces messaging
- Creates contrast between images and text sections
- Looks more polished and professional
Step 1: Insert an Image
First, insert an image you want the text to wrap around on your Google Slides presentation. You can insert an image by:
- Uploading an image file from your computer
- Searching for an image on the web
- Taking a screenshot
- Selecting an image from Google Drive
Position the image where you want it on the slide.
Step 2: Add a Text Box
Next, add a text box near the image by clicking “Insert” > “Text Box” on the Google Slides toolbar.
Drag and resize the text box so it’s next to the image. Make sure there’s sufficient space between the text box edge and the image.
Step 3: Enter Text
Inside the text box, type or paste text.
Bold key phrases to make them stand out. Break up lengthy paragraphs for better readability.
Step 4: Align the Text Box
Carefully align the text box so the text wraps around the image cleanly without overlapping.
Use the red guideline indicators in Google Slides to perfectly position the text box.
Step 5: Add More Text Boxes (Optional)
For longer text, you may need to add more text boxes.
Copy and paste chunks of text into additional text boxes. Position them to align with the flow of text.
Step 6: Format Text
Select the text and use Google Slides’ formatting options to enhance readability:
- Change font style and size
- Modify line spacing
- Align text left, right or justified
- Adjust transparency of text box fill color
Pro Power User Tips
Take your text wrapping skills up a notch with these advanced tips:
- Use text box borders and fills to color code information
- Layer text boxes behind or in front of images
- Rotate text boxes for more dynamic layouts
- Anchor text boxes to images so they move together
- Add icons to highlight callout text boxes
Sample Text Wrap in Google Slides
Here is an example of effective text wrapping around an image in Google Slides:
Sample Text Wrap Google Slides
The text box aligns cleanly with the image edges, with sufficient spacing to prevent overlapping. The bold subtitle catches the eye, while the wrapped body text explains the key message.
Why Use Google Slides for Presentations?
Google Slides is a popular, free presentation software with many benefits:
- Online and collaborative – Work on slides from anywhere, together with team
- Easy sharing and exporting – Present online or export to PDF
- Pre-designed templates – Choose from many template options
- Works across devices – View and edit slides on any device
With some strategic alignment of text boxes, you can wrap text around images in Google Slides for more professional, visually engaging presentations.
Recap: How to Wrap Text Around Images in Google Slides
- Insert image
- Add text box
- Enter text
- Align text box
- Add more text boxes (optional)
- Format text
Wrapping text around images using the text box alignment trick makes presentations stand out. This relatively easy technique makes content more visually appealing and readable.
Give it a try in your next Google Slides presentation!


