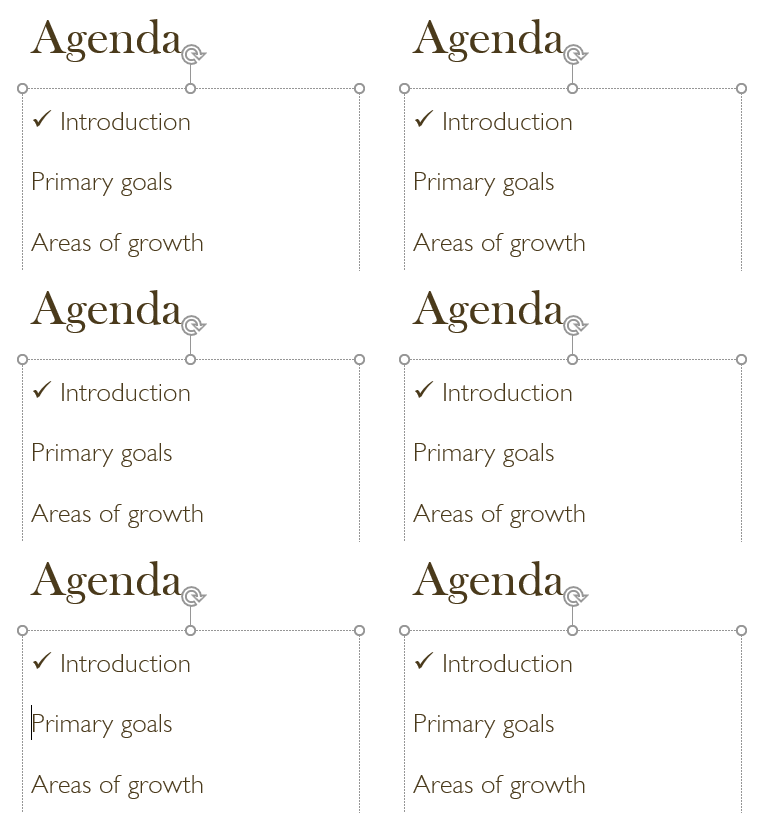
A check mark is a common sign used to denote agreement, completion, or accuracy. It can also be used to make a list of things or to accentuate a point.
Inserting a check mark character is simple and straightforward in PowerPoint. But there are multiple methods that may work better depending on individual needs and preferences. Let’s explore it.
Method 1: Use the Symbol dialog box
1. Select the slide where you want to insert the check mark. Click on the Insert tab, and then click on Symbol in the Symbols group.

2. In the Symbol dialog box, select Wingdings.

3. Scroll down and find the check mark character that you want to use. You can also type 252 in the Character code box to quickly locate it.

4. Click on Insert and then click on Close. The check mark character will appear on your slide.

Method 2: Use character map
1. Click on the place where you want to insert the check mark and make sure that your cursor is blinking.

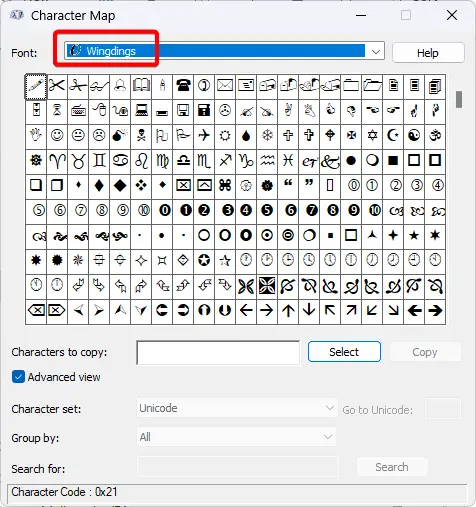
2. Click the Windows Start menu and type Character Map, and Open.

3. Select Wingdings from the Font drop-down list.

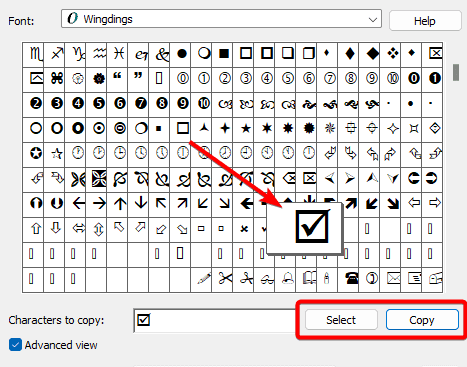
4. Find the check mark character that you want to use. Click Select, and Copy.

5. Switch back to your PowerPoint presentation and press Ctrl + V on your keyboard to paste the check mark character on your slide.

But the easiest way to insert a check mark character into a PowerPoint presentation is to copy and paste it from another source, such as a web page or a document.


