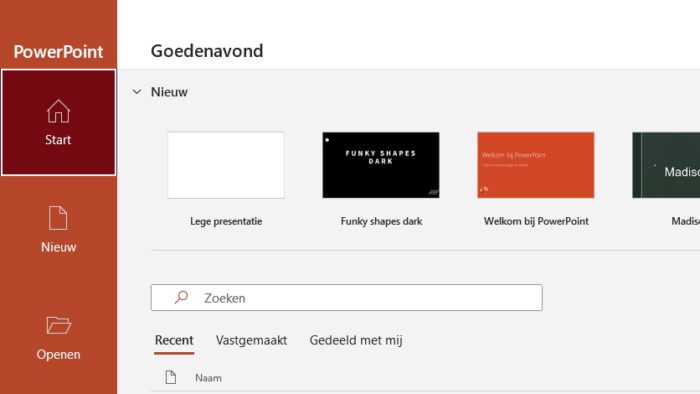
PowerPoint 2013 comes with many built-in templates that you can use to quickly create professional presentations. However, sometimes you may want to create a custom template with your company’s branding, color scheme, fonts, etc. Creating a custom PowerPoint template allows you to save time and ensure brand consistency across presentations.
In this article, I’ll walk you through the steps to create your own PowerPoint template in Office 2013.
Why Create a Custom Template?
Here are some of the key benefits of creating a custom PowerPoint template:
- Ensures brand consistency – By defining your fonts, colors, and logo in a template, every presentation will have a consistent look and feel aligned with your brand.
- Saves time – You won’t have to format fonts, colors, add logos etc. every time you create a new presentation. Just start with your template.
- Allows customization – You can include slide layouts, color schemes, fonts, effects etc. tailored to your needs.
- Promotes best practices – The template can include guides and placeholder content to help employees create effective presentations.
How to Create a PowerPoint Template
Follow these simple steps to create a custom PowerPoint template in Office 2013:
1. Open a New Blank Presentation
Go to File > New and select the “Blank Presentation” template. This will be the base for your custom template.
Open blank presentation
2. Customize the Slide Master
Go to the “View” tab and click on “Slide Master”. This will allow you to edit the default formatting for all slides. Customize elements like:
- Background color/image
- Fonts – Headings and Body text
- Effects – Shadows, reflections etc.
- Logo placement
Customize Slide Master
3. Create Custom Layouts
Create slides with layouts and placeholders that match your common slide types like title slides, agenda slides, content slides etc.
Go to the Slide Master tab and insert new slide layouts. Format them and add placeholders for content.
Custom Layouts
4. Save the Template
Finally, save your template for later reuse. Go to File > Save As and change the file type to “PowerPoint Template (.potx)”.
Save it to “C:\Users\Username\Documents\Custom Office Templates”. This will make your template visible when you create new presentations.
Save Template
Applying Your Template
Once you’ve created your template, applying it to new presentations is simple:
- Go to File > New
- Select “Personal” or “Custom” templates
- Double click your template to open a new presentation with your custom branding and layouts
Design Tips for PowerPoint Templates
Here are some best practices to create effective templates:
Keep it simple – Avoid complex designs and effects that could distract from the content. Focus on clean, minimalist templates.
Use brand assets – Include your logo, brand colors, and fonts aligned with your brand guidelines.
Use company guidelines – If your company has presentation guidelines, ensure your template adheres to them.
Add guides – Include hints and placeholder content to help employees design presentations.
Be consistent – Stick to one or two fonts, limit effects, maintain alignment across layouts.
Offer flexibility – Have multiple layouts for different slide types to provide flexibility.
Following these best practices will help you create professional PowerPoint templates that empower your team to design effective presentations aligned with your brand.
Conclusion
Creating custom PowerPoint templates allows you to save time, ensure brand consistency and promote presentation best practices in your organization.
Follow the steps in this article to create templates tailored to your specific needs and branding. And apply the design tips to make templates that are simple, branded and flexible.
With Office 2013, creating templates is easy. So unlock the power of customized templates to level up your presentation game today!


